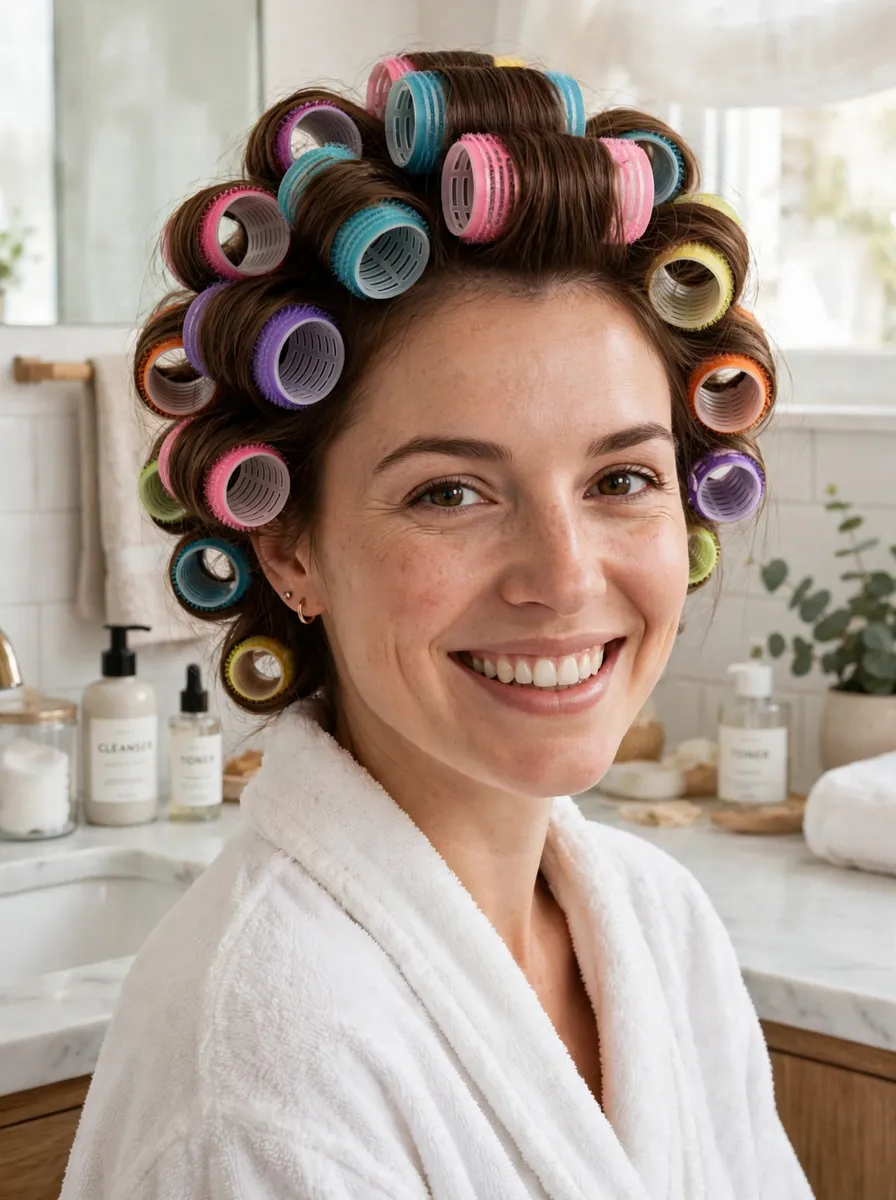
Robe Belt Curls: Heatless Overnight Curls, Step by Step
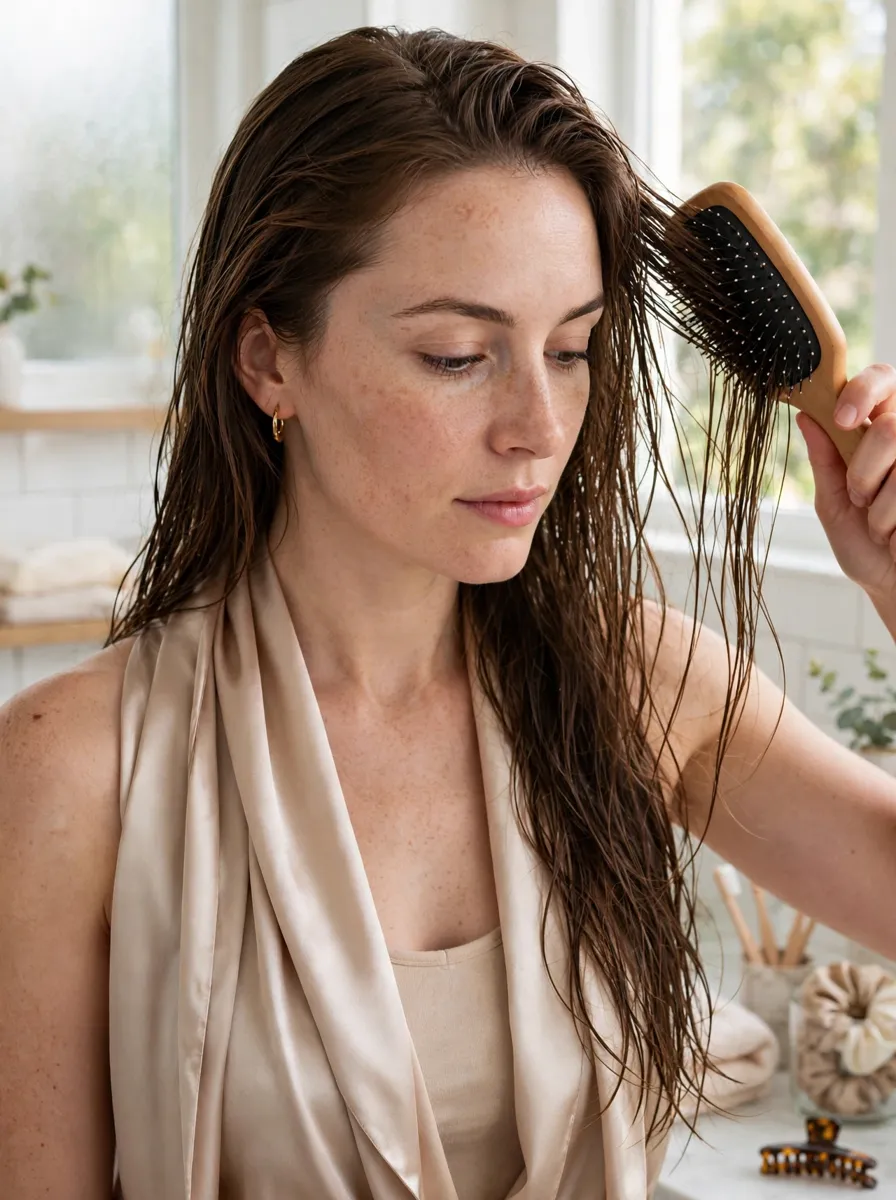
Robe belt curls use the most unlikely tool in the heatless line-up: a dressing-gown tie belt. Drape it over your head, wrap your hair around each side, and sleep. By morning the wraps unravel into smooth, glossy curls — closer to a blow-dry curl than a ringlet. Like every heatless set, it works because hair takes on the shape it is held in while it dries — and a wide, smooth belt forms a large, even curl.
If you have tried our sock curls tutorial, this is its sibling method — the same wrap-and-sleep idea with one belt instead of two socks. Choose the belt over socks when your hair is long or thick — a belt never runs out of length halfway down a wrap — or when you want the smoothest finish, with no cuff folds to dent the curl. Socks are quicker to put in on shorter or finer hair. Our heatless overnight curls guide compares all three methods side by side.
What You’ll Need
- A robe belt — the tie from a dressing gown. Satin or silky belts slide against the hair and give the smoothest finish; towelling grips more and frizzes fine hair
- A large claw clip, to anchor the belt while you wrap
- A brush and a wide-tooth comb
- A spray bottle with water, or freshly washed hair towel-dried to damp
- Two soft scrunchies or small elastics
- Optional: mousse or leave-in cream for hold, and a silk scarf or bonnet to protect the wraps overnight
Step-by-Step: The Robe Belt Method
Step 1: Start with Damp, Detangled Hair
Hair should be about 80% dry — damp to the touch, never dripping. Fully wet hair stays damp inside the wraps; fully dry hair will not set. Brush everything smooth. The belt method is wrapped on a centre parting, since the belt sits along the centre line; if you wear a side part, wrap on a centre parting anyway and flip the hair over in the morning — the flip adds root lift. Work a little mousse through the lengths if your hair is fine or slippery.
Step 2: Drape the Belt and Clip It in Place

Rest the middle of the belt on the crown of your head, just behind your front hairline, so the two ends hang evenly on either side of your face. Check both sides hang the same length — an off-centre belt is the usual cause of one good side and one short, tight side. Clip the belt to the hair at the crown; it only needs to hold while you wrap, and comes out before sleep.
Step 3: Wrap the First Side, Away from Your Face
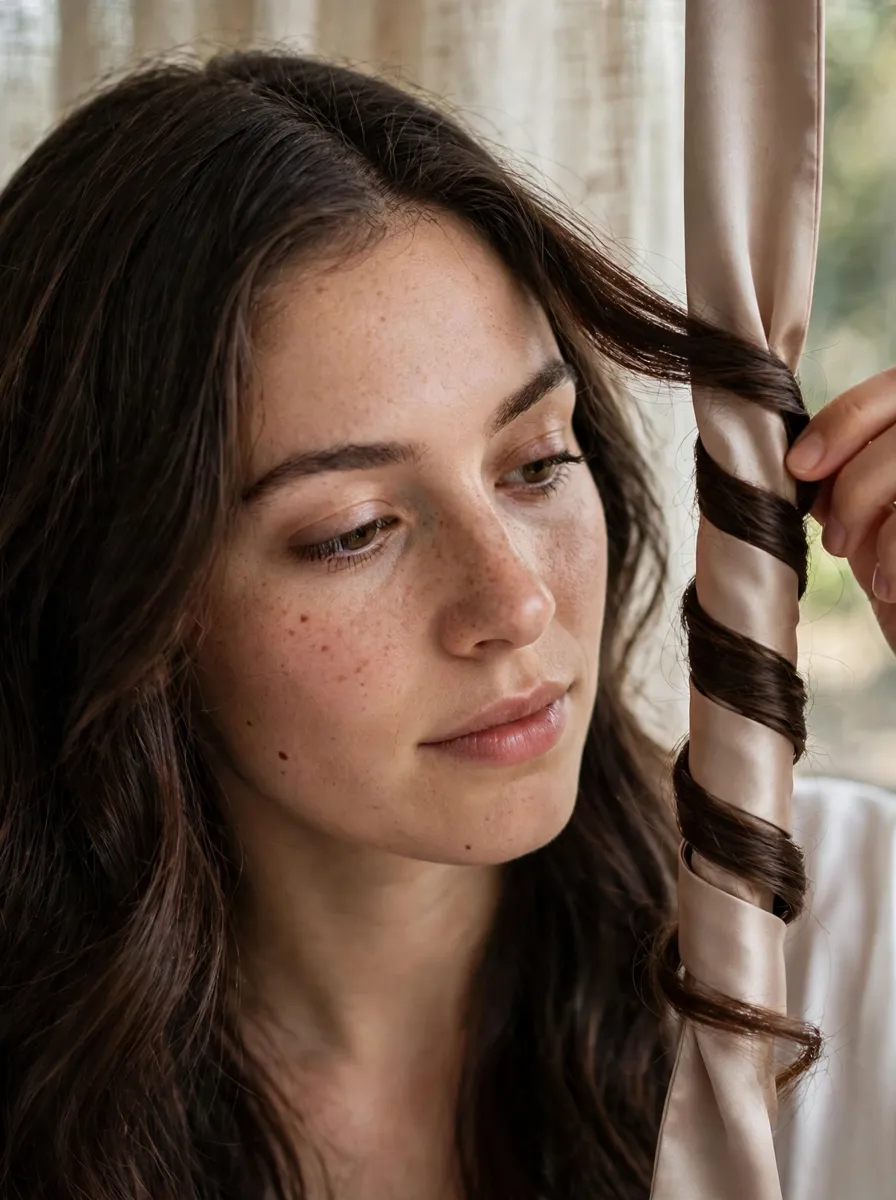
Take a section of hair from the front hairline, about two fingers wide, and wrap it over the belt, away from your face and underneath. Each time the section passes under the belt, add a little more hair from further back, then wrap again — the rhythm of a French braid, but around the belt instead of into a plait. Keep every wrap smooth and snug, lying flat against the previous one. Work down to the ends, then wrap the remaining tail around the belt.
Step 4: Wrap the Second Side to Match

Repeat the wrap on the other side, again wrapping away from your face. Mirror the first side exactly: same section sizes, same direction, roughly the same number of passes. If one wrap ends up noticeably longer or tighter, unwrap and redo it now — five seconds of correction beats a lopsided result.
Step 5: Secure the Ends
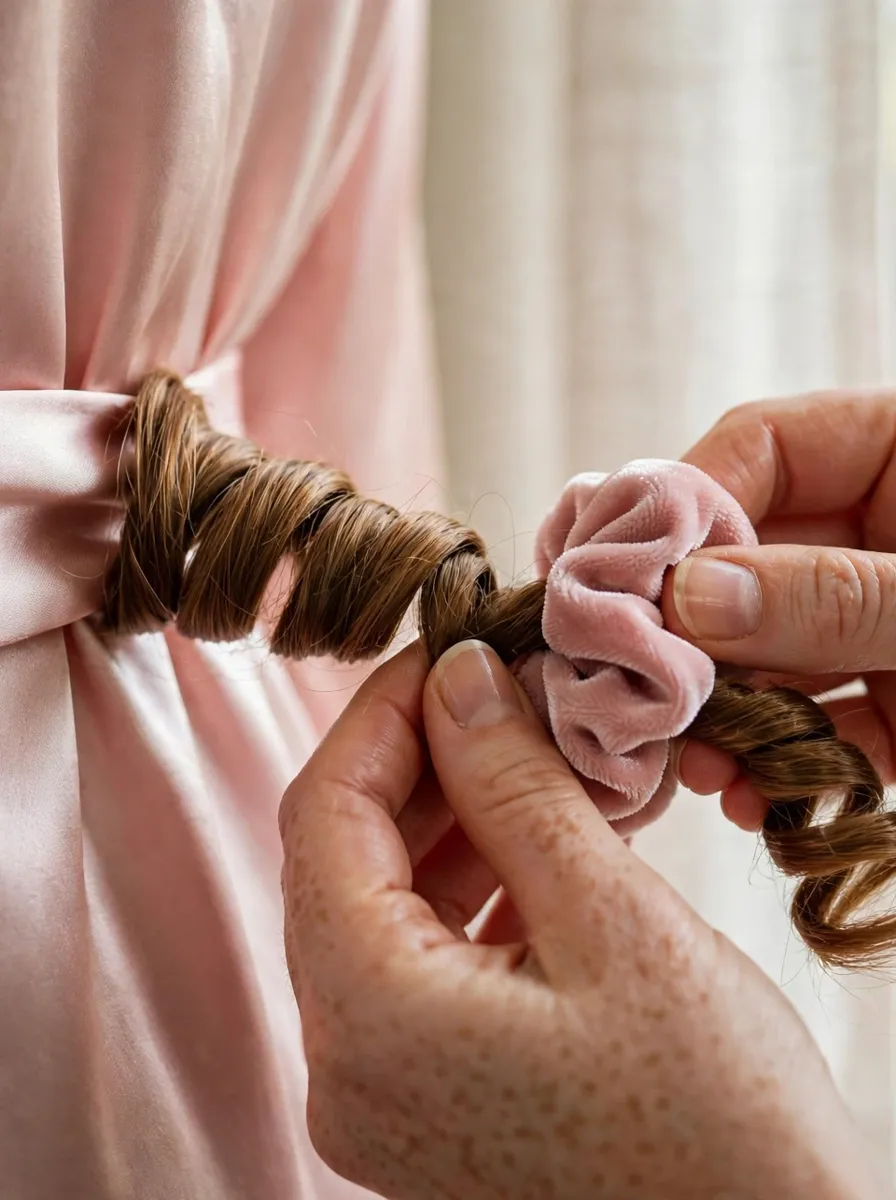
Slide a scrunchie over the wrapped hair and the belt together, right at the bottom of the wrap, so nothing can unwind in the night; do the same on the other side. The wraps should feel firm but not tight, with no pulling at the hairline. Now remove the claw clip from the crown — sleeping on it would not be comfortable.
Step 6: Sleep on It Comfortably

The two wraps hang at the sides of your head, so you rest between them rather than on a lump at the back. If you move around a lot, add a silk scarf or bonnet — it stops the wraps rubbing the pillowcase, where most overnight frizz comes from. Leave the wraps in for at least 6–8 hours, ideally the full night.
Step 7: Unravel Slowly
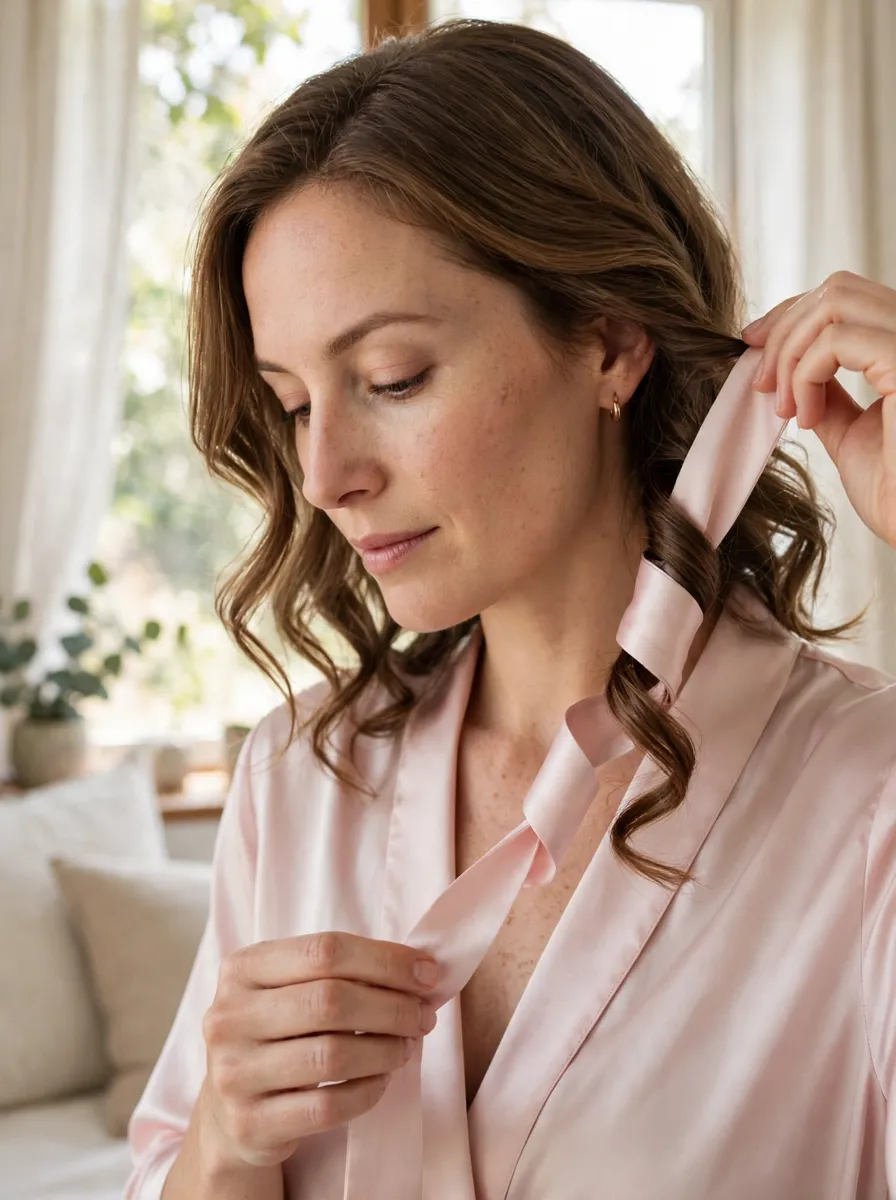
In the morning, touch the wraps first: the hair must feel completely dry before anything comes out. Slide off the scrunchies, then unwind each side slowly in reverse, letting the curl drop out of the belt rather than pulling the belt through the hair. Two stiff ropes of curl are left. Do not separate them yet, and do not brush — the ropes relax on their own.
Step 8: Separate, Lift the Roots and Finish

Flip your head upside down and shake the roots with your fingertips — this breaks up the centre-parting line and restores root lift. Then, with fingers only, split each rope into two or three curls, twisting any frizzy piece back into its spiral. If you wear a side part, flip the front section over now. A drop of light oil on the ends adds shine. The curls soften over the first hour into smooth, bouncy waves — defined curls on day one, looser waves on day two.
Robe Belt Curls for Short Hair and Long Hair
Short hair (chin to shoulder): use a thinner belt or a long scarf, and wrap smaller sections — short layers slip out of thick wraps. Expect loose, polished waves rather than full curls, and give it the full night, because short hair springs back faster. Our heatless curls for short hair guide covers the same length other ways.
Long or thick hair: this is the belt’s home ground. One belt handles lengths that leave socks stranded halfway, and its wide surface spreads thick hair evenly. Past waist length, wrap in slightly smaller sections so the middle dries as thoroughly as the outside, and start closer to 70% dry.
Troubleshooting
Flat roots and a flat line at the parting. The first wraps sat too low and loose. Start the first section right at the hairline and keep the first two turns snug. In the morning, the step 8 root shake plus flipping the parting to the opposite side restores the lift.
Frizz along the surface. Usually friction: a towelling belt gripping the hair, or wraps rubbing the pillow. Switch to a satin belt, brush each section smooth just before wrapping it, and sleep in a scarf or bonnet.
One side curlier than the other. A wrapping mismatch — one side wrapped tighter, in smaller sections, or an off-centre belt. Centre the belt carefully in step 2 and mirror your sections deliberately in step 4.
Curls dropped by lunchtime. Too-wet hair, a damp take-down, or fine hair with no hold product. Add mousse before wrapping, wait until the wraps feel bone dry, and mist the separated curls lightly with hairspray — then leave them alone for the first hour.
Frequently Asked Questions
How long do robe belt curls need to stay in?
Six to eight hours is the working minimum — the hair must dry completely in its wrapped shape. A daytime set can be sped up with a cool hairdryer blast over the wraps, but the hair must be fully dry before unravelling, or the curls drop within the hour.
Should hair be wet or damp for robe belt curls?
Damp — roughly 80% dry. Hair wrapped soaking wet often stays damp in the middle of the wrap all night and comes out lank and barely waved; bone-dry hair has no way to reset its shape. From dry hair, mist each section lightly with water (plus a little mousse for hold) as you wrap.
What can I use instead of a robe belt?
The dressing-gown tie is the original, but anything long, smooth and soft works: a long silk or satin scarf, or a pair of tights with the waistband on the crown and one leg hanging down each side. Avoid rough fabrics if your hair frizzes easily.
Do robe belt curls work on short hair?
Yes, as waves more than curls. On chin-to-shoulder hair, use a thinner belt or a scarf, wrap smaller sections and give it the full overnight set; the result is a smooth, polished wave. Hair above the chin usually cannot complete enough of a wrap to hold, and suits finger-coiling better.
Robe belt curls vs sock curls: which is better?
It depends on your hair. The belt wins on long or thick hair — one continuous wrap never runs out of length — and gives the smoother, sleeker curl — the hair lies flatter, so the finish is smoother. Sock curls are quicker to put in, work better on shorter or finer hair, and give a slightly bouncier, smaller curl.
Are robe belt curls damaging?
No — no heat, no chemical processing, and the belt is soft and smooth, with no hard edge to kink or stress the hair. The cautions are comfort ones: do not wrap so tightly that it pulls at the scalp, take the crown clip out before sleeping, and avoid sleeping in still-soaking wraps night after night, since hair is most fragile while wet.
Final Thoughts
After a couple of tries, the routine takes five minutes before bed. If a first attempt comes out uneven, it is almost always belt position or section sizes — both fixable next time. Keep the belt for long hair and the smoothest finish, and the socks for quicker, bouncier sets.