How to Do a Waterfall Braid: Step-by-Step Tutorial
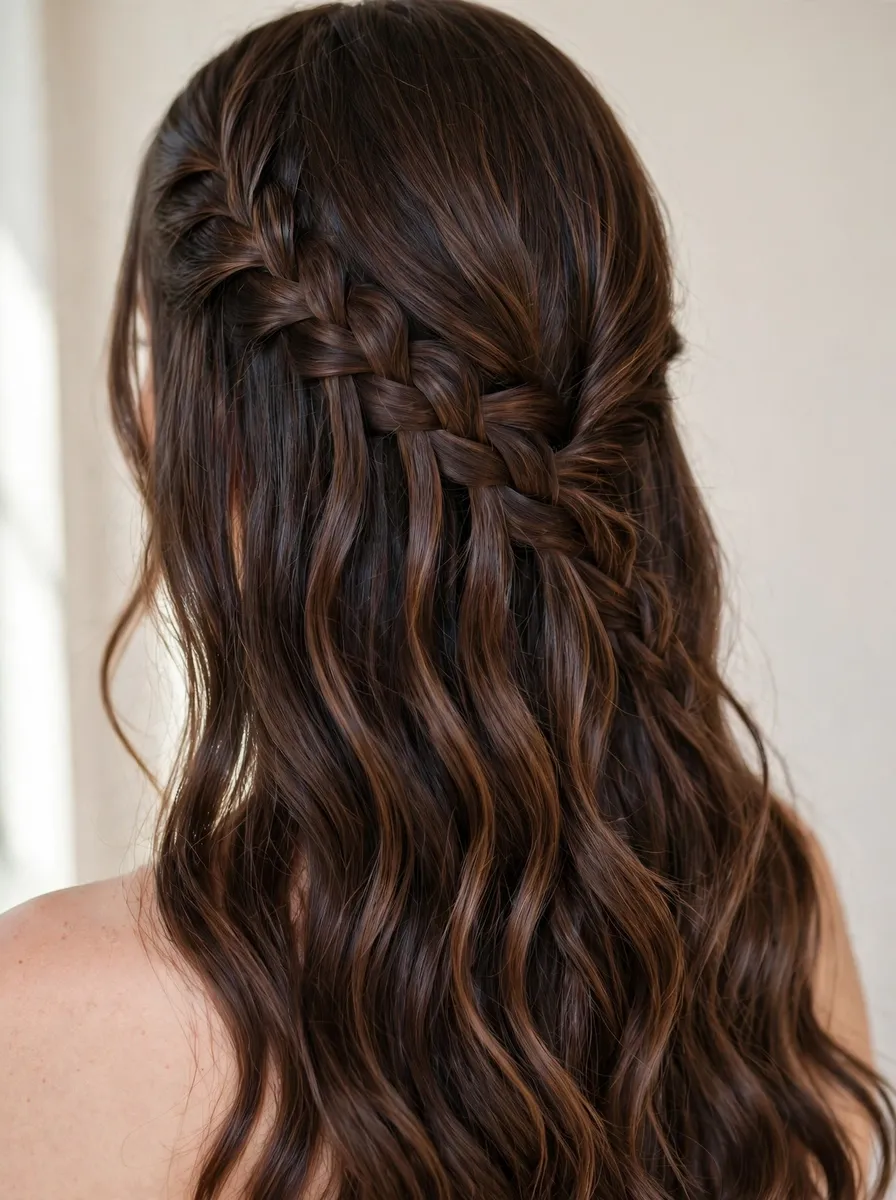
The waterfall braid is the French braid’s softer relative. It uses the same three strands and the same habit of adding hair as you go — with one twist: on every round, the bottom strand is let go completely and replaced with a fresh one. The dropped strands thread down through the braid and hang in the loose hair underneath — that falling row is the waterfall it is named for.
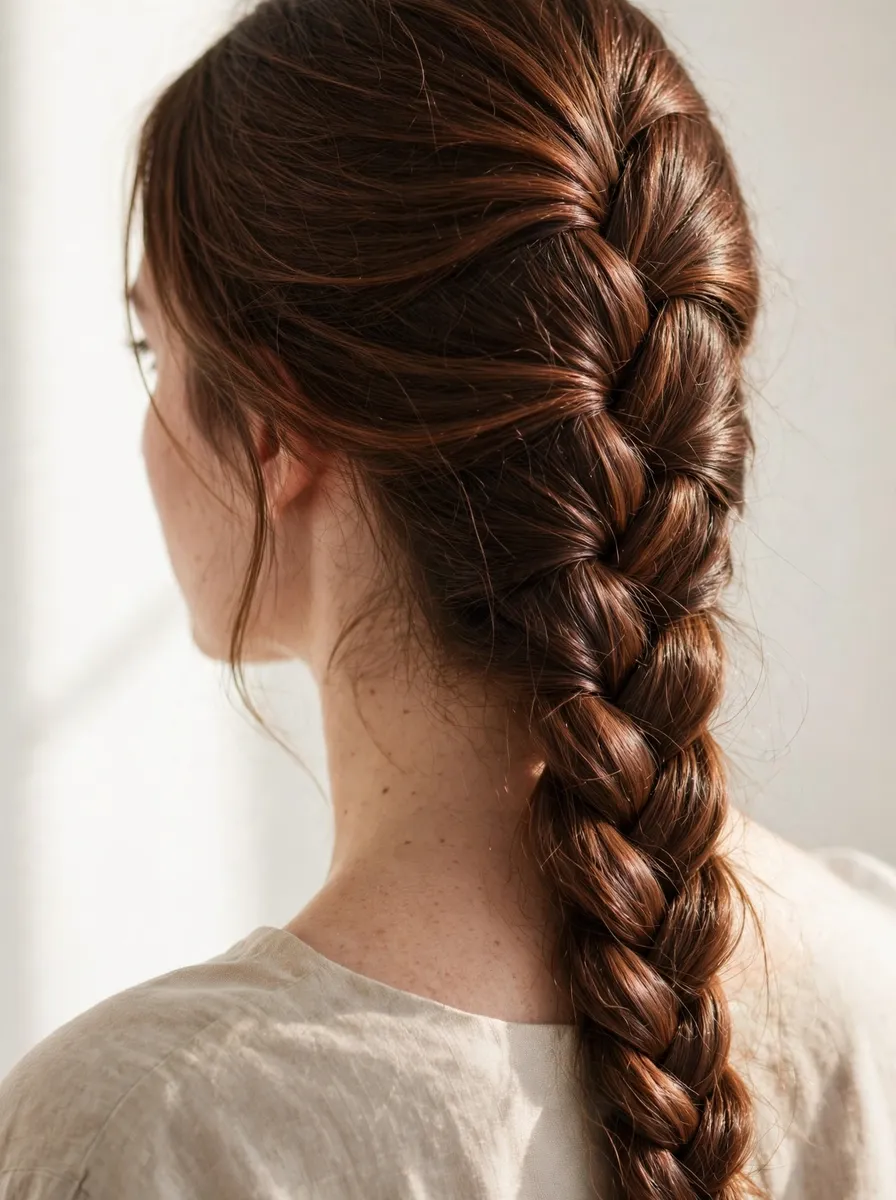
If you can already French braid, you own most of this skill already; the only genuinely new move is the drop, and this tutorial teaches it slowly. If you are newer to braiding, our guide to the types of braids shows where the waterfall sits in the family — a half-up style that shows best on straight to wavy hair of shoulder length or longer.
What You’ll Need
- A brush or wide-tooth comb
- A small clear elastic, and two or three bobby pins
- A sectioning clip, to park the finished cascade out of the way while you learn
- A little styling cream or texturising spray — day-two hair with some grip is far easier than slippery, freshly washed hair
- A hand mirror if you are braiding your own hair, to check the back
Step-by-Step: The Waterfall Braid
Step 1: Brush, Part and Take the First Section
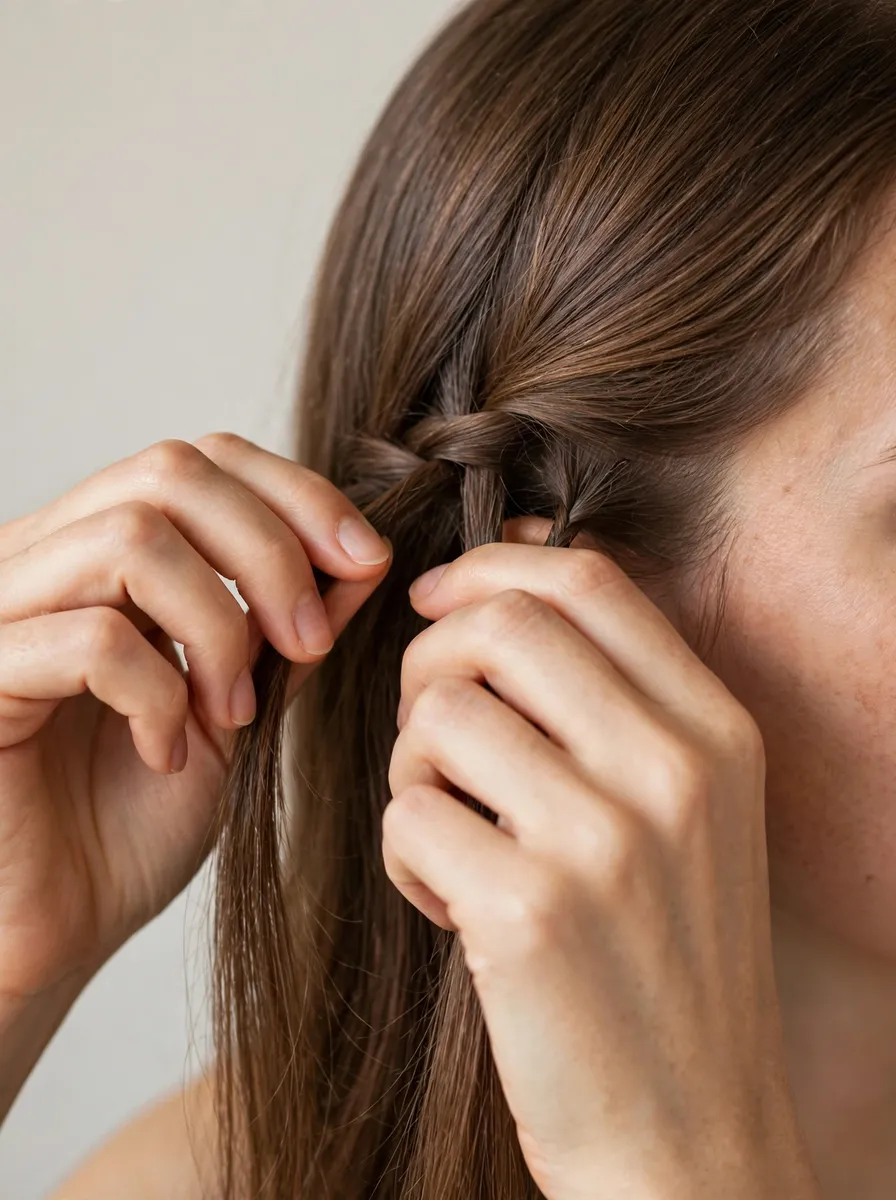
Brush everything smooth and tangle-free — a knot found mid-braid means starting again. Decide your parting first: a side parting gives the braid a natural heavy side to start on, while a centre parting suits a straight temple-to-temple line. At the front hairline, just above the temple, take a section about two fingers wide and divide it into three strands. Name them by position, because everything that follows depends on it: top (nearest the crown), middle, and bottom (nearest the loose hair below).
Step 2: Start with Two Plain Crosses
Begin exactly like a French braid. Cross the top strand over the middle, then cross the bottom strand over the new middle. Do one more full round. Do not drop or add anything yet — these plain crosses anchor the braid, and skipping them is why some waterfall braids slide forward off the hairline.
Step 3: Cross the Top, Then Drop the Bottom Strand
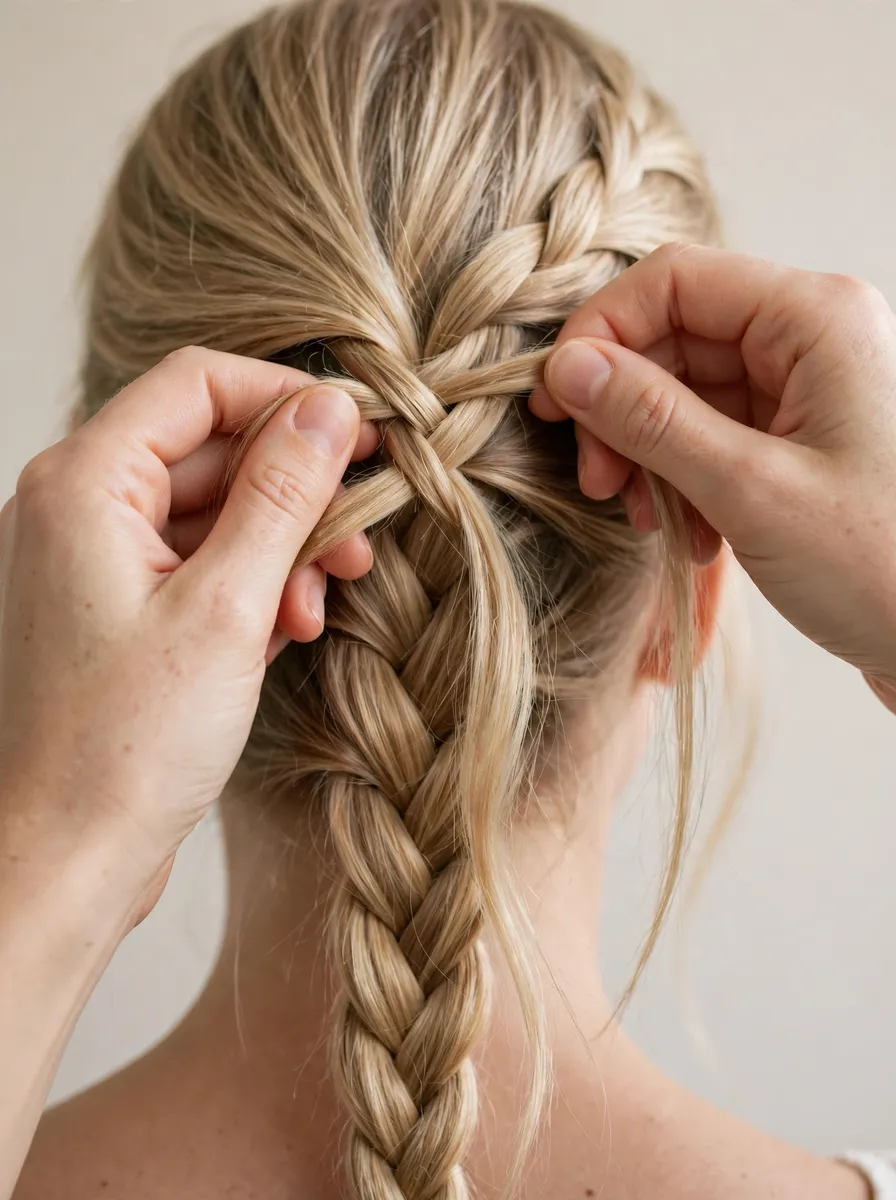
Now the waterfall move, in two halves. First, the top: sweep a small slice of loose hair from above into the top strand — the same addition you would make in a French braid — and cross the thickened strand over the middle. Second, the bottom: cross the bottom strand over the middle, and then let it go. Completely. It hangs loose — the first strand of your waterfall. This feels wrong the first few times, but the braid does not unravel: the crosses above hold the structure, and the dropped strand is now decoration, not scaffolding.
Step 4: Pick Up a Fresh Strand in Its Place
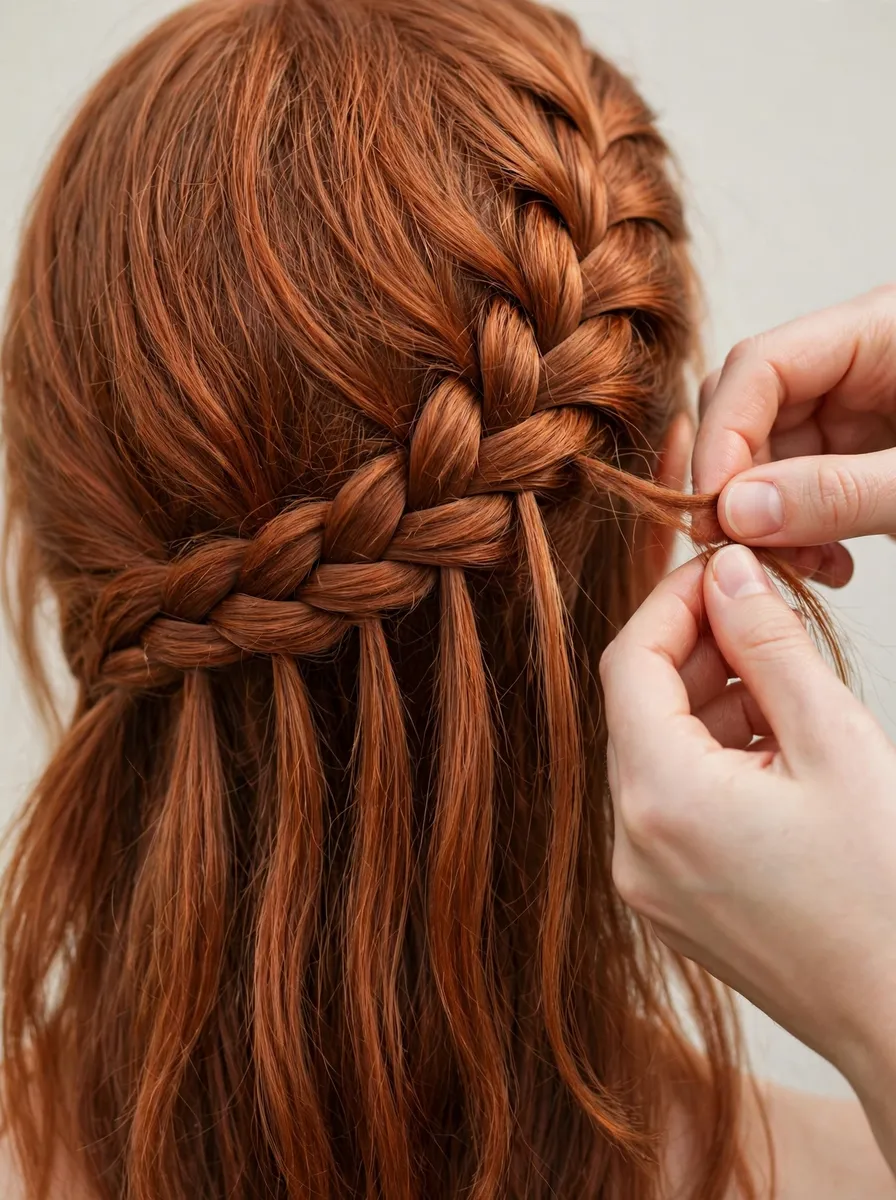
With the bottom strand gone, your hands are holding only two strands, so take a new one: a fresh section of loose hair from directly behind where the dropped strand fell — the next slice along the head, about the same thickness as the one you let go. This becomes your new bottom strand. Keep it separate from the dropped strand hanging beside it — if the two merge in your fingers, the cascade turns into a lump.
Step 5: Settle into the Rhythm and Travel Around the Head
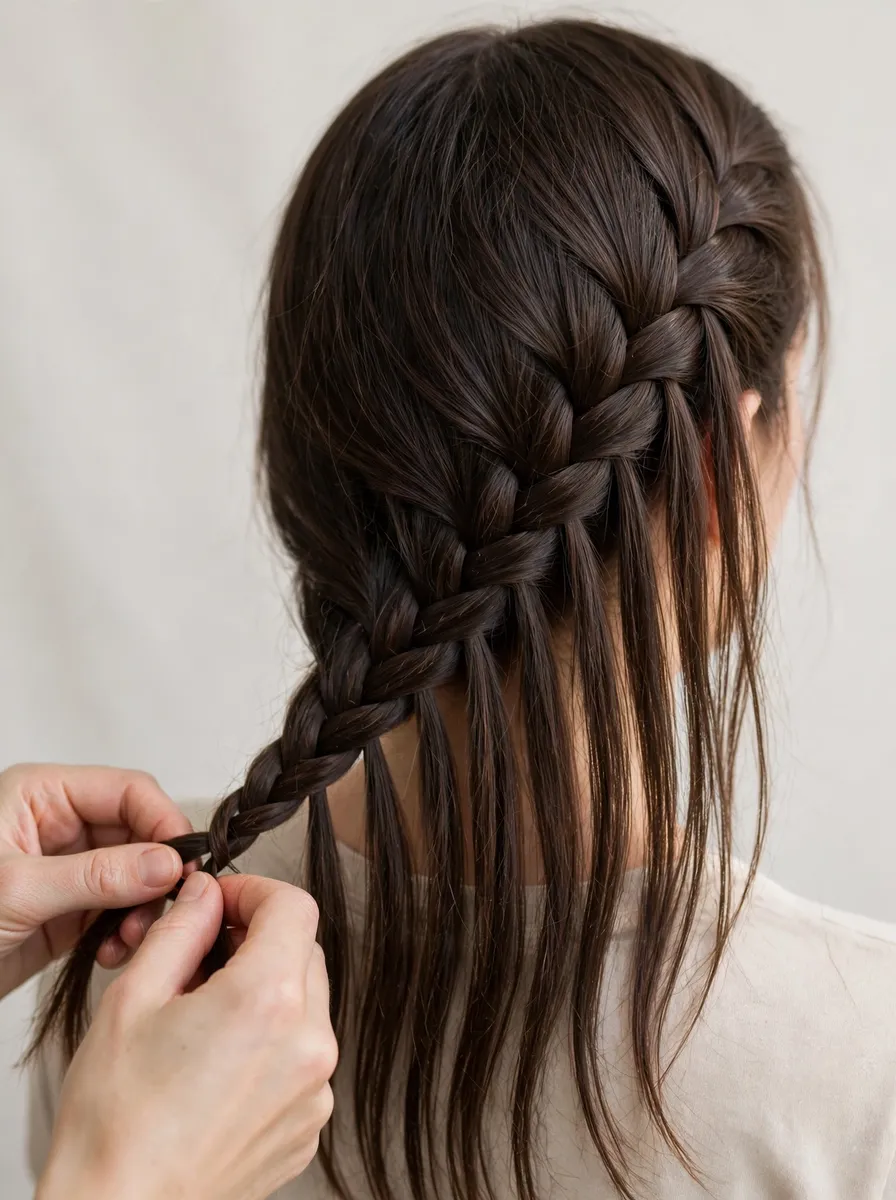
Repeat the whole round: add and cross on top, cross on the bottom, drop, pick up. Say it as you go — add, cross, cross, drop, replace — until your hands take over. Keep your hands close to the head and the additions small and even. You steer the braid’s line with your pick-ups: take them level to run straight across, or slightly lower each time to angle the braid down towards the opposite shoulder. Every few rounds, run your free fingers down the dropped strands to smooth and separate them; this one habit prevents most tangles before they start.
Step 6: Finish with a Short Plait and Secure
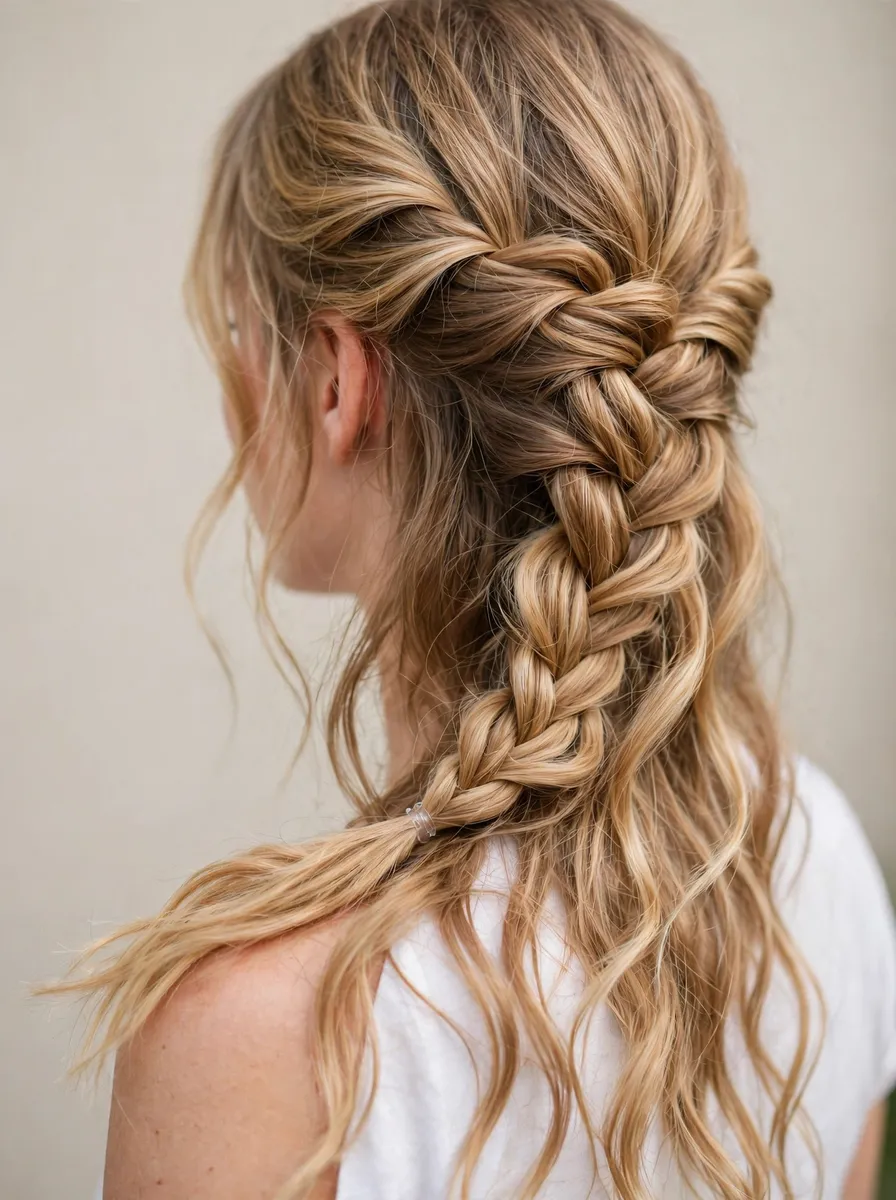
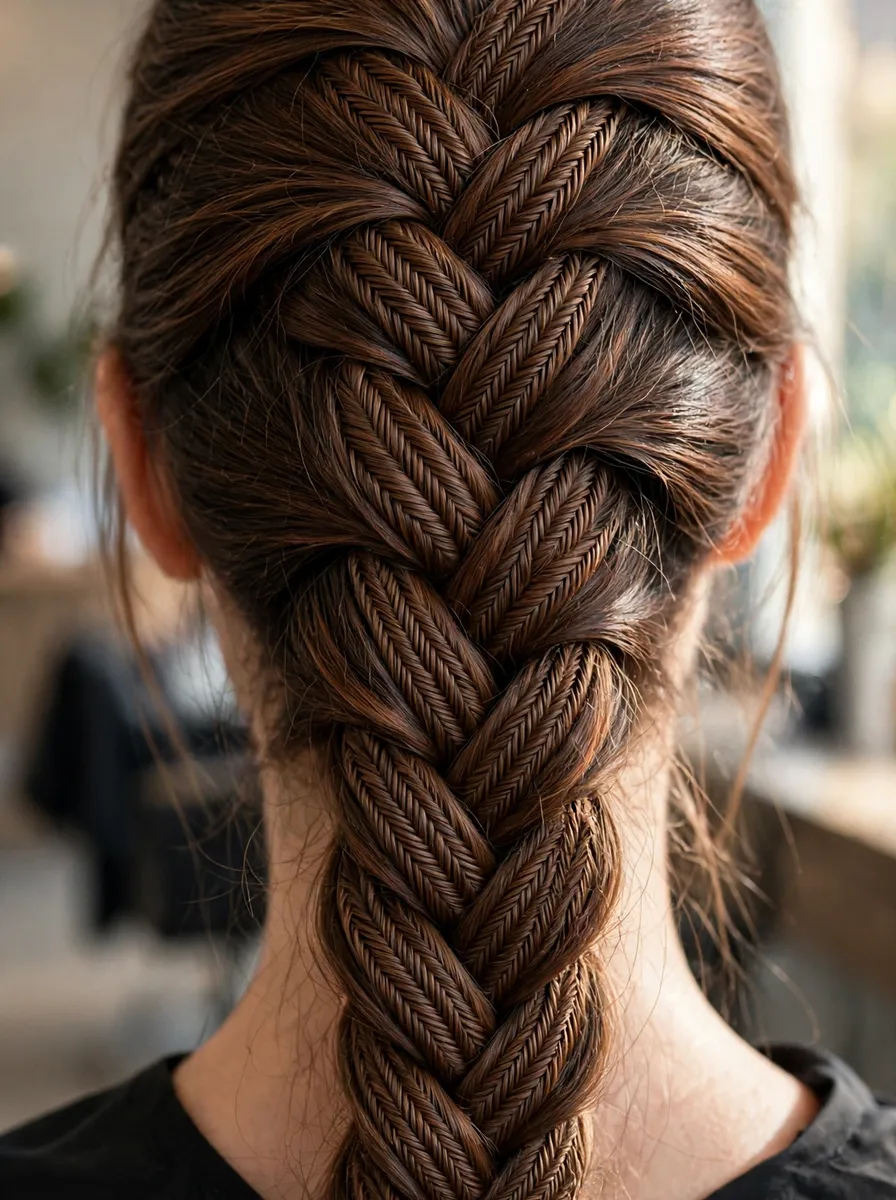
Stop at your planned endpoint — the opposite temple, just behind the far ear, or wherever your diagonal lands. From there, stop dropping and simply continue a regular three-strand plait for a few centimetres, then secure with the clear elastic. Tuck the little tail behind the ear or pin it under the loose hair so the braid seems to dissolve into the hair. Alternatively, finish the tail as a fishtail braid for a mixed-texture ending. If you want a softer finish, gently tug the top edge of each loop outward — never the bottom edge, which drags the dropped strands out of line.
Waterfall Braid Variations
Half-Up Waterfall
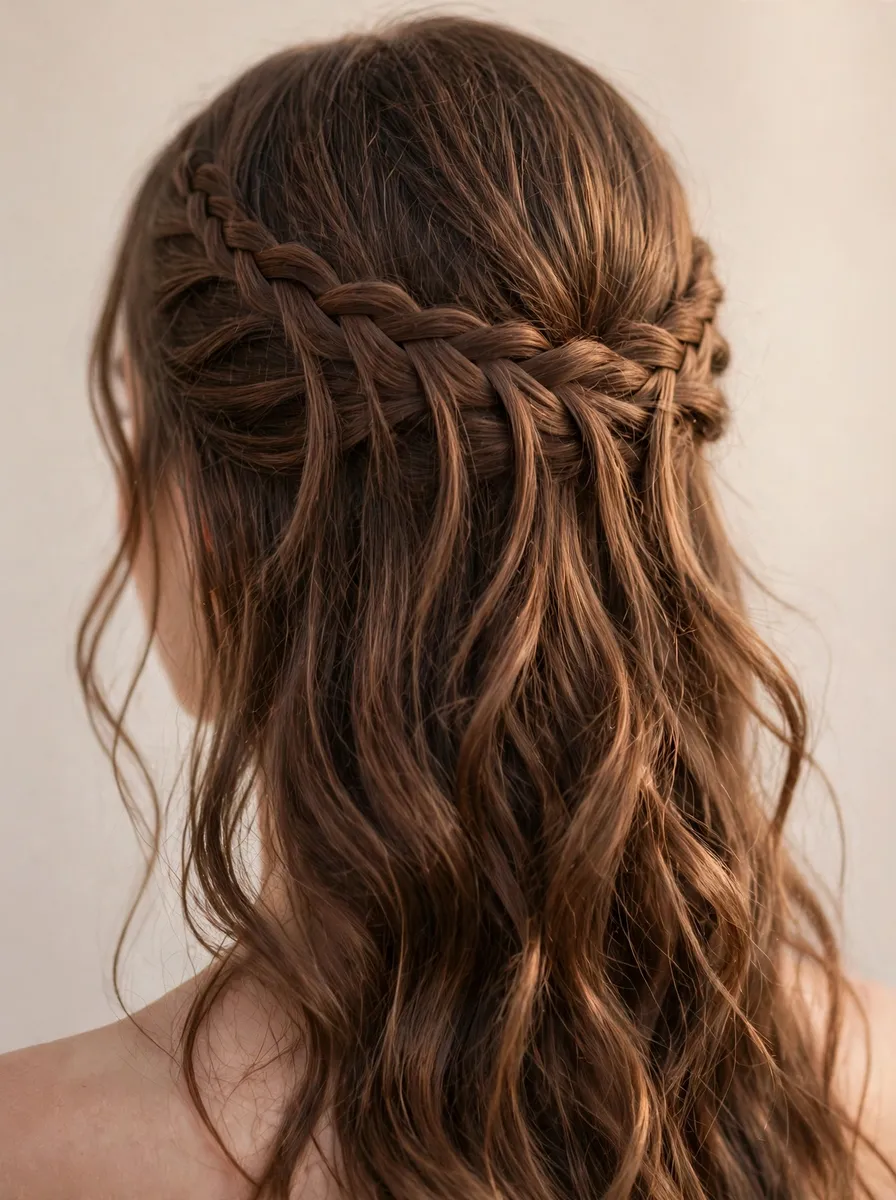
Run the braid level, temple to temple across the back at crown height, and pin both ends behind the ears. Everything below stays loose, so the cascade lands in open hair where it shows best — this is the classic wedding-guest version. For symmetry, start a short braid from each temple and join them in the middle with a small elastic.
Double Waterfall
Braid a second waterfall parallel to the first, a few centimetres below it, and you get a woven, laddered effect. The advanced version is worth knowing about: the lower braid picks up, as its fresh strands, the very strands the upper braid dropped — so the cascade threads through both braids and the two are woven together.
Waterfall into a Bun or a Side Finish
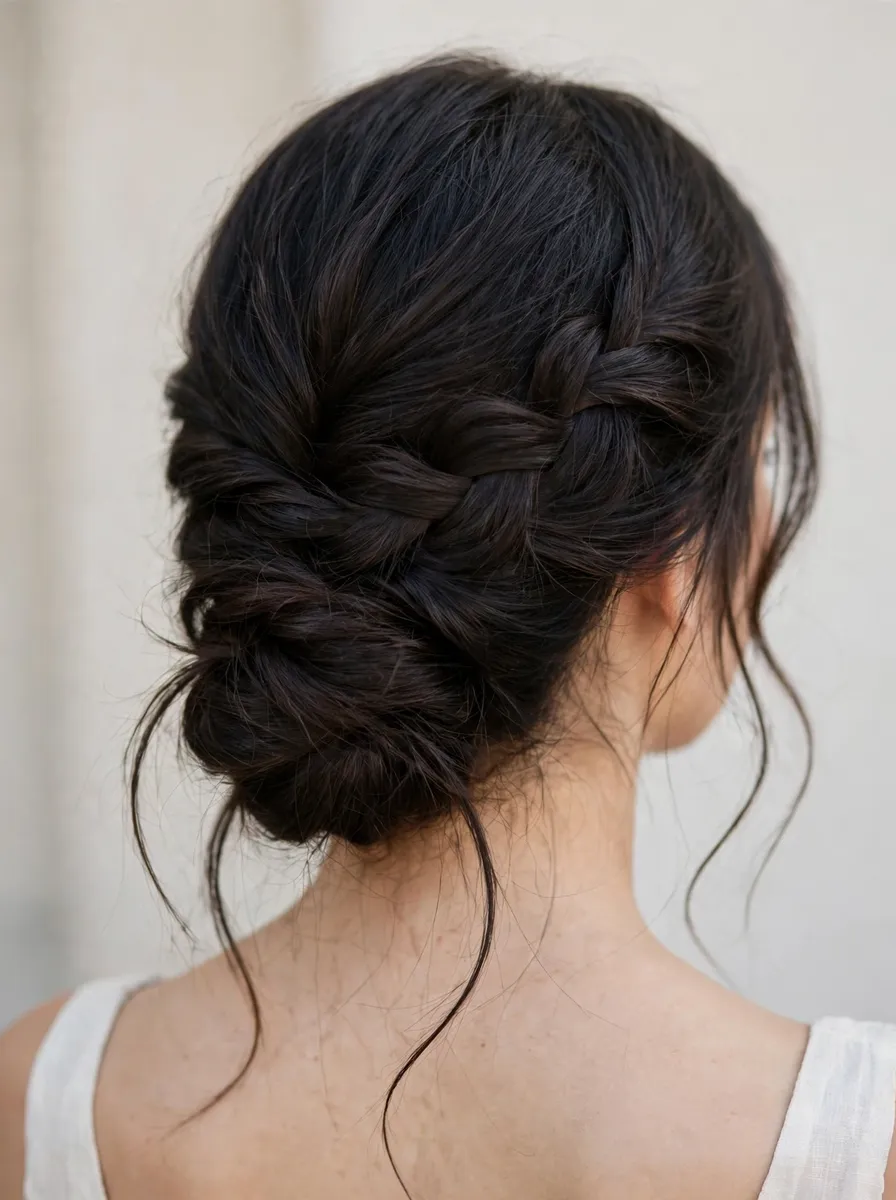
When the braid reaches the opposite side, gather all the hair — cascade included — into a low bun, a side ponytail or a loose side plait. The braid wraps into the updo and does the decorative work for you — the fastest route from day hair to an evening style. Leave two or three dropped strands out of the bun to trail softly against the neck.
Troubleshooting
Dropped strands keep tangling with the strands in your hands. The most common beginner problem. Smooth each dropped strand down with your free hand before picking up the next section, keep the pick-up slices small, and on your first attempts clip the finished cascade loosely to the shoulder of your top so it cannot drift back into your working area.
The braid sags or slides downwards. Your hands are drifting away from the head, or the additions are too big and heavy. Keep your knuckles close to the scalp, take smaller slices, and start the braid a fraction higher than where you want it to sit — gravity will settle it onto the line.
The waterfall strands look uneven and scraggly. Mismatched thicknesses: a fat strand dropped, a thin one picked up. Match each pick-up to the strand you just let go, and keep the spacing between drops even — the cascade reads as a row, and a row shows every irregularity.
You keep losing track of which strand to drop. It is always the bottom one, and always immediately after it has crossed over the middle. If you crossed and forgot to drop, you have simply done a round of French braid — unpick one round and resume the rhythm from there.
The cascade disappears into curly or very thick hair. The effect depends on the contrast between the braid and the falling strands. On curls, braid on stretched or blow-dried hair for the defined version, or accept a softer woven look. On fine hair the problem is reversed — the braid itself looks thin — so pancake the top edge of each loop to bulk it up.
Frequently Asked Questions
What is the difference between a waterfall braid and a French braid?
Both add hair into the top strand as they travel; the difference is the bottom strand. A French braid keeps all three strands from start to finish; a waterfall braid drops the bottom strand after every cross and replaces it with a fresh section, so strands continuously fall out of the braid — the waterfall effect.
How long does hair need to be for a waterfall braid?
Shoulder length is the comfortable minimum for a full temple-to-temple braid, because each dropped strand needs enough length to hang visibly. Chin-length hair can manage a short waterfall along one side, finished behind the ear. Heavy layers shorten the effect: the shortest layer decides how long your waterfall strands can be.
Can I do a waterfall braid on my own hair?
Yes — in one respect it is easier than a full French braid, because the braid travels horizontally rather than down the centre, at heights where your hands naturally rest. Learn the drop-and-replace rhythm on the side you can see in the mirror first, and check the back with a hand mirror at the end.
Why do my dropped strands keep getting tangled?
Because they hang exactly where your next pick-up lives. The fixes are small slices, smoothing each dropped strand down before moving on, and — while learning — clipping the finished cascade out of the way. Day-two hair with a little texturising spray is the sweet spot for grip and separation.
Does a waterfall braid work on fine or curly hair?
On fine hair, yes, with help: keep the braid’s loops pancaked for width and expect a delicate cascade. On curly hair the braid works but the waterfall reads as texture rather than distinct strands; braiding on stretched, blow-dried hair restores the contrast. Very thick hair gives the most dramatic cascade, provided the pick-ups stay small.
How long does a waterfall braid take, and how long does it last?
About ten minutes once the rhythm is in your hands; twenty with restarts while learning. It is a one-day style — the dropped strands are held by nothing but the crosses above them, so it will not survive sleep the way a full French braid can. A light mist of hairspray over the finished braid, avoiding the cascade, buys a few extra hours.
Final Thoughts
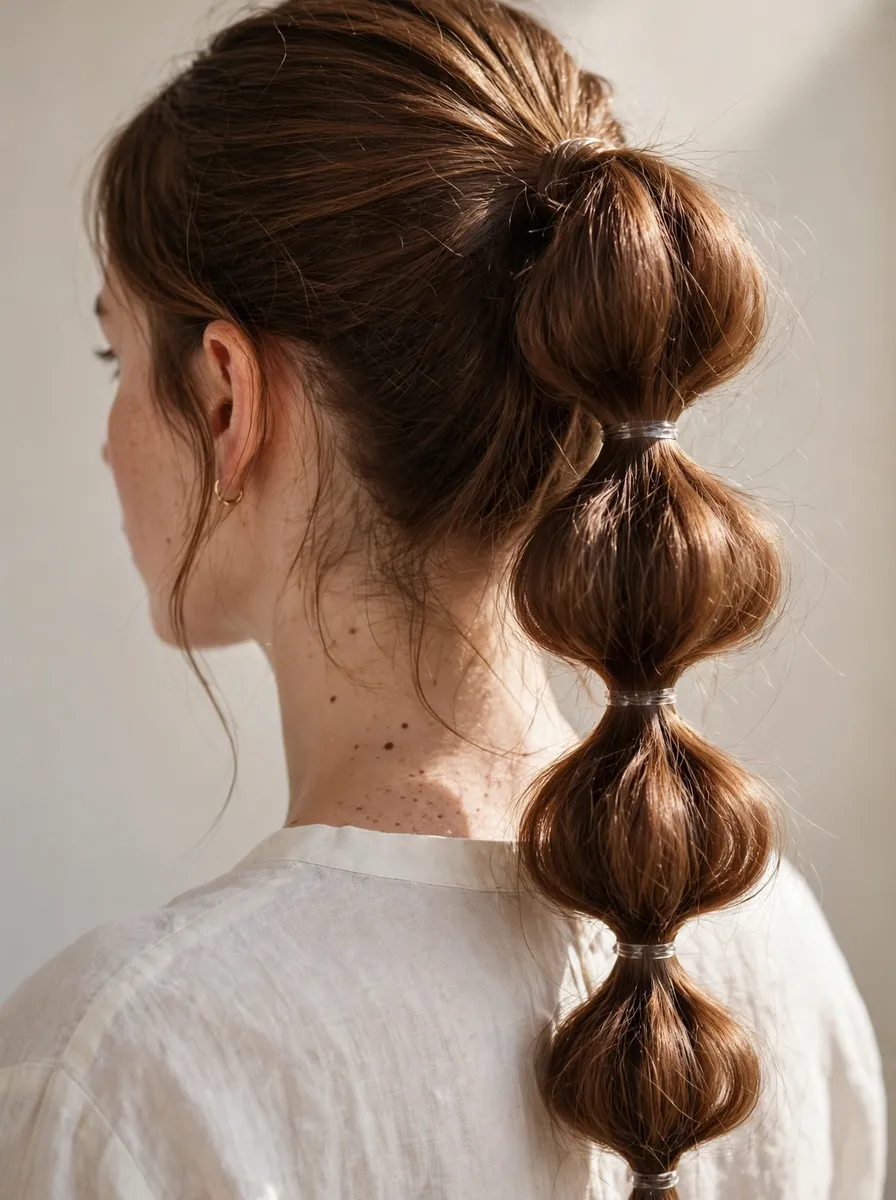
The waterfall braid is one repeated sentence: add, cross, cross, drop, replace. Learn it slowly on the side of your head you can see, judge your first attempts on even spacing rather than polish, and the rest is variations. If the drop defeats you today, bubble braids give a similarly dressed-up finish using nothing but elastics — and once the waterfall clicks, the double version and the fishtail finish are both within reach.