How to Fishtail Braid: A Step-by-Step Guide for Beginners
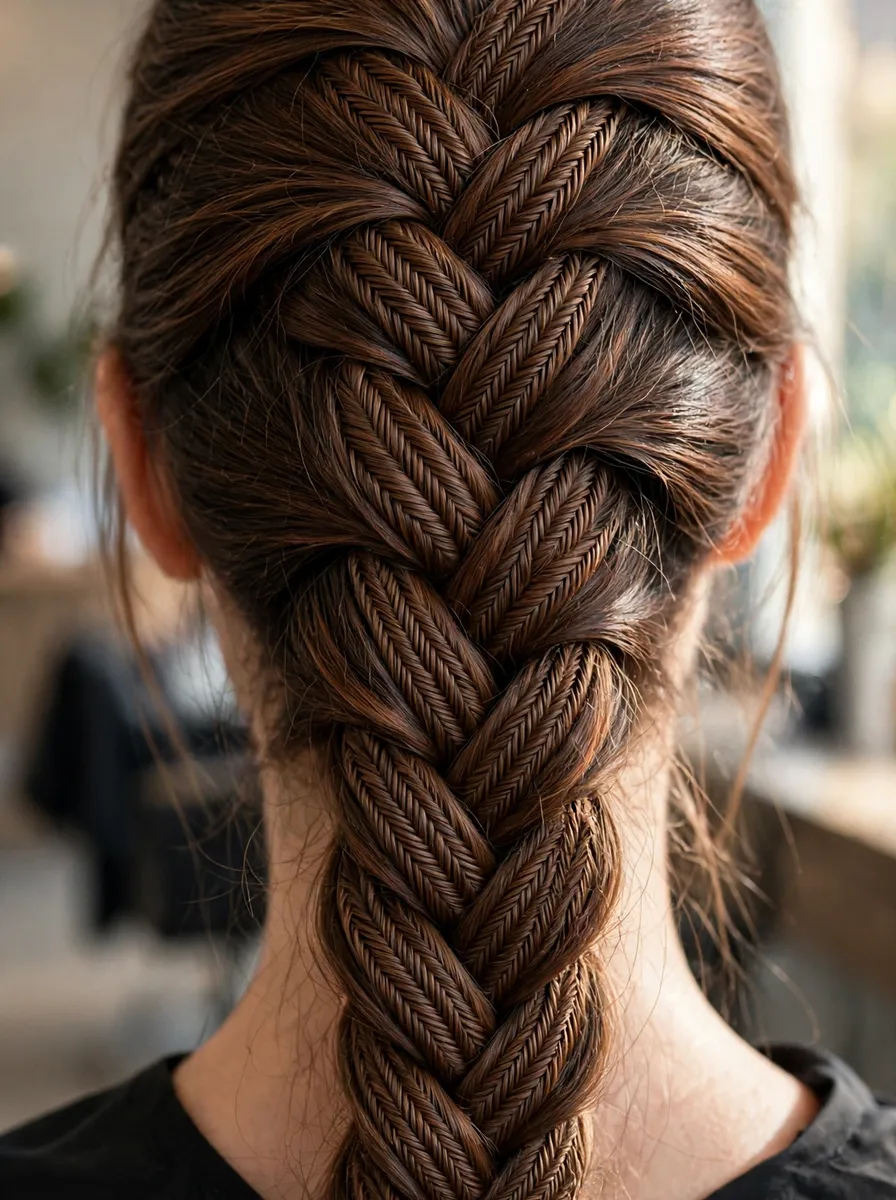
A fishtail braid looks like woven fabric: two columns of hair interlacing in a fine herringbone pattern that seems far too intricate to have come from a beginner’s hands. In reality it is one of the easiest braids there is. There is no third strand to keep track of, no under- or over-crossing pattern to memorise — just two sections of hair and one small crossing move, repeated from top to bottom. The detail that makes it look complicated is simply the size of the pieces: small pieces, crossed often, build that woven texture all by themselves.
It suits almost everyone with medium to long hair. It works on straight, wavy and curly textures, it is gentle because nothing is ever pulled tight against the scalp, and it forgives imperfection — a fishtail that slips a little looks soft and romantic rather than wrong. If you are working through the types of braids to see which to learn first, this is the one we would start with: the slowest braid, but the simplest.
What You Will Need
- A brush or wide-tooth comb — the fishtail is built from tiny pieces, so every tangle shows
- One small elastic, ideally clear or matched to your hair colour
- Optional but helpful: a little texturising spray or styling cream. Freshly washed hair is slippery and the fine pieces slide out of each other; second-day hair, or a mist of spray, gives them grip.
Step 1: Prep and Detangle
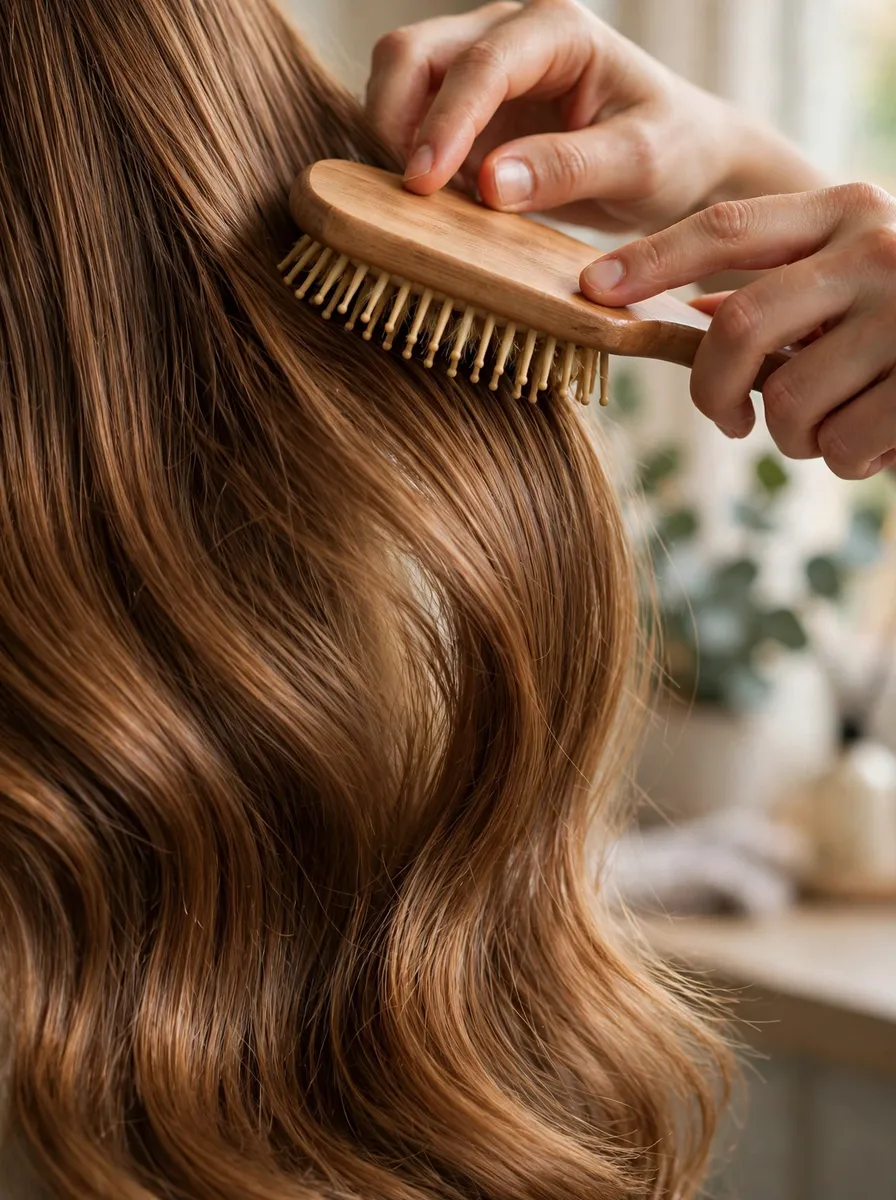
Brush the hair thoroughly, working tangles out from the ends upward so you are not dragging knots down into the length. This matters more here than in any other braid: because each crossed piece is so small, a single knot halfway down will snag a piece, break the rhythm and leave a bump in the pattern. Once the hair runs smooth, decide where the braid will sit — gathered at the nape for a classic back braid, or swept to one side for the variation in Step 6 — and gather it there. If your hair is very clean and silky, work a little texturising spray or cream through the lengths now.
Step 2: Split the Hair into Two Sections
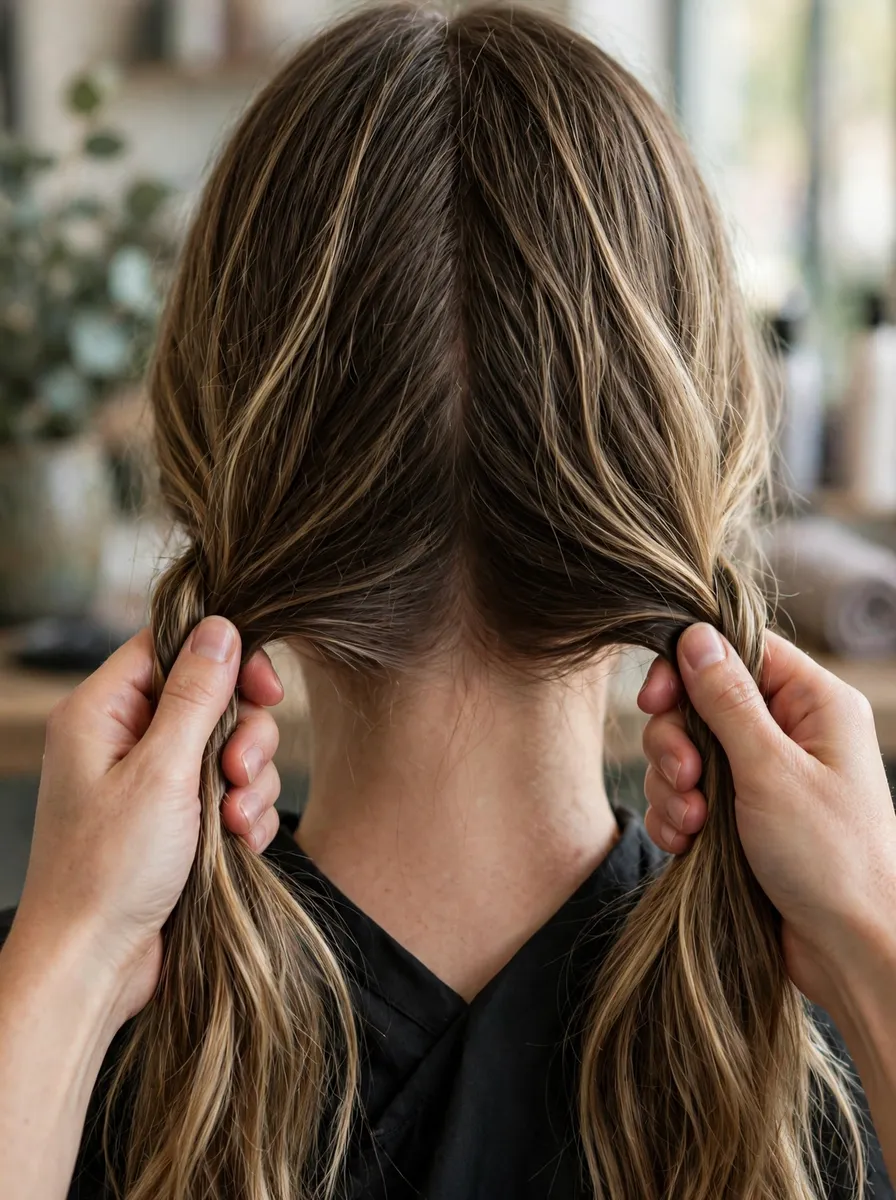
Divide all the gathered hair into two equal sections — left and right — and hold one in each hand. That is the entire structure of the braid; unlike a classic plait, there is no third strand. If you are learning, a useful training trick is to secure the gathered hair with a small elastic first and braid below it, snipping the elastic out at the end: it holds the top steady while your hands learn the move. Check the two sections are roughly equal — a lopsided split makes one side run out of hair sooner and the braid drift.
Step 3: Cross a Small Piece Over
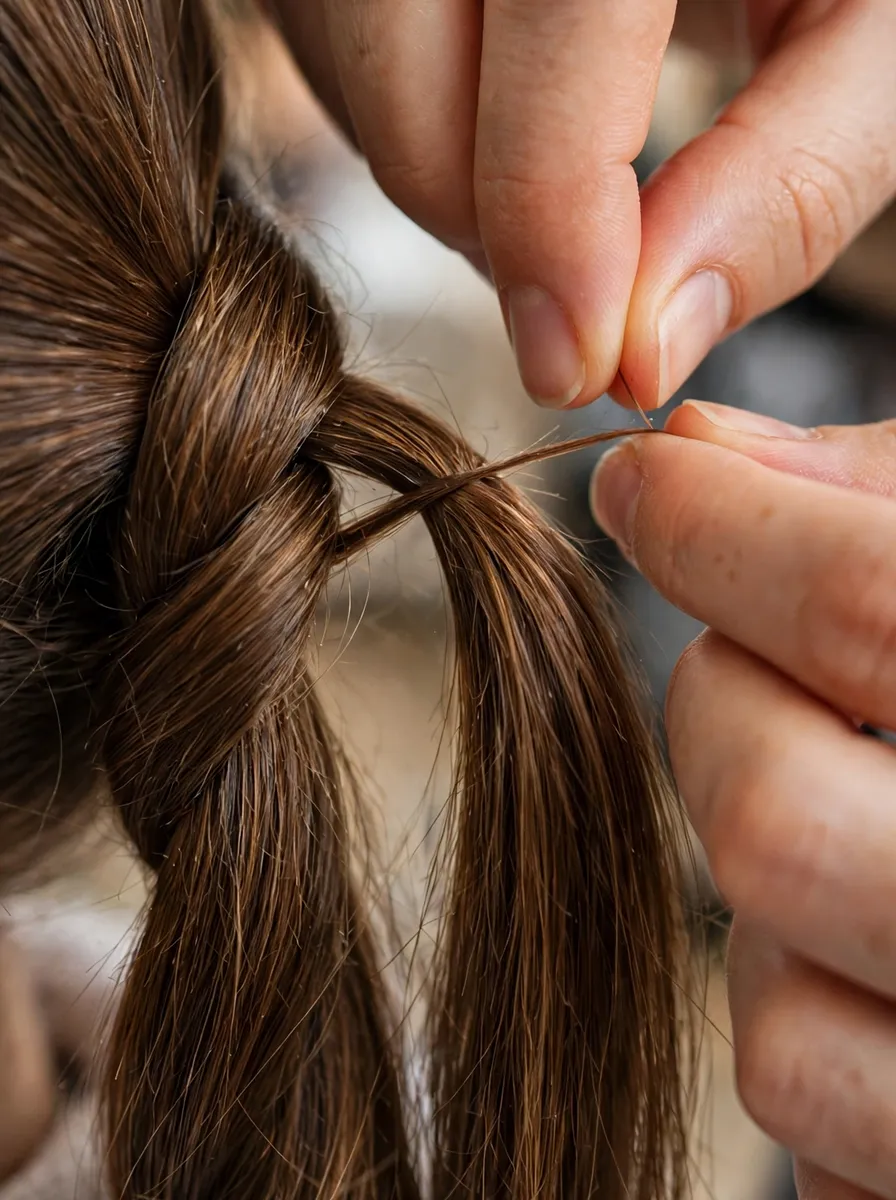
Here is the only move in the whole braid. With your right index finger, hook a small piece of hair — about a centimetre wide — from the outside edge of the right section. Cross it over the top of the right section and join it into the left section. Then do the mirror image: hook a small piece from the outside edge of the left section, cross it over, and join it into the right. Two crosses, one full cycle. Keep hold of both main sections throughout; only the small pieces travel.
Step 4: Repeat Down the Length
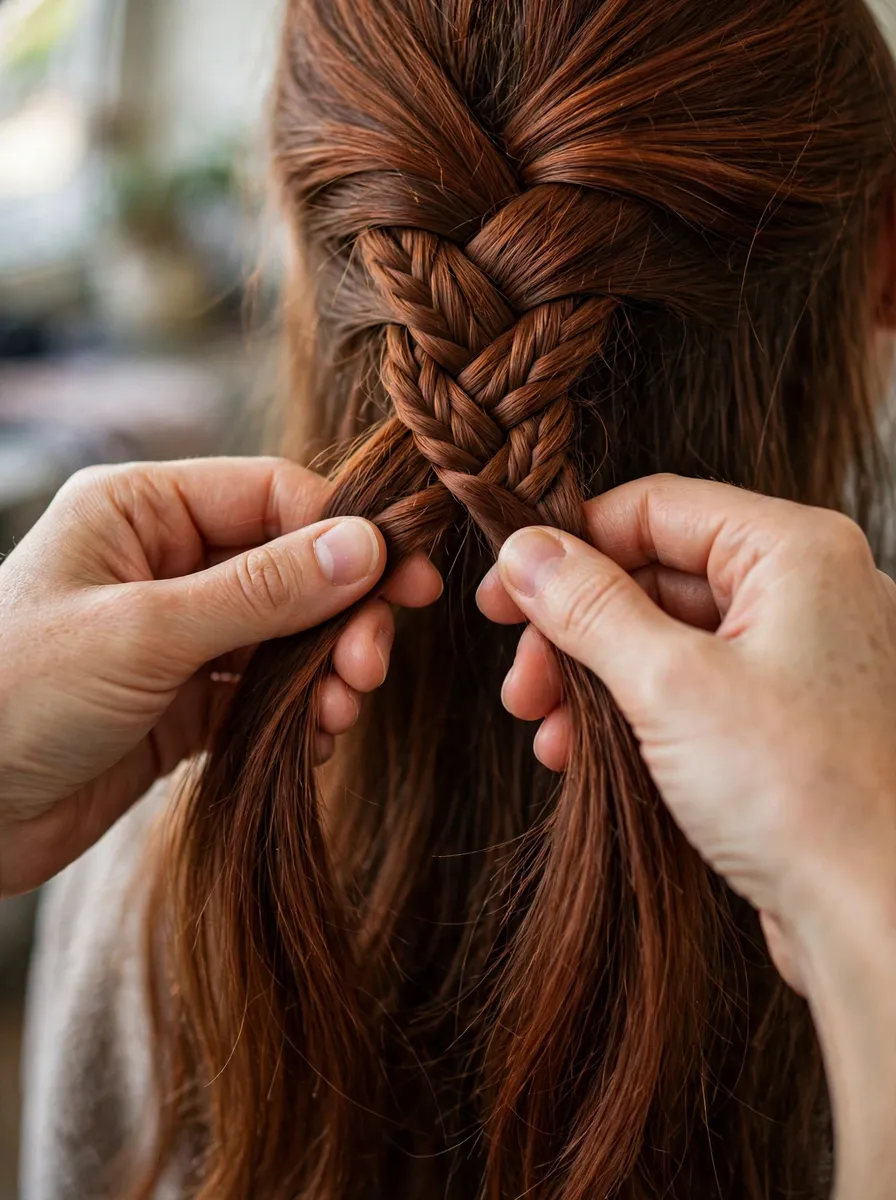
Now simply repeat: outside of the right, over to the left; outside of the left, over to the right. After five or six cycles the herringbone pattern starts to appear, and it sharpens with every cross. Three things keep it neat. First, keep the pieces small and the same size on both sides — even pieces make an even weave. Second, give each crossed piece a gentle tug as you settle it in, so the tension stays consistent rather than gradually loosening. Third, keep your hands close to the braid instead of pulling the sections wide apart, which stretches the pattern open. It is a slow braid — expect a full one to take several minutes — but the rhythm becomes automatic quickly.
Step 5: Secure and Pancake the Braid
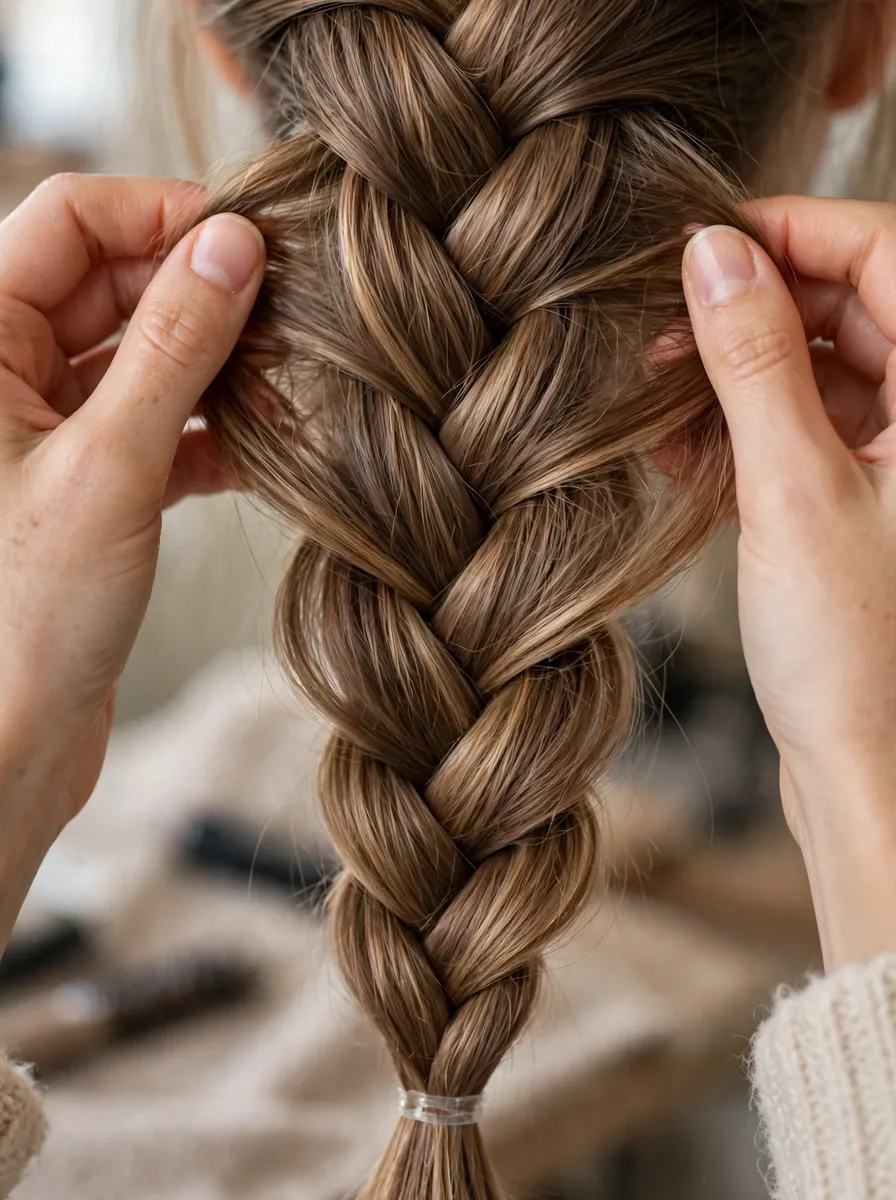
When you run out of hair, fasten the end with the small elastic. If you used a starter elastic at the top, slide or carefully snip it out now. Then pancake: starting near the top, gently pull the outer edge of each woven segment outward a little, working your way down and tugging a small amount at a time. Because the fishtail’s pattern sits on the surface, it spreads beautifully — the braid can look close to twice as wide, and much softer. Pancake evenly on both sides so it widens symmetrically, and stop while it still looks woven rather than unravelled.
Step 6: Try a Side Fishtail Variation
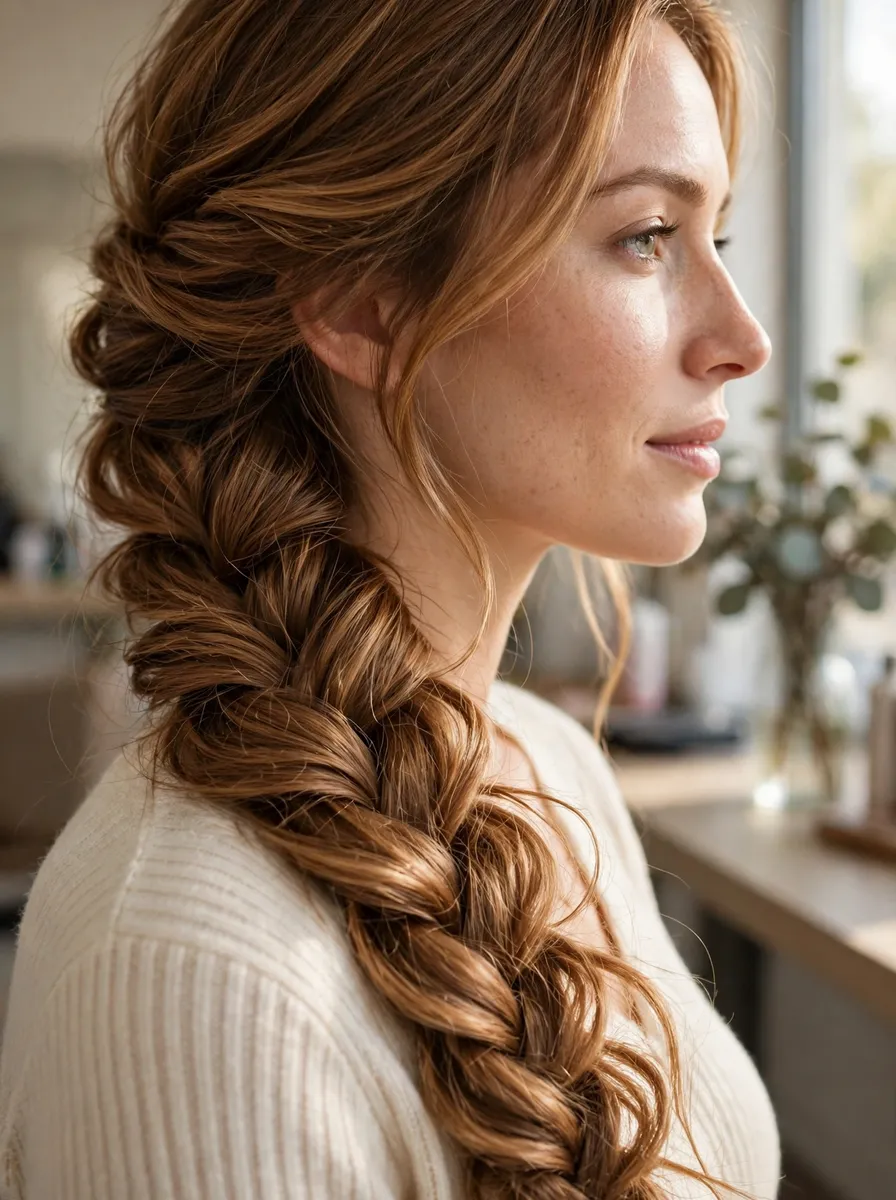
The side fishtail is the same technique in the friendliest possible position. Sweep all the hair over one shoulder, split it into two sections, and braid exactly as above, down the front of your shoulder where a mirror shows you every cross. Most beginners find their second-ever fishtail is neater done this way, simply because nothing happens behind their head. Pancake it a little more generously than the back version for the soft, romantic finish this style is known for. Once the side version feels easy, the back braid is the same work done by feel.
Common Fishtail Mistakes (and Fixes)
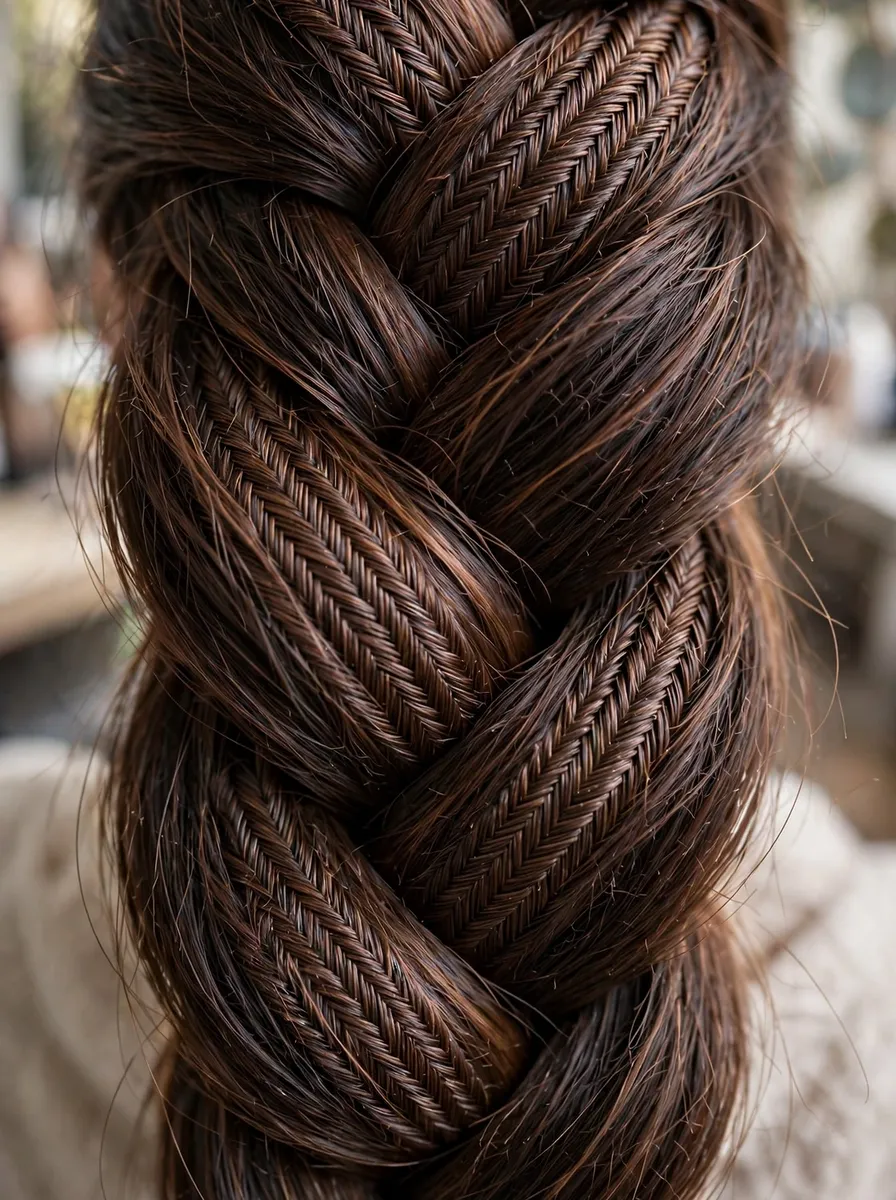
- The braid looks like an ordinary plait. Your pieces are too big. The herringbone only appears when the crossed pieces are small — around a centimetre wide. Halve the piece size and the pattern sharpens within a few crosses.
- The braid twists like a rope. You are taking pieces from the inside of a section, or from alternating edges. Every piece must come from the outside edge of its section, every time.
- One side is wider than the other. The pieces on one side are bigger. Match them deliberately for the first few braids — roughly the width of your little finger each — until even sizing becomes habit.
- The braid slides apart or unravels. The hair is too clean and slippery for the fine weave to grip. Braid on second-day hair, add texturising spray, and use a small elastic with a firm hold at the end.
- It starts neat and gets loose and messy halfway down. Tension drift: each cross settles slightly looser than the last. Give every crossed piece the same small tug as you place it, all the way down, not just at the top.
Frequently Asked Questions
Is a fishtail braid harder than a French braid?
No — in technique it is simpler, because there are only two sections and one repeated move, where the French braid tutorial juggles three strands and adds hair as it goes. The fishtail is slower, though: the small pieces mean many more crosses. Most beginners get a respectable fishtail on their first attempt and a respectable French braid on their fourth. The natural next step after this one is the Dutch braid tutorial, which adds the raised, stand-out finish.
How long does a fishtail braid take?
Your first one may take ten to fifteen minutes. With practice, a mid-back fishtail takes about four or five minutes. The side variation is usually the fastest, because you can see what you are doing throughout.
How long does hair need to be for a fishtail braid?
Shoulder length is the practical minimum — the hair needs enough length for the two sections to cross repeatedly and still leave something to secure. The longer the hair, the easier and more defined the braid; below shoulder-blade length it becomes genuinely relaxing to do.
Why does my fishtail braid keep twisting?
Almost always because pieces are being taken from the inside edge of a section instead of the outside, which rotates the weave. Restart, slow down, and take every piece from the outer edge. Uneven tension — pulling harder on one side — can also corkscrew a braid; match your tugs side to side.
Does a fishtail braid work on layered hair?
Yes, with one adjustment: short layers will try to poke out of the fine weave. A little styling cream on the lengths keeps them lying flatter, and pancaking the finished braid disguises the ends that do escape. A tighter, neater fishtail holds layers better than a loose one.
How do I make my fishtail braid look thicker?
Pancaking is the main lever — pull each segment’s outer edges outward, top to bottom, a little at a time. Starting with grip helps too: texturised hair takes up more room in the weave than silky hair. Between the two, a fine-haired fishtail can look close to double its unpancaked width.
Final Thoughts
Two sections, one small move, repeated patiently — that is the whole fishtail. Braid it once on the side where you can watch the pattern form, and the version behind your head becomes a matter of feel rather than difficulty. If you are new to braiding generally, our beginner braid guide orders the classic styles by difficulty and shows where this one sits; the fishtail is the friendly place to start.