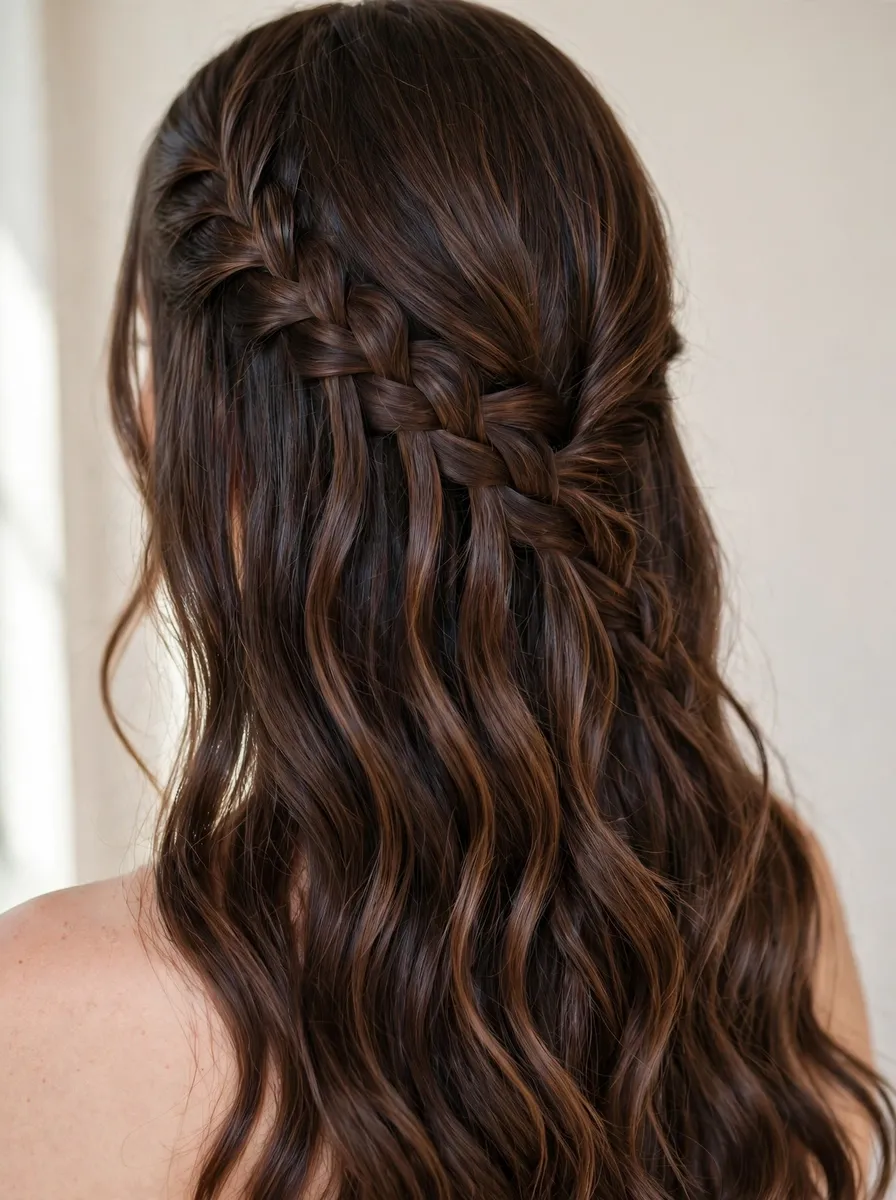
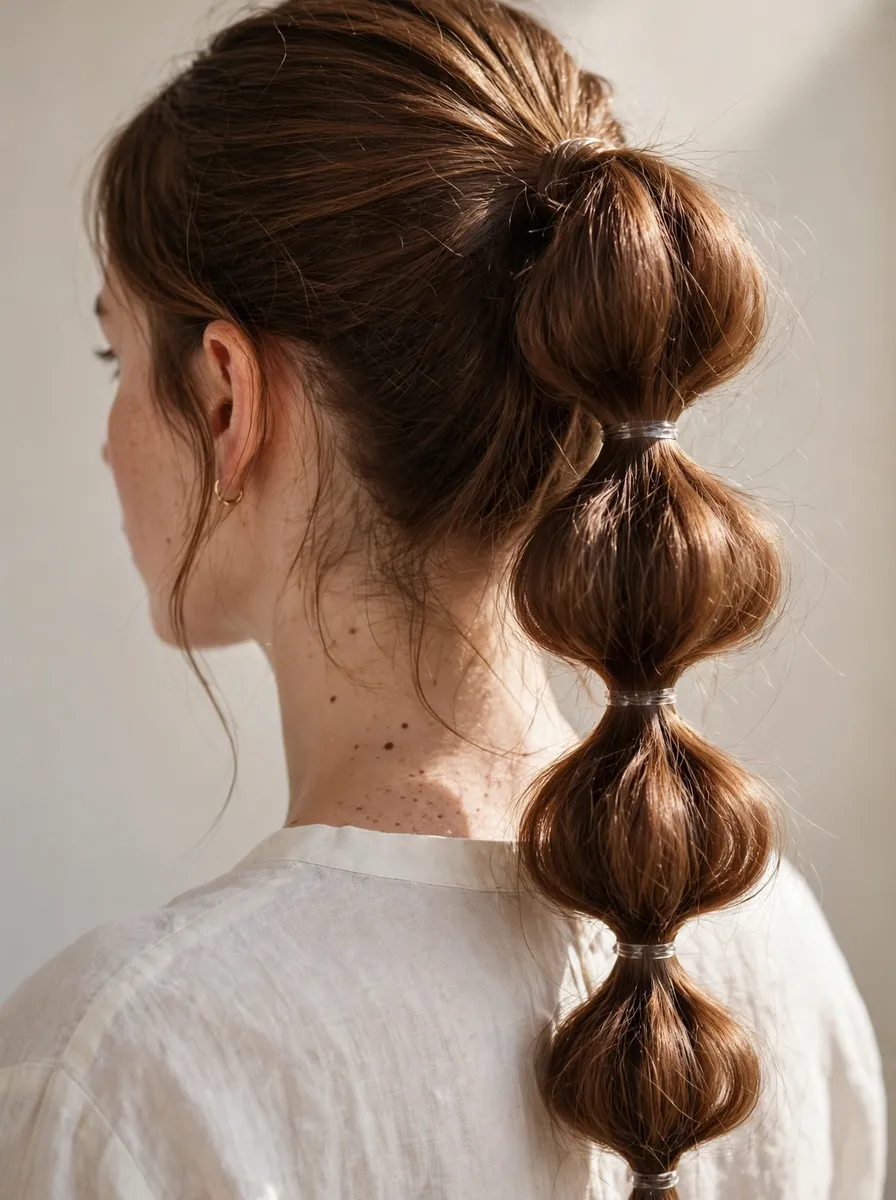
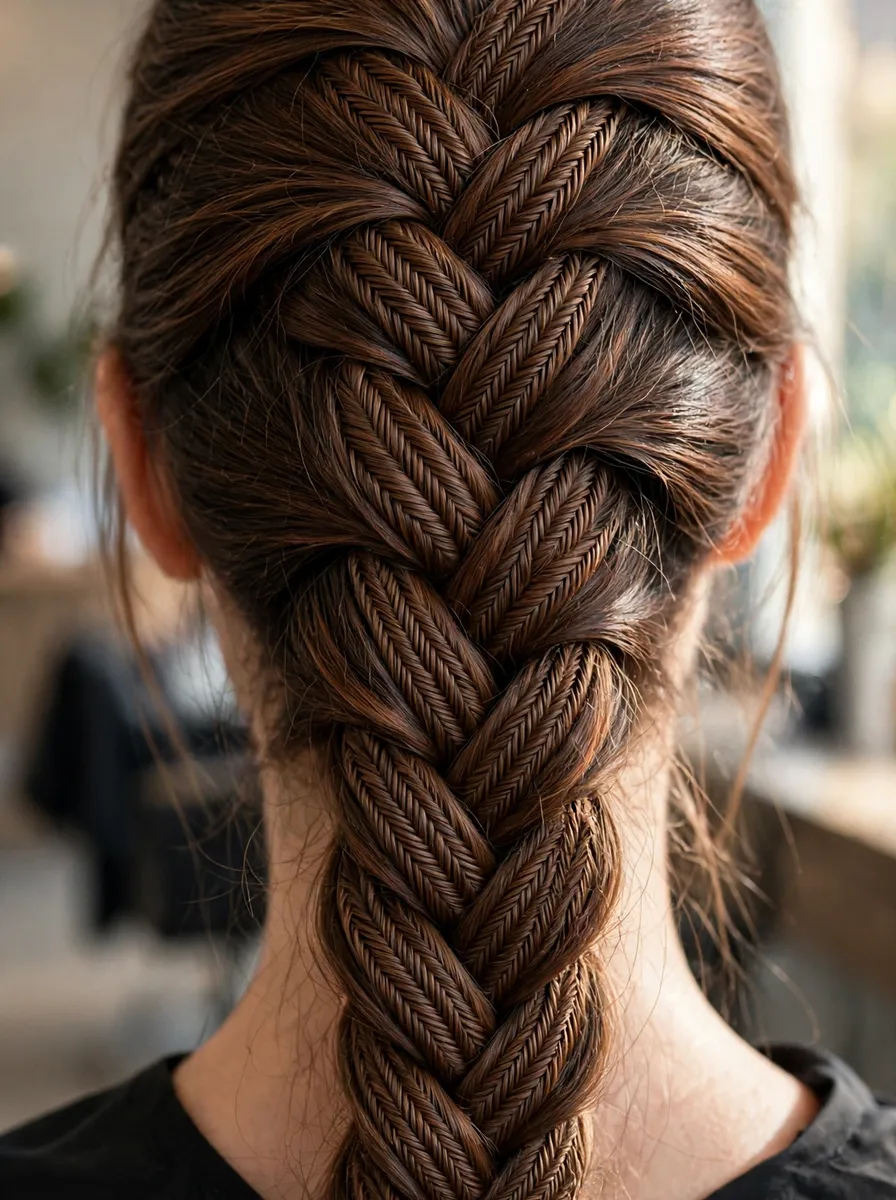
How to French Braid: A Step-by-Step Beginner Tutorial
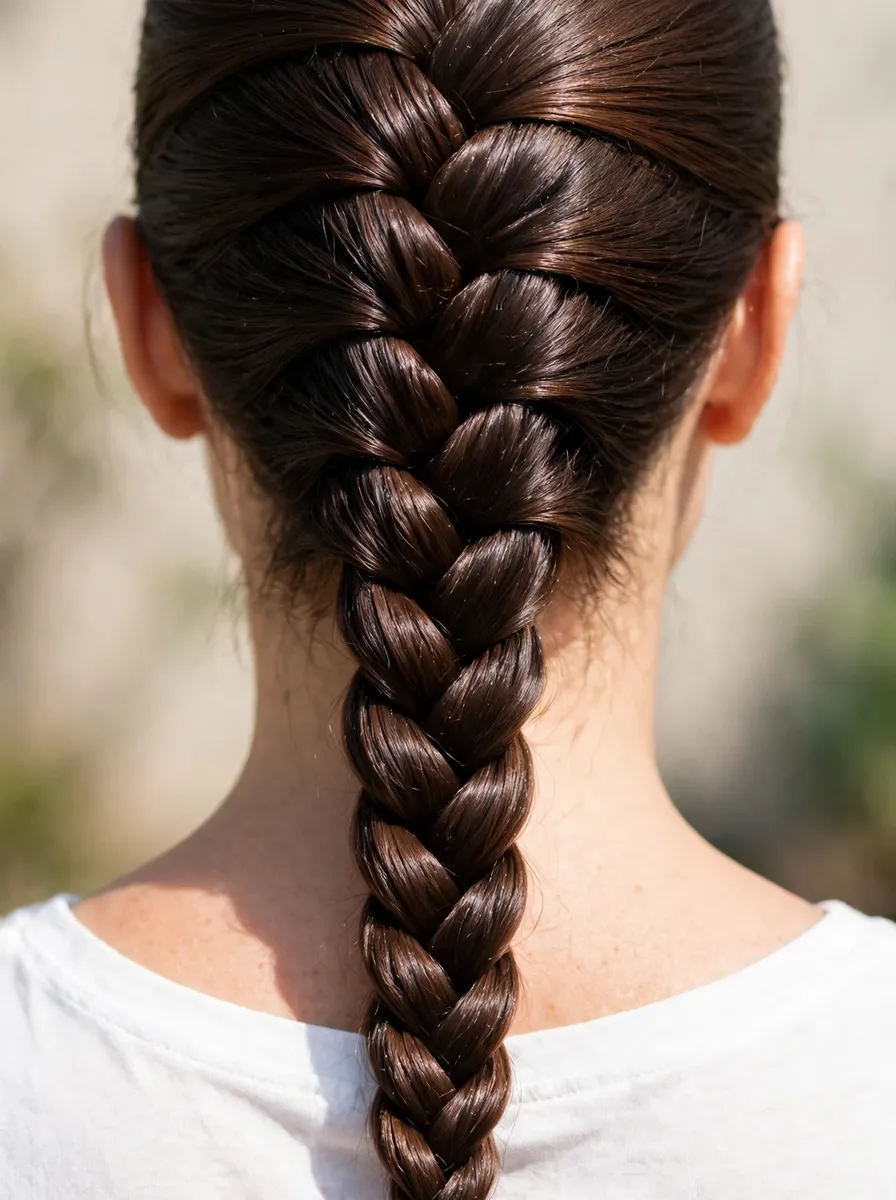
A French braid is a regular three-strand braid with one extra habit: each time you cross a side section over, you pick up a little more loose hair and add it in. That single habit is the whole technique — and it is also where beginners get lost, because instructions tend to describe it faster than hands can learn it. This tutorial slows it down: what your hands do at each stage, how much hair to add, and how to fix the problems everyone hits in the first few attempts.
Practice advice before the steps: learn on someone else, a practice head, or your own hair in front of a mirror without judging the result — your first three braids will look rough, and braid four is usually where it clicks. If you are brand new to braiding, start with the plain three-strand plait in our beginner braid guide until crossing strands feels automatic; the French braid builds directly on it.
What You Need
A brush or wide-tooth comb, a small elastic, and optionally a little styling cream or water spritz — slightly tacky hair is far easier to braid than freshly washed, slippery hair. Many beginners find day-two hair (or hair with a little dry shampoo in it) dramatically easier. Sit somewhere you can rest your elbows; tired arms rushing is a real cause of lumpy braids.
Step 1: Brush and Take the First Section
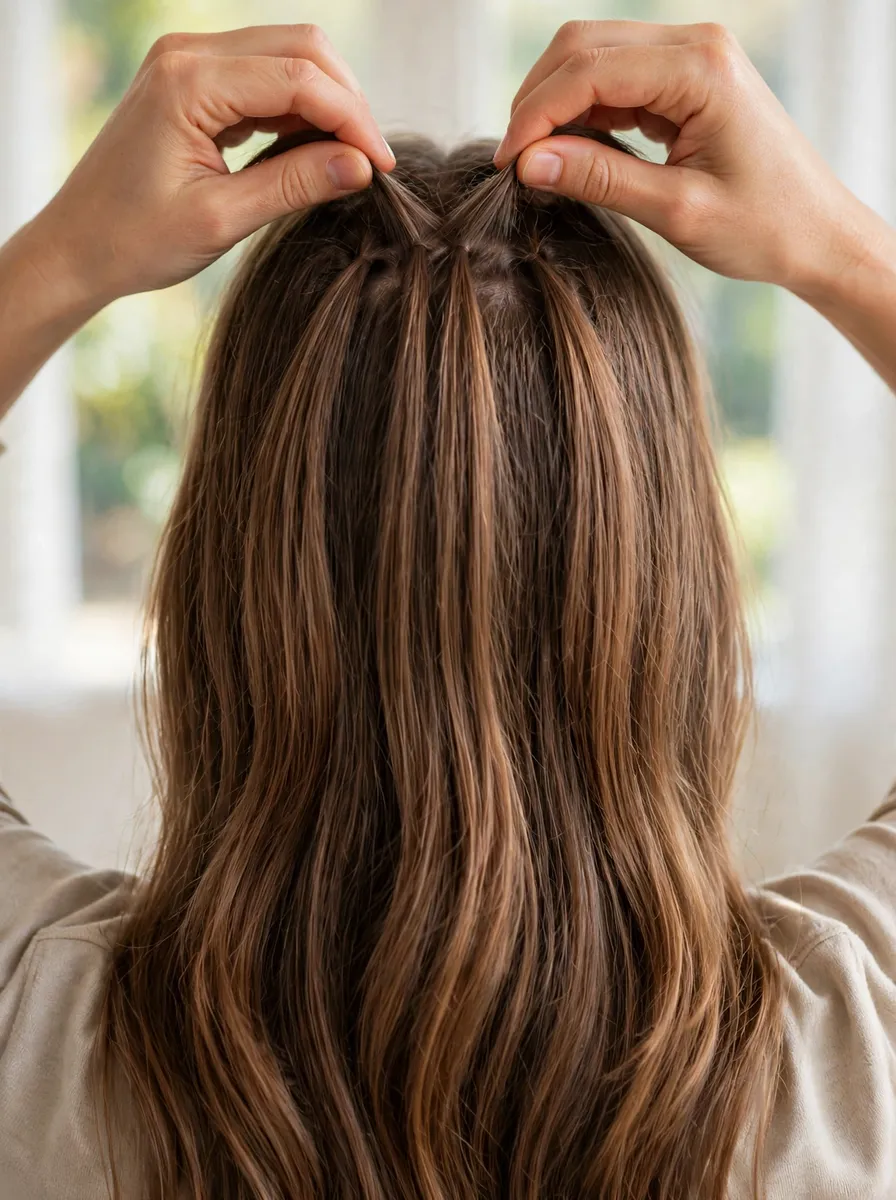
Brush all the hair straight back, smooth and tangle-free — tangles discovered mid-braid cannot be fixed without restarting. At the top of the head, roughly above the forehead hairline, gather a triangular section of hair about as wide as your palm. Divide it into three equal strands: left, middle, right. Hold them between your fingers with your palms facing your head.
Step 2: Start with Two Plain Crosses
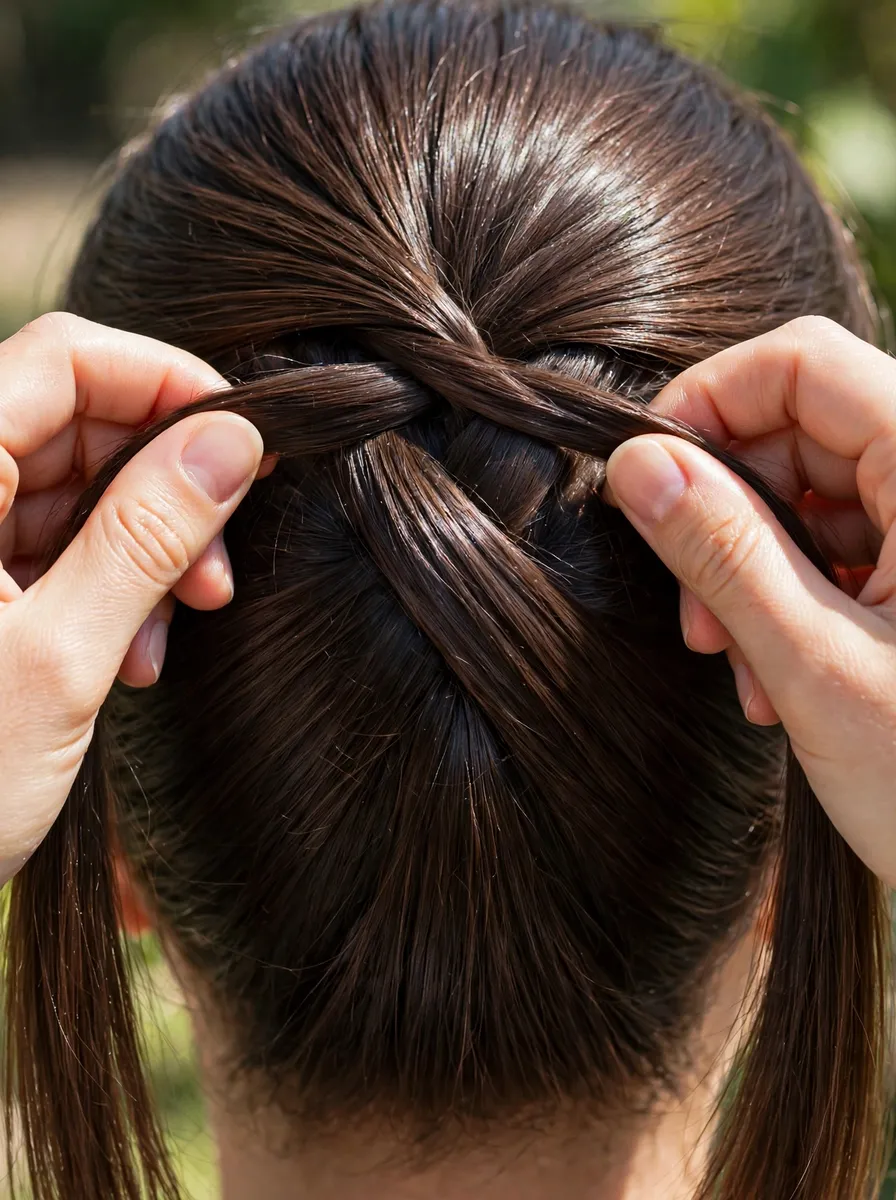
Begin exactly like a normal braid. Cross the right strand over the middle (it becomes the new middle). Cross the left strand over the new middle. Do one more full round if it helps the braid feel anchored. Do not add hair yet — these two plain crosses form the neat “root” of the French braid, and skipping them is why some braids slide forward off the forehead.
Step 3: Add Hair on Every Cross
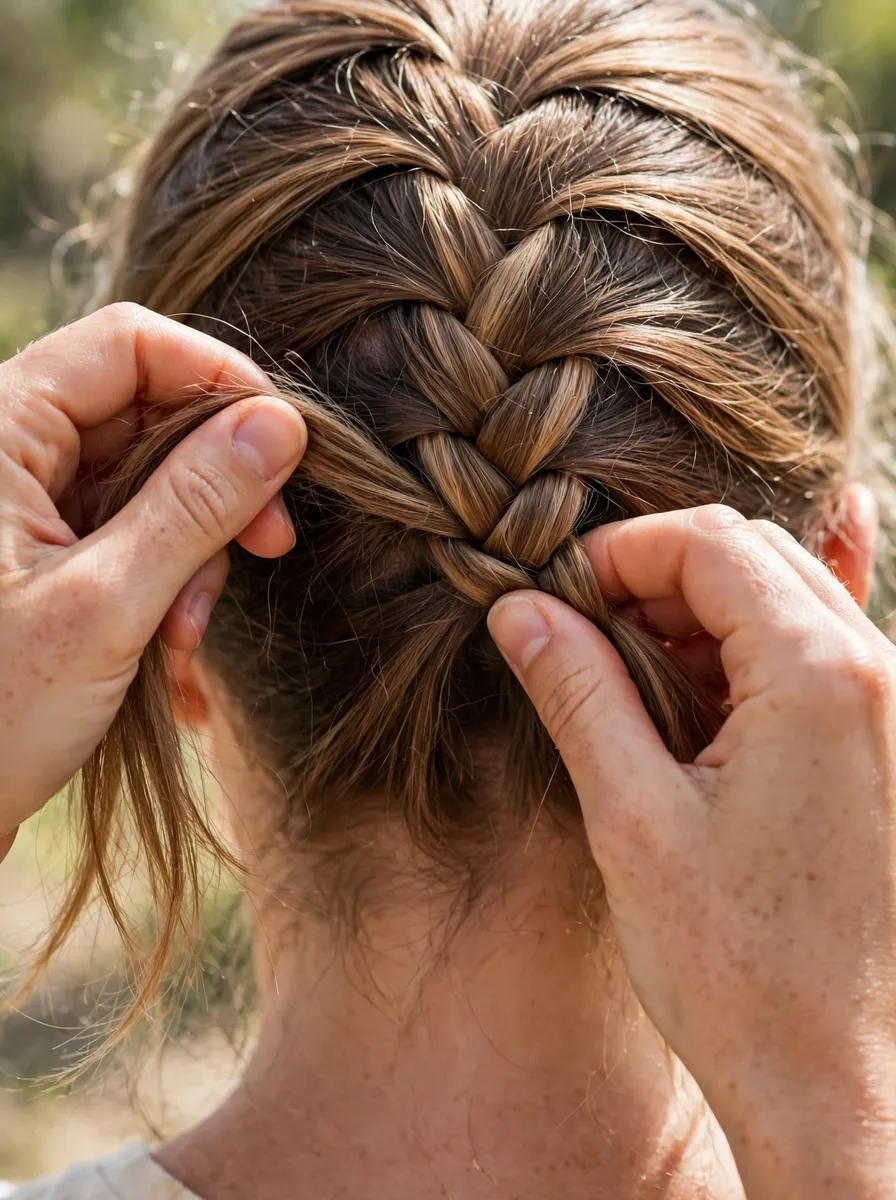
Now the French part. Before crossing the right strand over, use your right index finger to sweep up a clean slice of loose hair from the right side of the head — about a finger’s width — and add it to the right strand. Cross the now-thicker strand over the middle. Repeat on the left: sweep, add, cross. That rhythm — add, cross, add, cross — is the entire braid. Keep the slices roughly equal on both sides; uneven additions are what make a braid drift diagonally.
Step 4: Work Down the Back, Keeping Tension Even
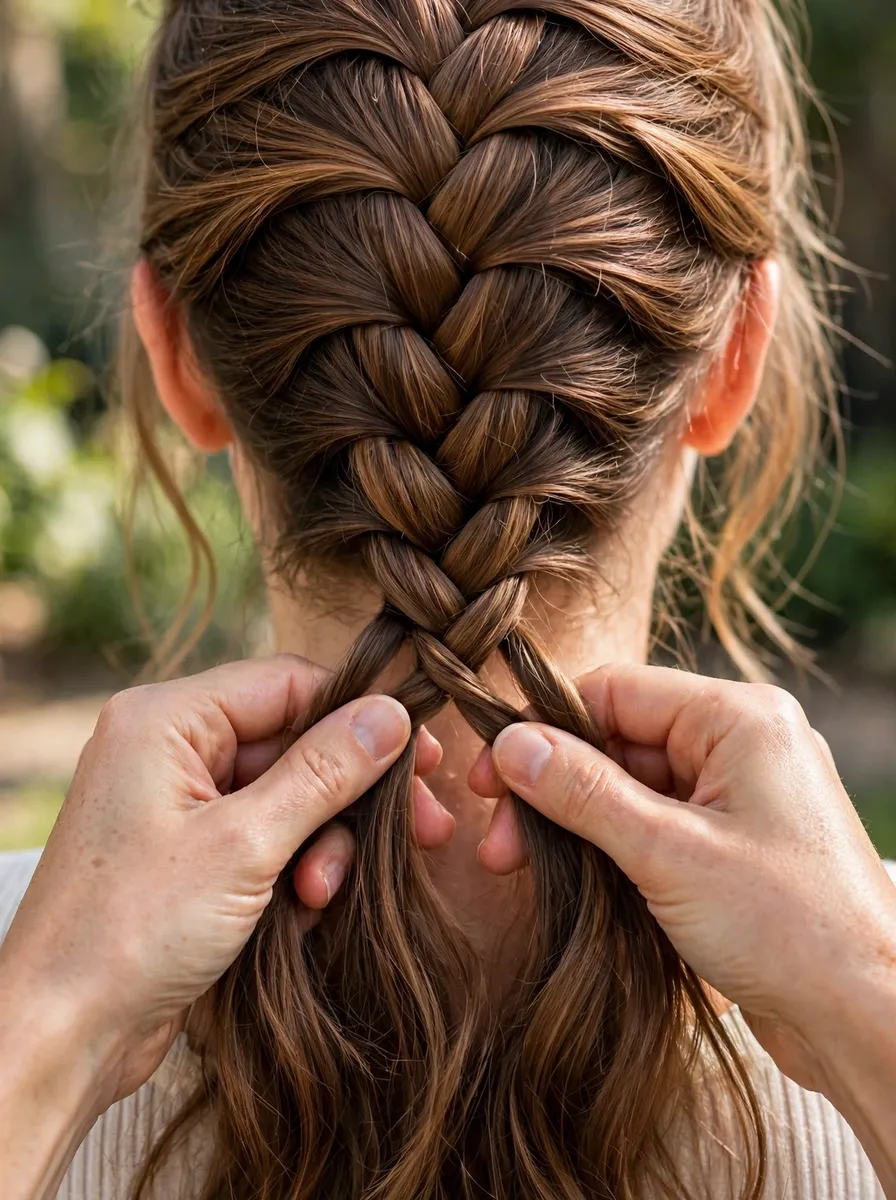
Continue adding and crossing, following the curve of the head. Pull each cross snug — not tight enough to hurt, but with nothing slack in it. Loose crosses at the top become bumps by the bottom, because every later section rests on the earlier ones. Keep your hands close to the head rather than pulling the braid outward; distance creates sag. When you reach the nape, you will run out of loose hair to add — that is expected, and it marks the end of the French section.
Step 5: Finish with a Regular Plait and Secure
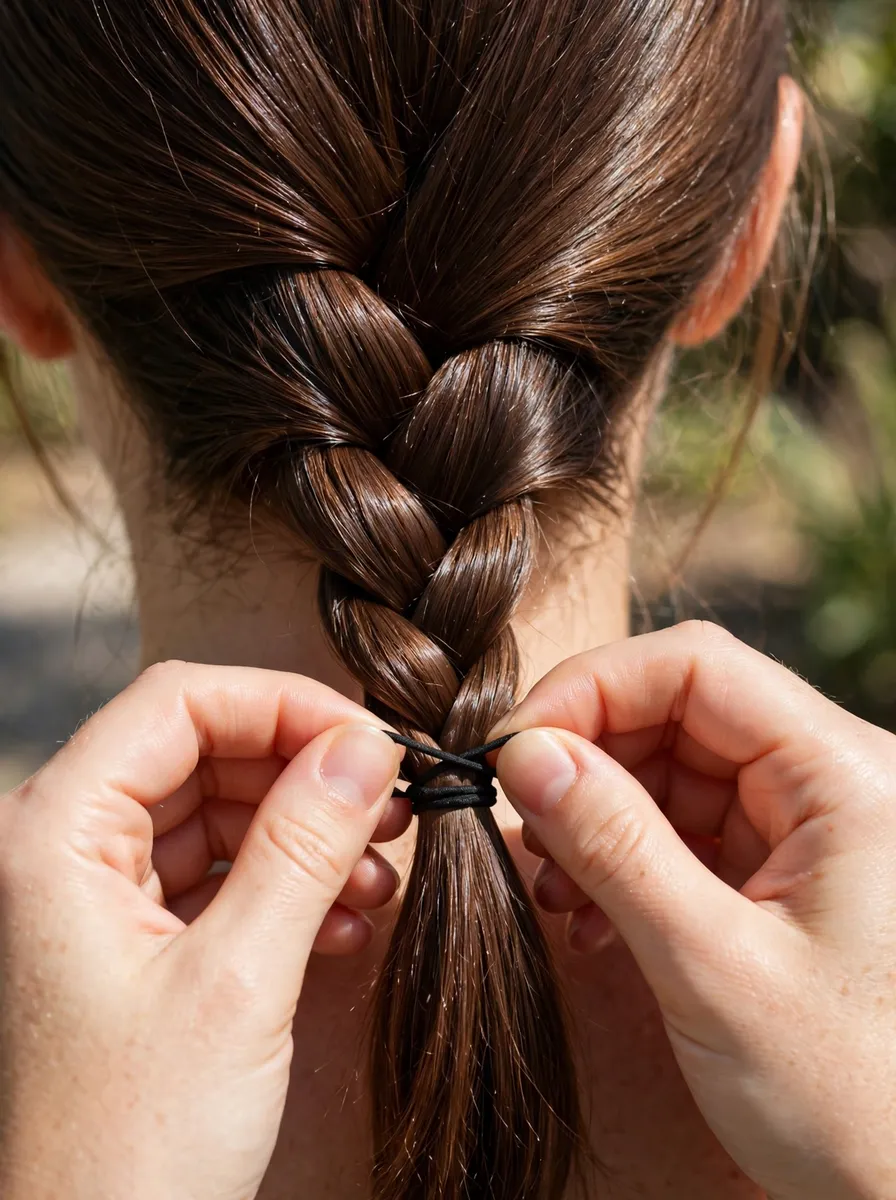
From the nape down, simply continue the same three-strand crossing with what’s in your hands — no more hair to add. Braid to the last few centimetres and secure with a small elastic. On your own hair, this is the stage where your arms are tiredest and the plait loosest; if the tail looks untidy while the French section looks good, that is normal beginner anatomy, and it improves quickly with practice.
Step 6: Pancake for a Fuller Finish (Optional)
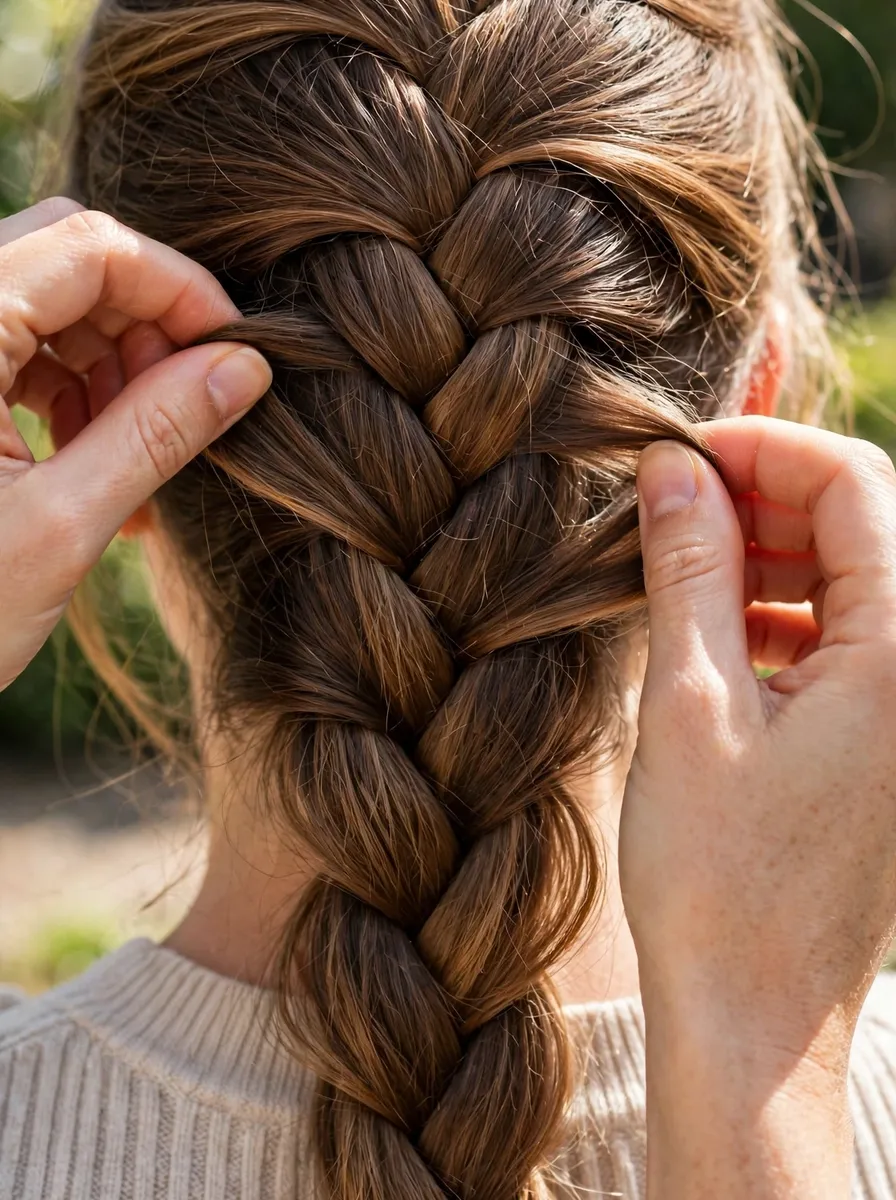
For the soft, full braid you see in photos: starting at the bottom and working up, gently tug the outer edge of each loop outward a few millimetres. This is called pancaking. Do it after securing the elastic, tug less than you think (you can always pull more), and stop the moment the braid looks even — over-pancaked braids shed strands and collapse within the hour. Fine hair benefits most; thick hair often looks better left neat.
The Finished Braid
A good beginner result: the braid sits centred, the added sections form even diagonal “scales” down both sides, and nothing pulls or sags. Judge your first attempts on those three things only — not on photo-level polish, which is pancaking, practice and favourable hair, in that order.
Two Variations to Try Next
Double French Braids
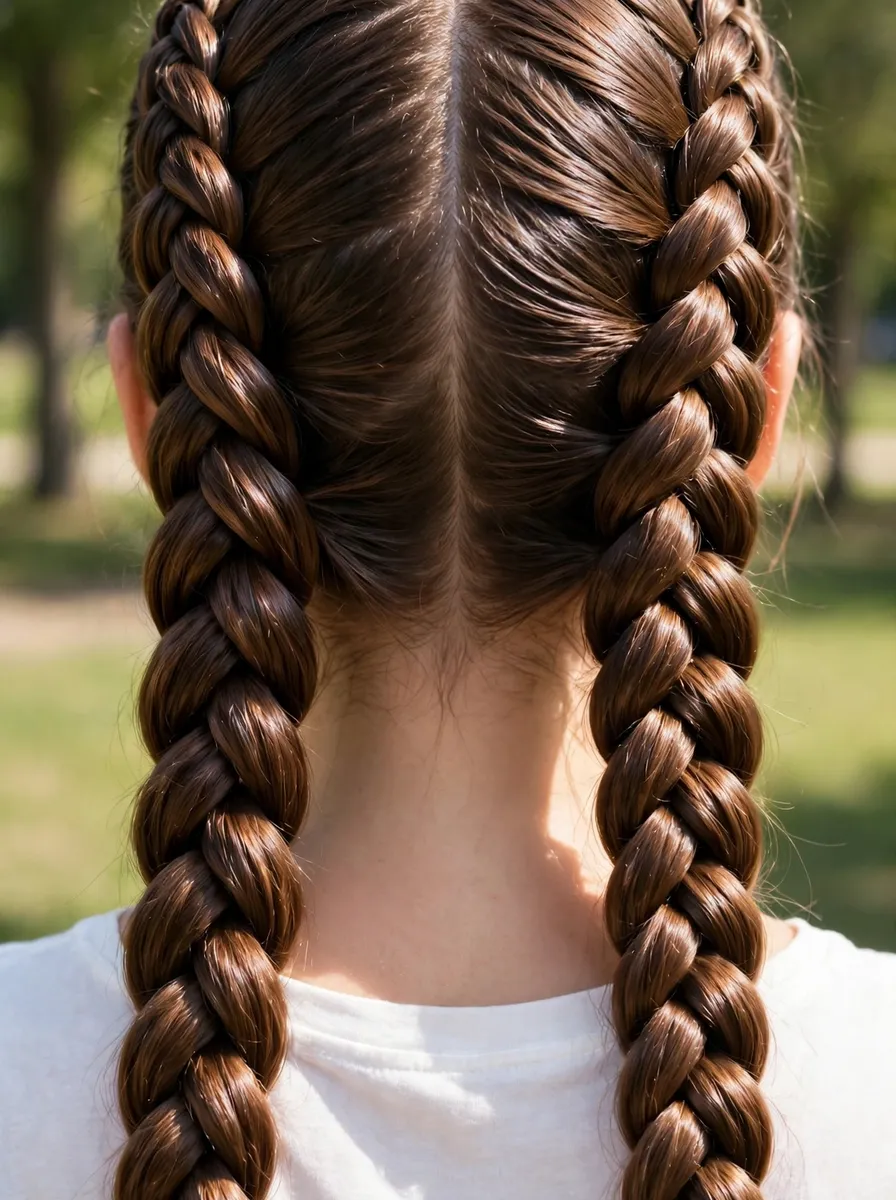
Part the hair down the middle and braid each side separately with the same technique. Doubles are more forgiving than a single braid — smaller sections are easier to keep tidy — and they hold all day, which makes them the practical choice for sport, work and sleep-in-them braiding. Note that braiding under instead of over turns them into Dutch braids, which sit on top of the head with more visible relief.
Side French Braid
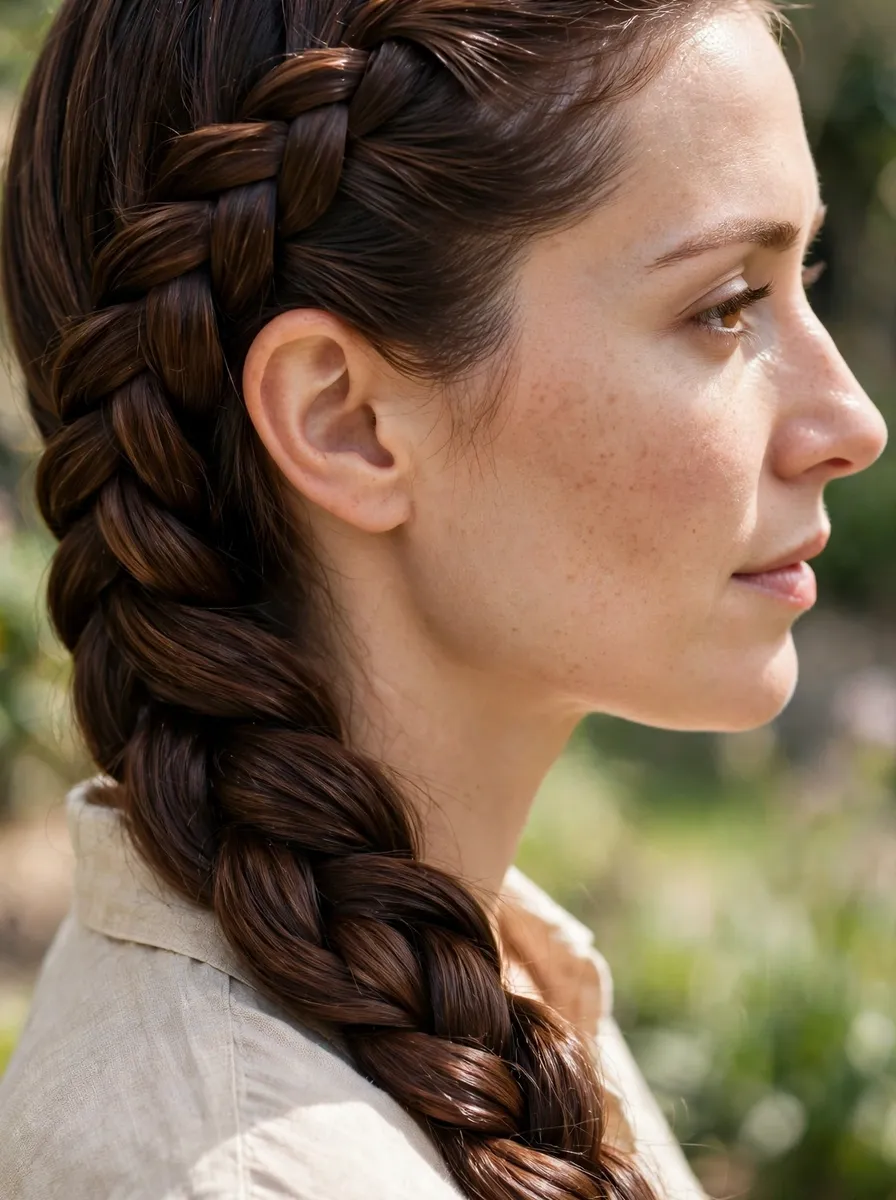
Start the section above one ear and add hair travelling diagonally across the back of the head, finishing in a plait over the opposite shoulder. The additions come mostly from one direction, which some beginners find easier than symmetrical adding. It is also the prettiest route into an updo — the braid is already positioned where a bun wants to be.
French Braid Updo
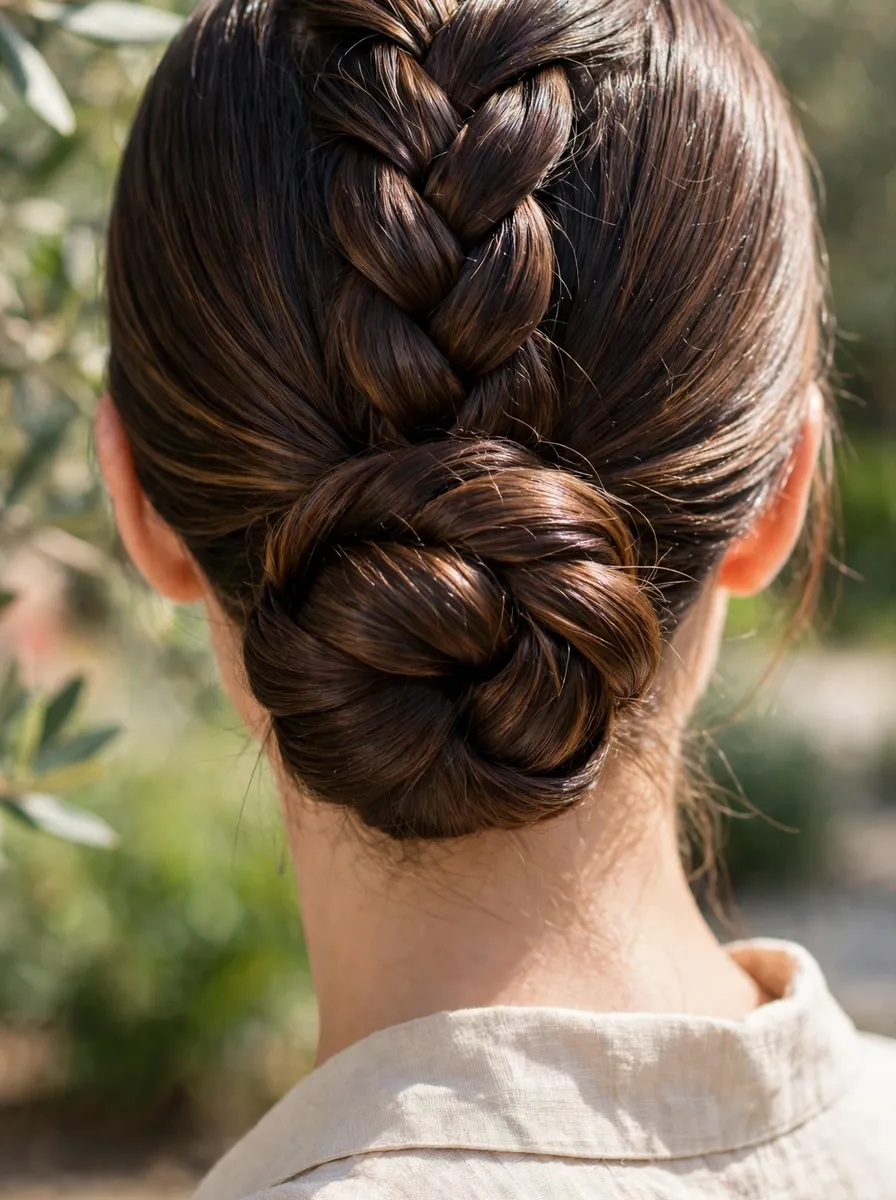
Braid to the nape as usual, then twist the remaining plait into a low bun and pin it. The braid gives the bun grip and detail that a plain bun lacks, and the style holds unusually well because the hair is anchored along the whole scalp. It takes a standard French braid about two extra minutes — the highest return on the basic technique of any style here.
Braid or Plait? A Quick Note for UK Readers
If you arrived here searching for a French plait, you are in the right place: a plait and a braid are exactly the same thing. “Plait” (rhymes with “flat”) is the everyday British word, while “braid” is the American term that most tutorials and product labels now use. A French plait is made with the identical technique taught in this guide — three strands, adding a little more hair at every cross — and the same goes for a Dutch plait, which is simply the inside-out version. Nothing about the steps changes with the name, so follow the tutorial above exactly as written, whichever word you grew up with.
The 5 Beginner Mistakes (and Their Fixes)
Adding uneven slices makes the braid wander off-centre. Fix: use your index finger to measure each slice against the last, and check the mirror after every few crosses, not at the end. Holding the braid away from the head creates sag and bumps. Fix: keep knuckles grazing the scalp as you work. Inconsistent tension — tight at the top, loose at the tail — comes from tiring arms; rest your elbows and re-grip between crosses. Starting too small (a tiny first section) makes the braid look skimpy at the front; start palm-width. Quitting at braid two. The first attempts are supposed to be lumpy; the skill arrives suddenly, usually within the first half-dozen tries.
Once the French braid feels easy, flip the crossing direction: our Dutch braid tutorial turns the same skill into the raised-ridge version that sits on top of the hair.
Frequently Asked Questions
How long does hair need to be for a French braid?
Roughly shoulder length is the comfortable minimum for a full French braid on your own head; chin-length hair can manage a side or half-up French braid. Layers shorter than the rest will poke out — a little styling cream pressed over the braid tames them.
Why does my French braid keep slipping out?
Slippery hair is the usual cause: freshly washed, conditioned hair has almost no grip. Braid on day-two hair, or add texture first with dry shampoo or a light texturising spray. Also check your tension — crosses that feel “gentle” are usually crosses that fall out.
What is the difference between a French and a Dutch braid?
Direction of the cross. In a French braid each side strand crosses over the middle, so the braid sits flat and woven into the hair. In a Dutch braid strands cross under, so the braid pops up on top of the head in relief. Same additions, opposite geometry.
How do I keep my arms from aching when braiding my own hair?
Rest your elbows on a table or your knees during the top section, take micro-pauses while holding all three strands in one hand, and don’t grip harder than needed — most of the ache is tension in your hands, not the position. It also genuinely gets easier: your hands learn the pattern and stop checking every move.
Can I French braid wet hair?
You can, and it sets lovely waves — that’s the braid-waves method in our heatless curls for long hair guide. Just braid more loosely (wet hair stretches and is fragile), and expect the braid itself to look less crisp than on dry hair.
How long does a French braid take once you know how?
Five to ten minutes for a single braid on your own hair, including brushing and pancaking. Your first attempts may take twenty with restarts — that is the normal learning curve, not a sign it isn’t for you.
Is a French plait the same as a French braid?
Yes — identical technique, different word. “Plait” is the British term and “braid” the American one, so a French plait, a Dutch plait and every other plait in a UK tutorial or salon follows exactly the steps given here.
Final Thoughts
Strip away the name and a French braid is one repeated motion: add a slice, cross it over, add a slice, cross it over. Learn it slowly, on forgiving hair, and judge your early attempts on symmetry rather than polish. Once the single braid is automatic, doubles, the side braid and the updo above are all the same skill pointed in different directions — and the rope braid ponytail and boho braids guides will give your hands somewhere new to go next.