How to Dutch Braid: A Step-by-Step Beginner Tutorial

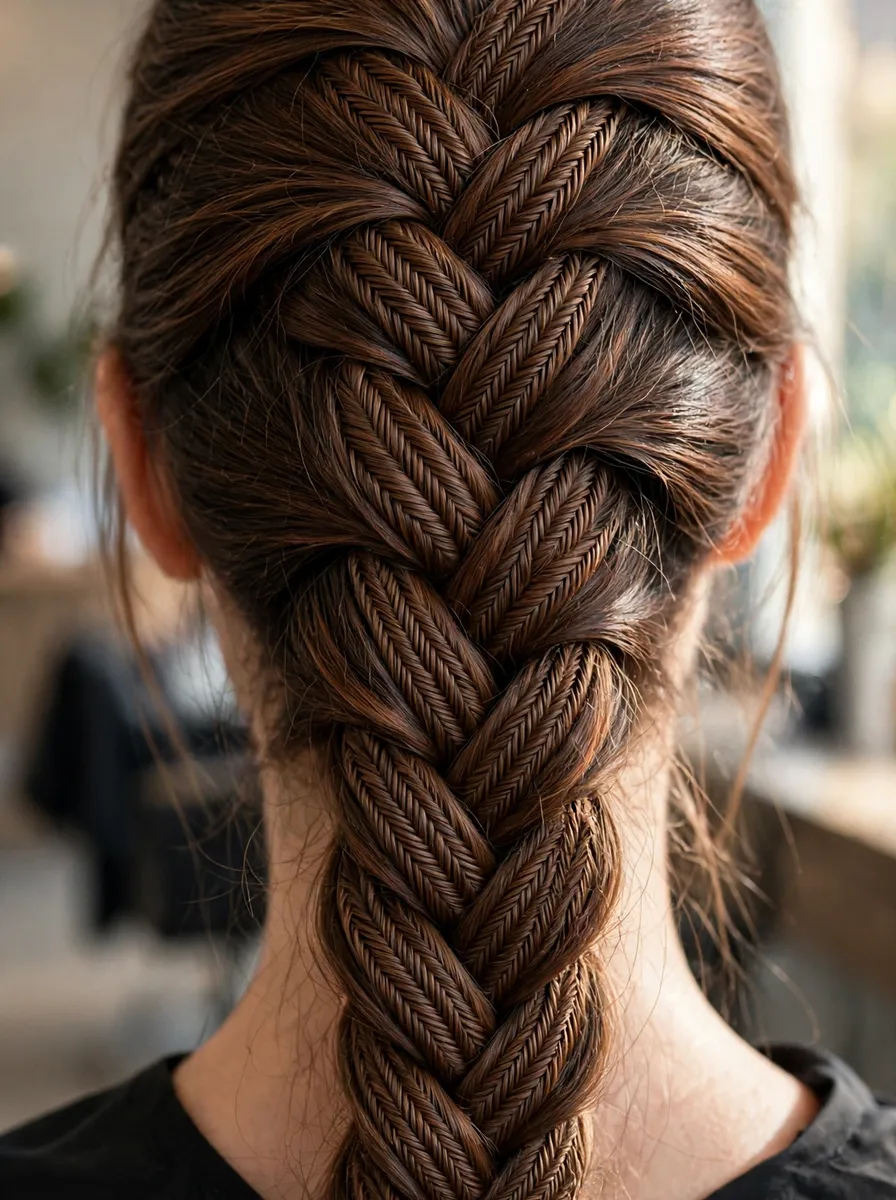
A Dutch braid is a French braid turned inside out. The crossing direction reverses — side sections pass under the middle instead of over it — and that one change flips the braid from lying flat inside the hair to sitting proudly on top of it, in relief, like a ridge. If you can already French braid, you are one habit away from this. If you cannot, this tutorial teaches the Dutch braid from zero, and the comparison section below explains exactly how the two differ.
Learn it the way you would learn the French braid: on someone else, a practice head, or without judging your first attempts. Dutch braiding feels backwards for the first two or three tries precisely because most people’s hands already know the over-crossing pattern. Braid four is where the under-crossing clicks.
What You Need
- A brush or wide-tooth comb (braids start detangled; knots mid-braid are the main cause of lumps)
- One small elastic
- Optional but genuinely helpful: a little styling cream or water mister. Slightly grippy hair braids far more cleanly than freshly washed, slippery hair — second-day hair is ideal.
The Key Idea: Under, Not Over
In a French braid, each side section crosses over the centre. In a Dutch braid, each side section crosses under the centre. Everything else — the three starting sections, picking up hair as you go, the rhythm — is identical. Keep repeating “under” for the first few braids. Every beginner mistake in Dutch braiding traces back to the hands slipping into over-crossing halfway down, which produces a braid that is French at the top and Dutch at the bottom.
Step by Step: The Classic Dutch Braid
1. Take the starting section
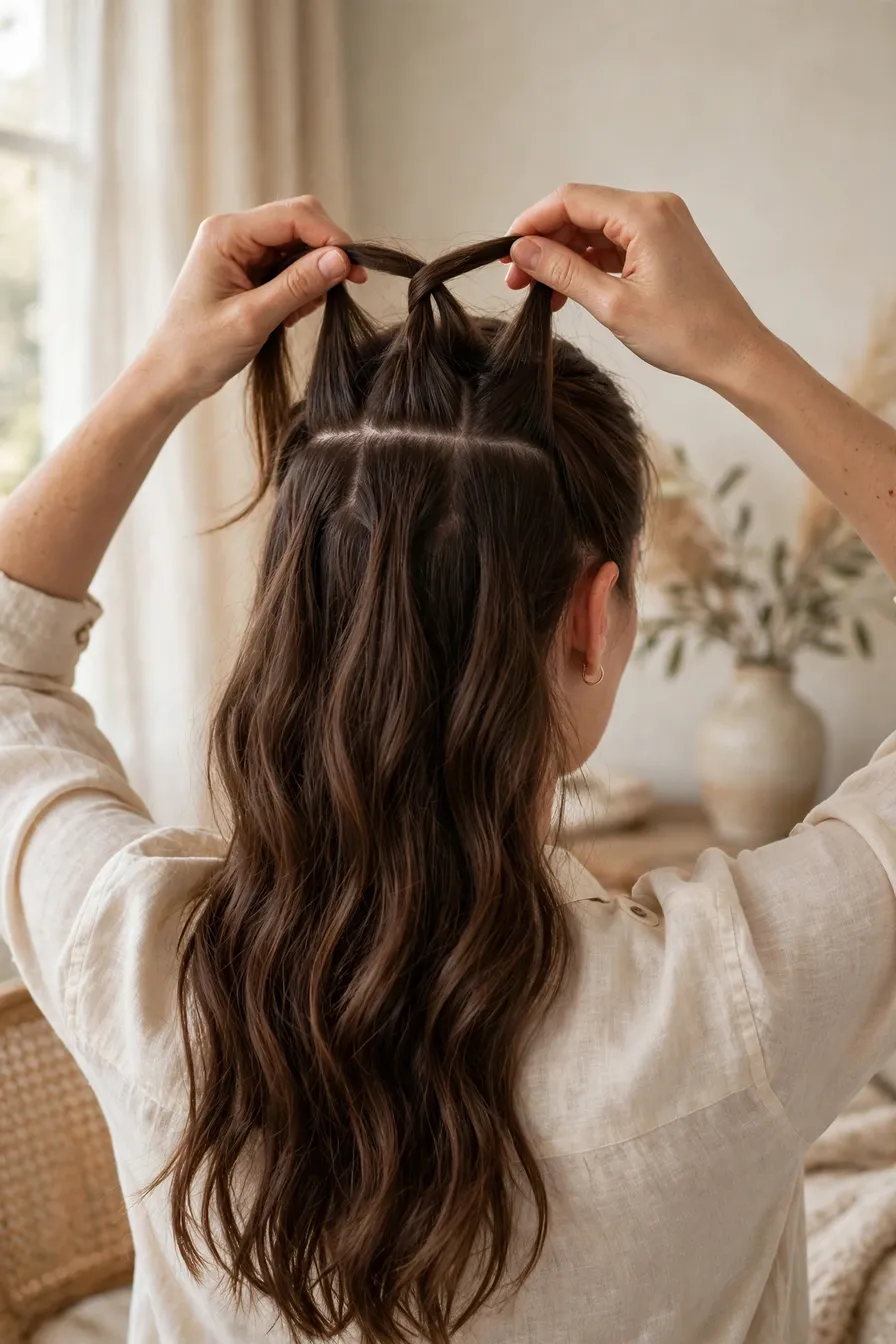
Brush all the hair straight back. At the crown, take a section of hair about three inches wide from the hairline area and divide it into three equal strands: left, centre, right. Hold one strand in each hand with the centre resting across your fingers.
2. Make the first two under-crosses
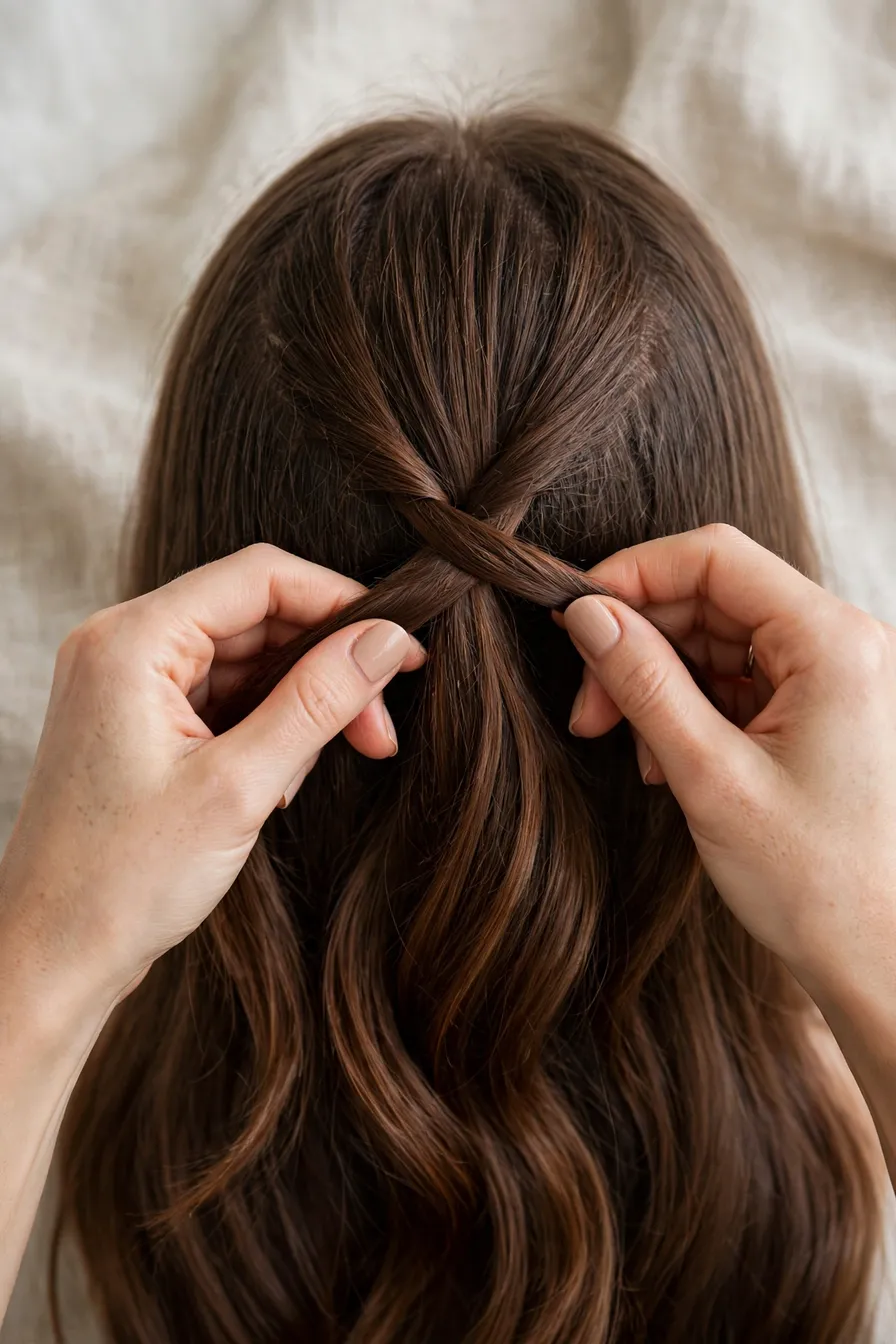
Cross the right strand under the centre strand — the right strand is now in the middle. Then cross the left strand under the new centre. You have completed one full cycle, and the braid’s raised ridge is already visible. Do two or three plain under-crosses before you start adding hair, so the top of the braid is anchored.
3. Start adding hair
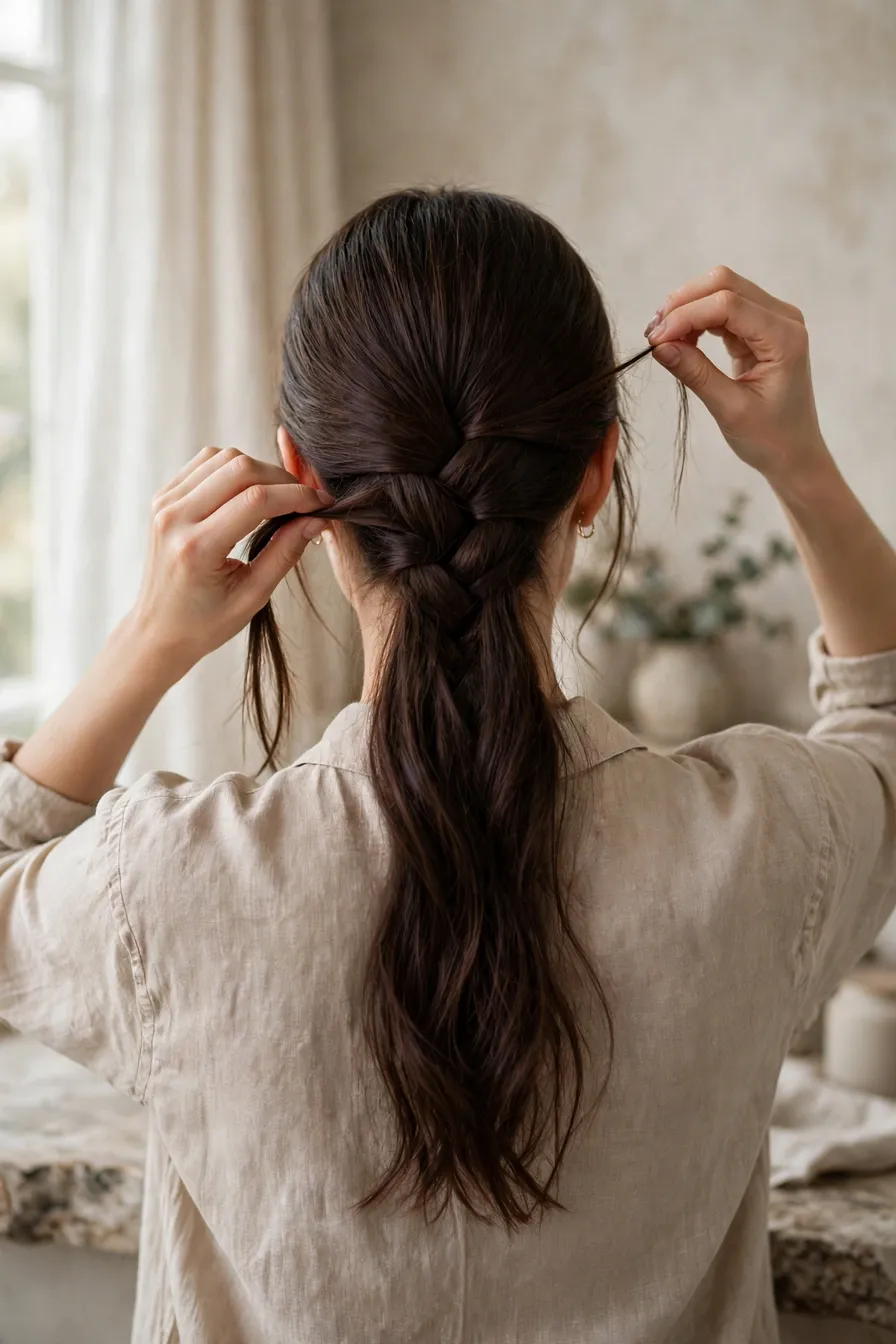
Before each cross, pick up a small slice of loose hair from that side — about half an inch wide, taken cleanly from the hairline side — and add it to the strand you are about to cross. Add it, then cross under. Right side: gather, add, cross under. Left side: gather, add, cross under. Small, even slices make a neat braid; grabbing uneven chunks is what makes lopsided ones.
4. Keep the braid on its track
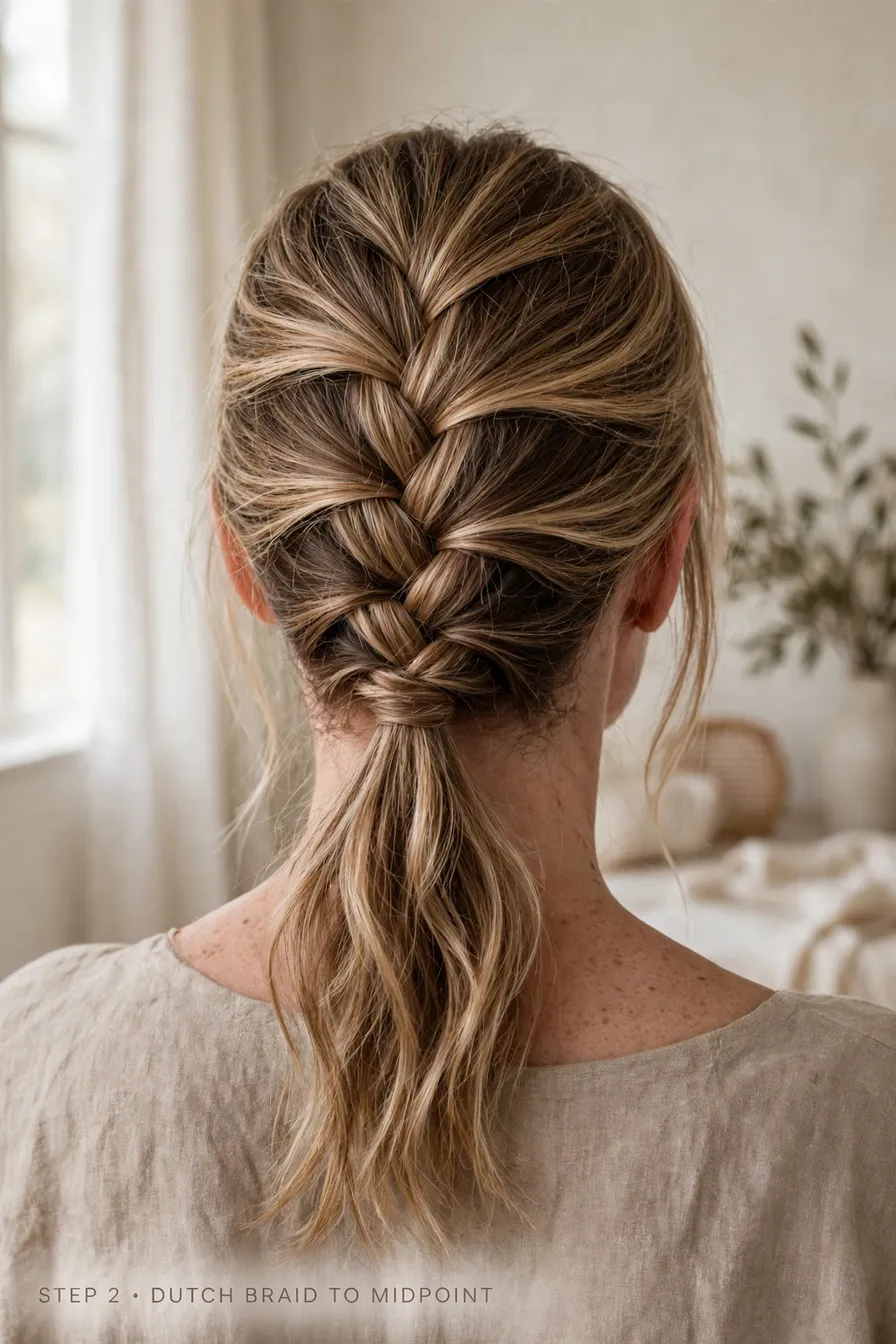
Work down the centre of the head, keeping your hands close to the scalp and the tension firm and even — not tight enough to pull, never loose enough to sag. The braid should sit on a straight line from crown to nape. If it starts drifting to one side, you are adding more hair (or pulling harder) on that side; even it up on the next two crosses.
5. Finish at the nape
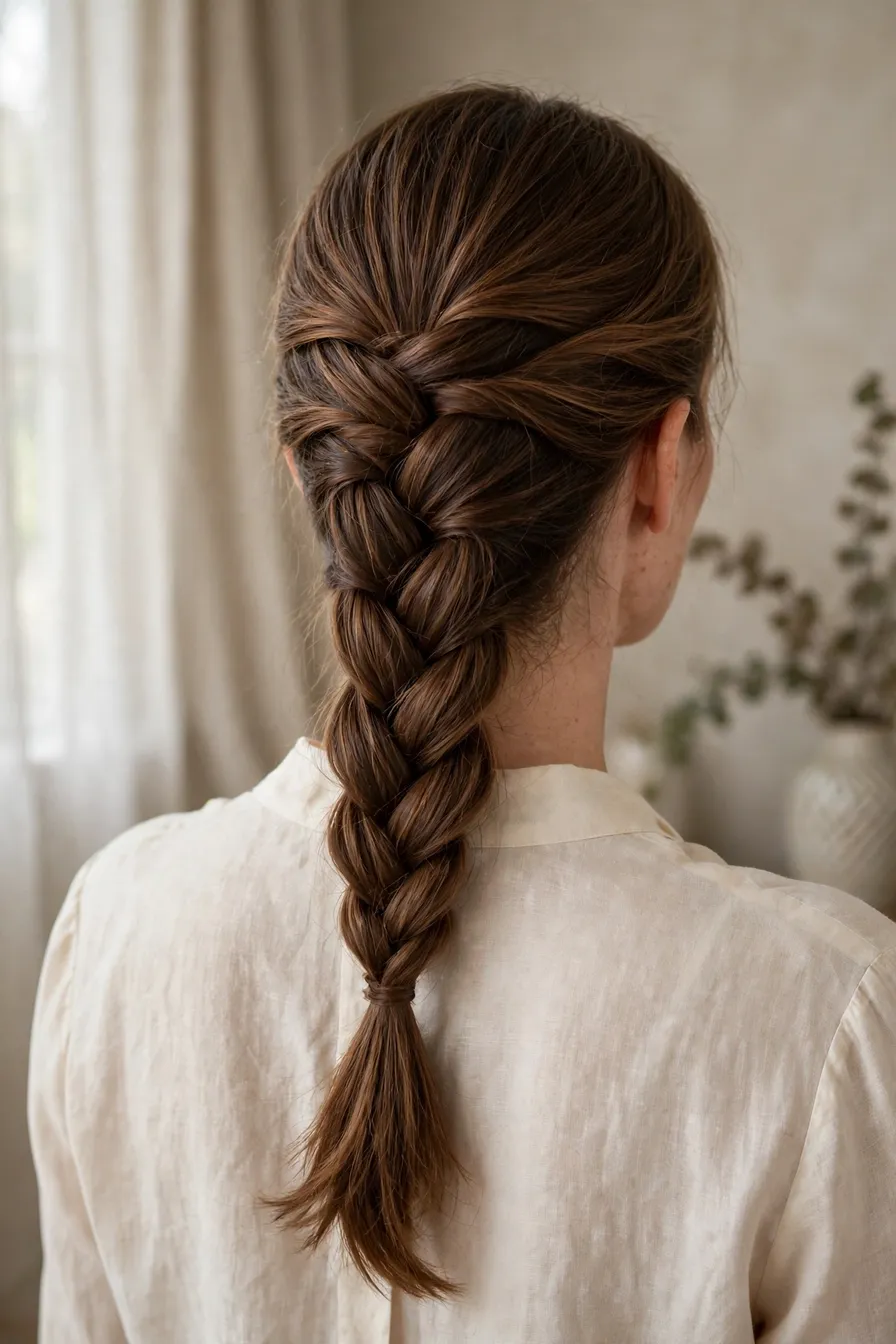
When you reach the nape and there is no more loose hair to add, simply continue the same under-crossing rhythm as a regular three-strand braid down the length. Keeping the under-crossing to the very end keeps the whole braid’s ridge consistent.
6. Secure and (optionally) pancake
Fasten with the elastic. For a fuller, softer look, gently pull the outer edges of each braid segment outward — “pancaking” — working from the bottom up and tugging a little at a time. Dutch braids pancake better than any other braid because the ridge sits on the surface; it is the standard finish for the double Dutch styles below.
Dutch Braid vs French Braid
Same hands, same rhythm, opposite crossing — and visibly different results. The French braid’s pattern sits inside the hair, smooth and flat, with the braid visible as an inset design. The Dutch braid’s pattern sits on the hair as a raised ridge, which makes it look thicker, shows more detail, and takes pancaking far better. Neither is harder; they are the same skill with one direction reversed. Our French braid tutorial teaches the over-crossing version, and beginners usually find it easier to learn one, use it for a week, then flip it.
Two Variations to Try Next
Double Dutch Braids
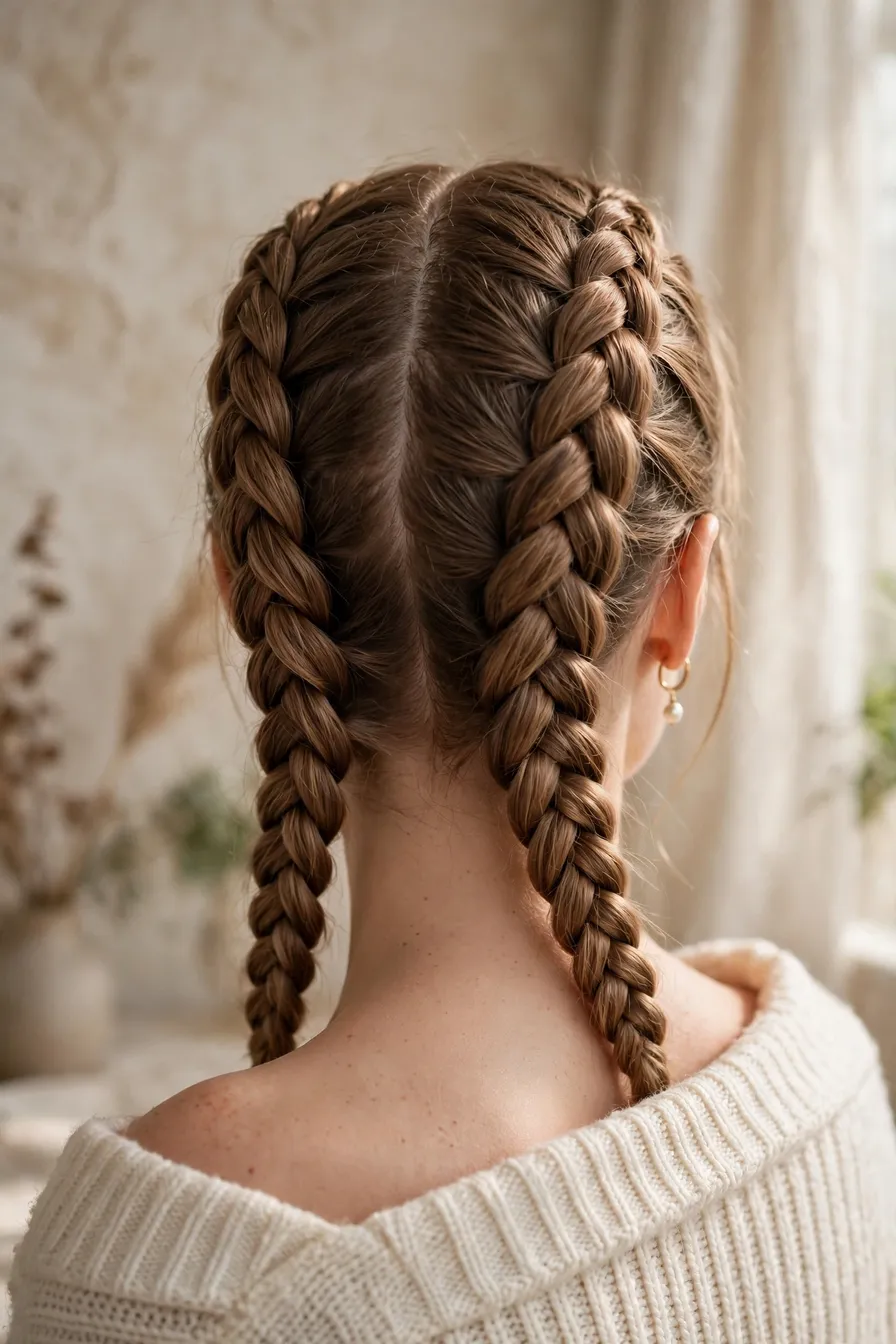
The style most people picture: part the hair down the centre, clip one side away, and Dutch braid each side from hairline to ends. Two smaller braids are more forgiving than one large one — the sections are smaller and the track is shorter — so this is a good second-ever Dutch braid, not an advanced step. Pancake both for the full, sporty finish.
Dutch Braid Pigtails
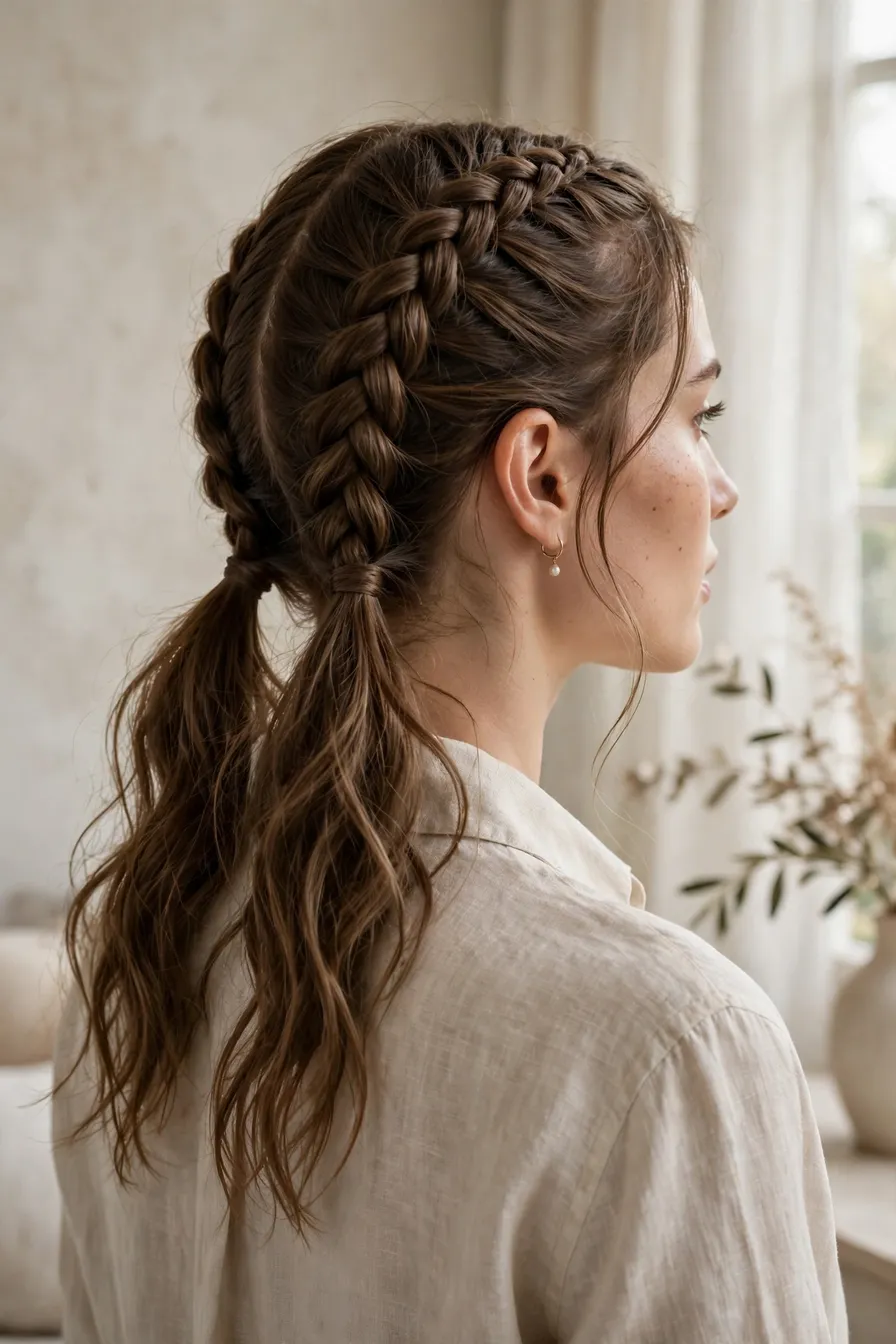
Braid each side only as far as the nape, secure, and leave the lengths loose as pigtails instead of braiding to the ends. It is the same technique with an earlier stop — a softer, younger finish that takes half the time and hides an imperfect braid ending entirely.
The 5 Beginner Mistakes (and Fixes)
- The braid changes direction halfway. Your hands reverted to over-crossing. Slow down and say “under” at every cross for the first several braids.
- Lumps along one side. Uneven added slices. Take the new hair in thin, consistent slices from the same distance each time.
- The braid sags away from the head. Tension too loose and hands drifting away from the scalp. Keep your knuckles close to the head and tighten gently after each full cycle.
- Flyaways everywhere. Hair too clean and slippery. Braid on second-day hair, or mist with water and work in a pea of styling cream first.
- A crooked track. Adding more hair from one side. Count your slices — if one side runs out of loose hair sooner, the slices were uneven.
Frequently Asked Questions
Is a Dutch braid harder than a French braid?
No — it is the same technique with the crossing direction reversed. It only feels harder if you learned the French braid first, because your hands keep trying to cross over. Expect two or three awkward attempts; after that the under-crossing is automatic.
Why does my Dutch braid look flat?
Almost always because some crosses went over instead of under, collapsing the ridge, or because the braid was never pancaked. Check the crossing direction first; then gently pull the outer edges of each segment to build the raised, full look.
How do you Dutch braid your own hair?
The same steps, done by feel: work in front of a mirror for the top, then accept that the back half is braided blind — which is why even tension matters more than visibility. Most people find double Dutch braids easier on themselves than a single centre braid, because each braid sits where your hands can reach it.
How long does hair need to be for a Dutch braid?
Roughly chin to shoulder length is the practical minimum for a single braid that holds; the double version works on somewhat shorter hair because each braid travels a shorter distance. Below chin length, the ends escape faster than the crossing can contain them.
Do Dutch braids damage hair?
No — braiding is a protective style when it is not pulled too tight. The damage risk is tension at the hairline, not the braid itself. If it hurts or pulls at the temples, it is too tight; loosen the first few crosses, which set the tension for the whole braid.
How do you make a Dutch braid look thicker?
Pancaking: after securing the elastic, pull each segment’s outer loops outward a little at a time, bottom to top. The ridge construction of a Dutch braid gives it more surface to spread than any other braid, which is why the double Dutch styles in photos are almost always pancaked.
Final Thoughts
Under, not over — that is the entire secret, and everything else is the braiding you may already know from the beginner braid guide. Learn the single braid until the direction stops needing thought, then take the double Dutch: it is the version you will actually wear, and it is easier than it looks.