Slick Back Bun: How to Do the Sleek Bun Step by Step
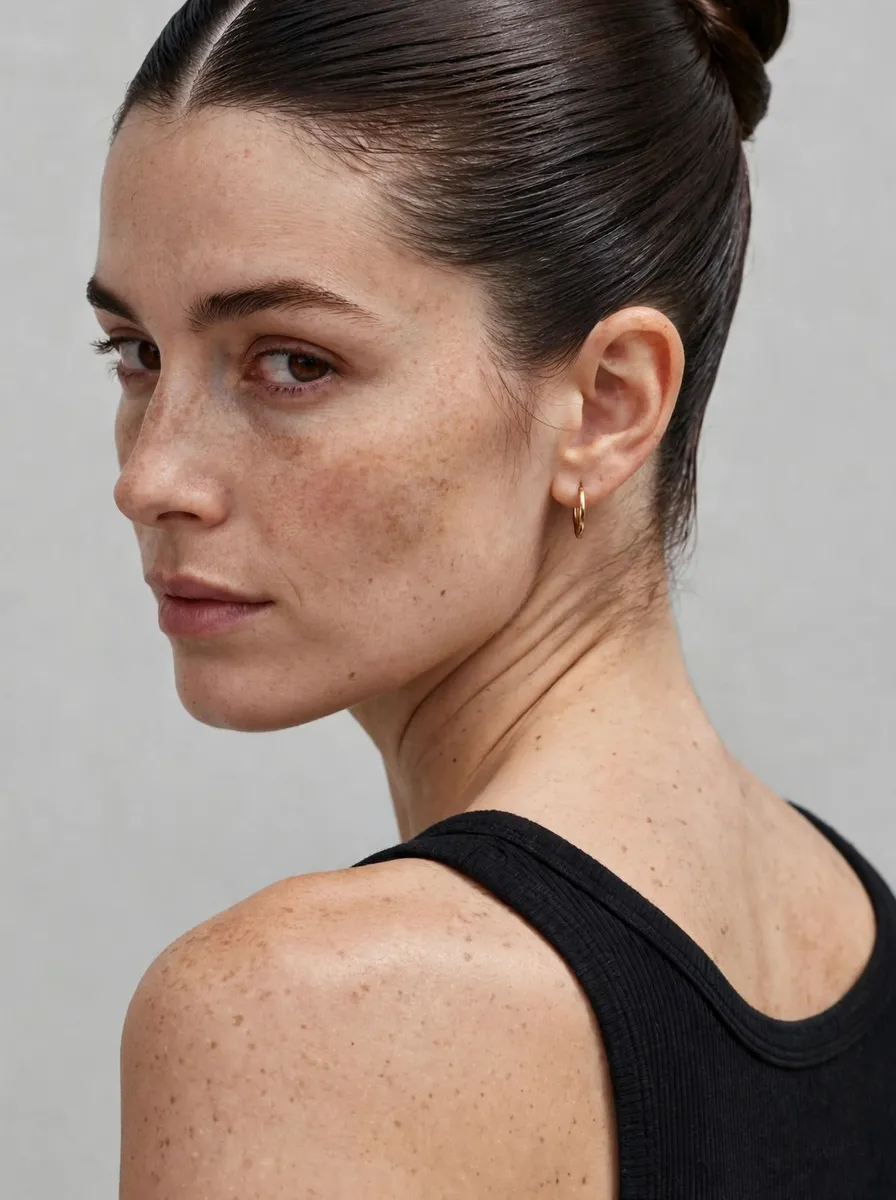
The slick back bun is the polished opposite of the messy bun: every strand brushed flat, not a flyaway in sight, and a finish so smooth it reads as deliberate from across the room. It looks like a salon style, but the technique is genuinely simple — the secret is not strength or expensive product, it is order. Slick the hair in layers, secure it in two stages instead of one, and the bun holds its glassy finish for hours.
It is also the natural counterpart to our messy buns that hold guide: same bun placement, opposite philosophy. Where the messy bun hides its structure, the slick back bun shows its smoothness off. Below: the prep that makes it easy, an honest guide to the products, the full step-by-step for both partings, and how to take it down without paying for it in breakage.
1. Prep: Second-Day Hair Is the Shortcut
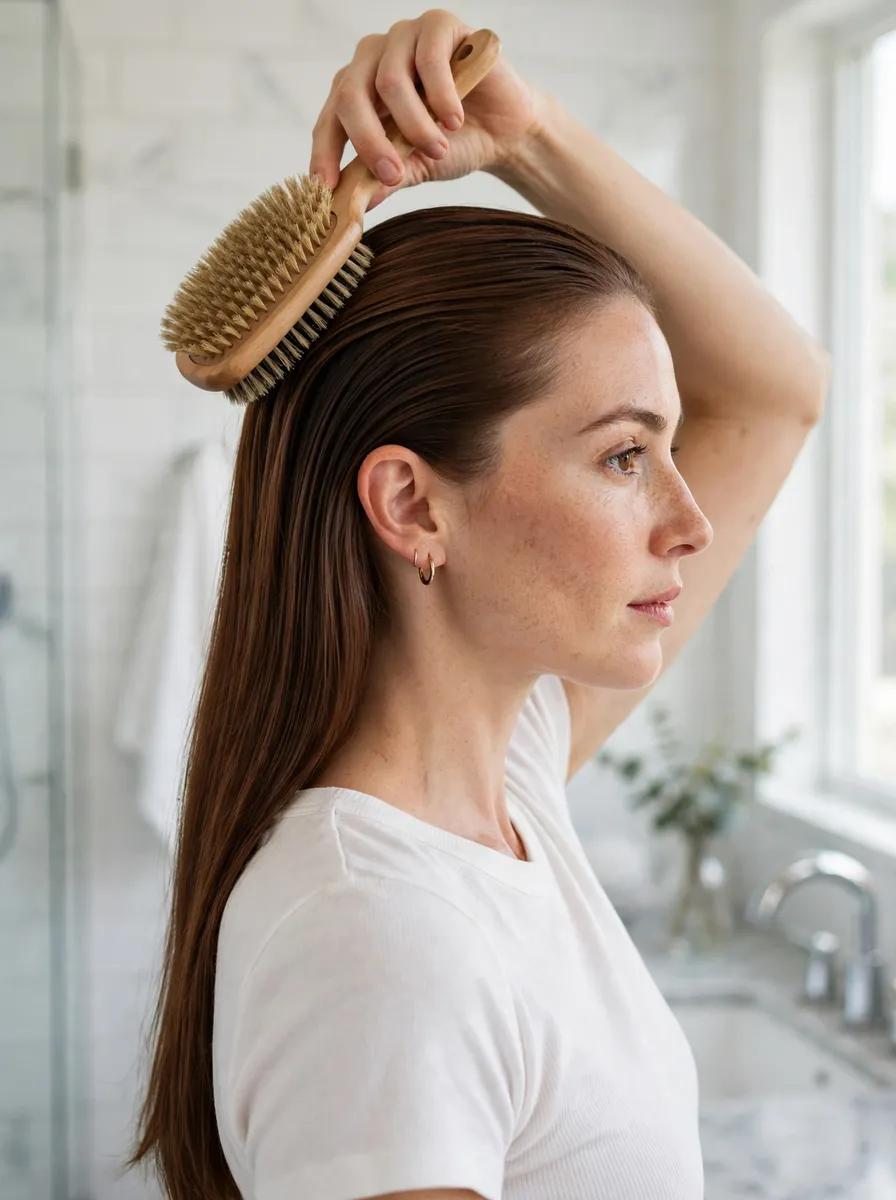
A slick back bun works best on hair that is not freshly washed. Second-day hair has a trace of natural oil through it, which helps strands lie together instead of springing apart, and it takes gel evenly rather than repelling it. If your hair is clean and slippery, recreate the effect: work a pea-sized amount of styling cream through dry hair, or mist the roots lightly with water from a spray bottle before you start — slightly damp hair slicks far more obediently than bone-dry hair. Detangle fully first, because a knot under a slicked surface cannot be brushed out once the gel goes on. Never start on soaking wet hair: it shrinks as it dries, loosens the bun, and dilutes the product to uselessness.
2. The Products, Honestly: Gel, Cream or Wax Stick
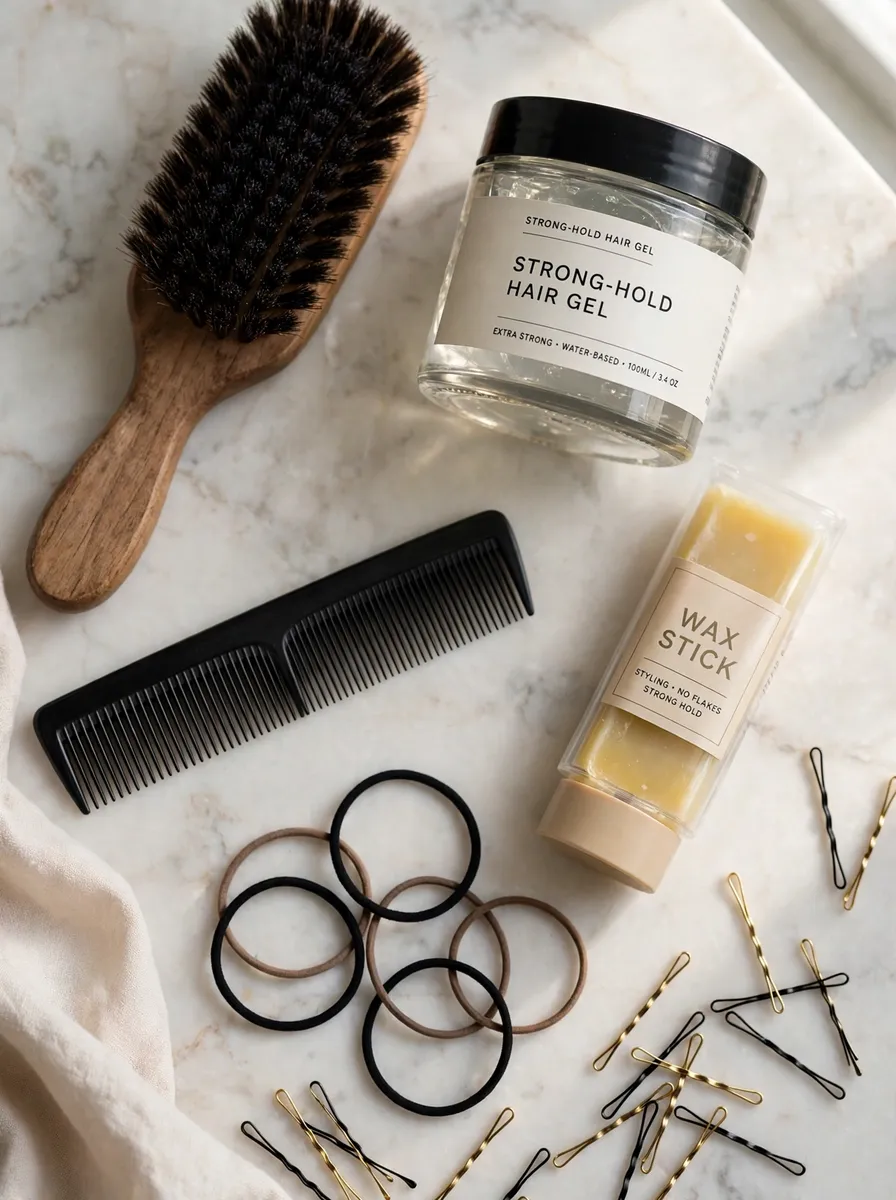
You need one hold product, not three, and which one depends on your hair. Gel gives the strongest, glossiest finish and is the right choice for thick, curly or rebellious hair — look for strong hold without alcohol-heavy formulas that flake white by midday. Styling cream is the gentler option for fine or straight hair that only needs persuading, not pinning down; the finish is softer and less wet-looking, and it will not survive humidity as long. A wax stick is not a base product at all — it is a finishing tool for the hairline and flyaways, too heavy and draggy to work through lengths. The one tool that is genuinely non-negotiable is a boar-bristle brush: its dense natural bristles grip and distribute product in a way a plastic brush cannot, and it is what produces the smooth, ridged-free surface. Add a fine-tooth comb for the parting, two elastics, and a few bobby pins.
3. Step One: Choose and Set Your Parting
Decide the parting before any product goes in, because it cannot be moved afterwards. A centre part gives the classic, symmetrical, most formal version — draw it with the tail of a fine-tooth comb from forehead to crown, and check it is dead straight, because a slicked finish shows every wobble. A side part is softer and more forgiving: place it above the arch of one eyebrow for a deep, editorial sweep, or just off-centre for something subtler. The side part also suits faces that find the centre version severe. Once the parting is drawn, comb each side down flat in the direction it will be brushed, and clip the two sides apart if your hair keeps falling forwards while you work.
4. Step Two: Smooth in Layers, Not All at Once
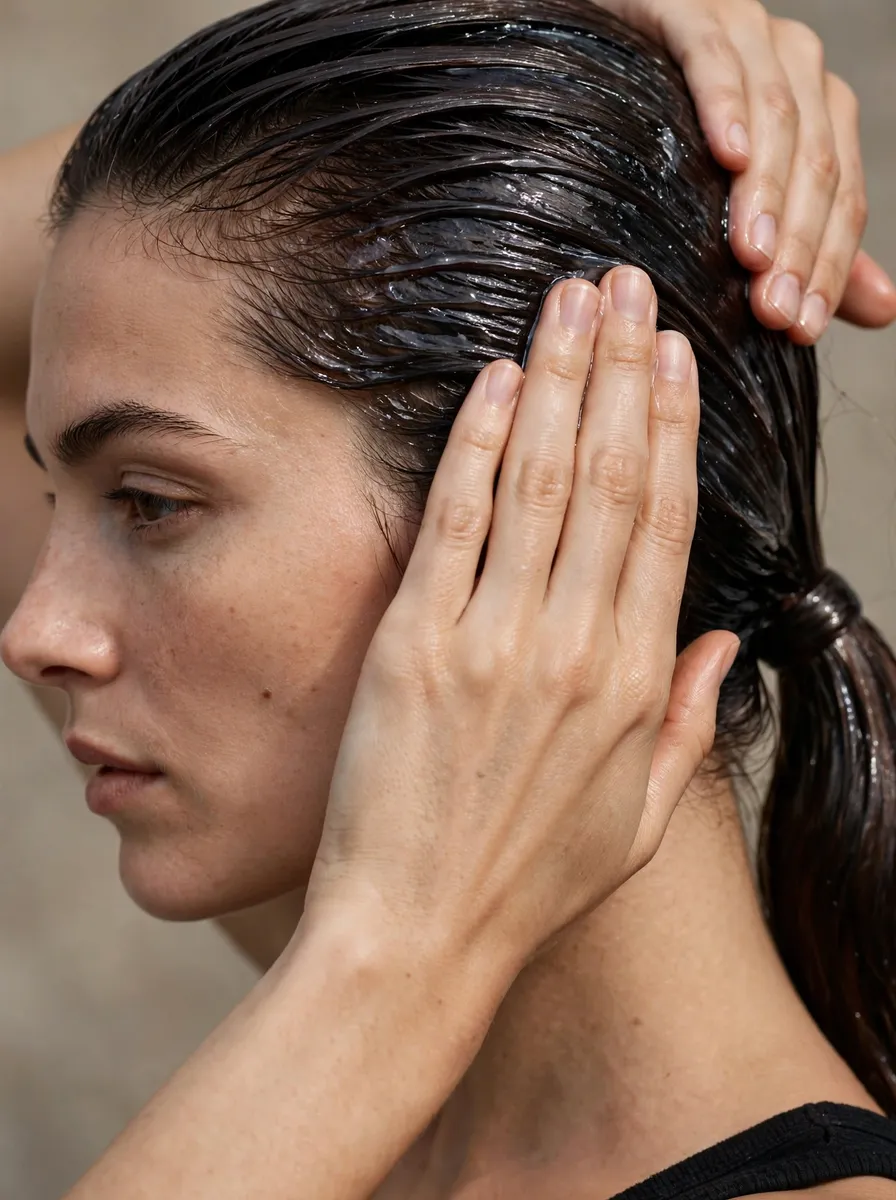
This is the step most tutorials rush, and it is the whole technique. Work in two or three layers rather than coating the surface in one go. Apply a small amount of gel or cream to the top layer first, brush it back firmly with the boar-bristle brush from hairline to crown, then repeat underneath, so every layer is smoothed rather than just the visible one. Keep your free hand following the brush, palm flat against the head — the warmth and pressure set the hair in the brushed direction. Brush in the direction of the finished bun: upwards towards the crown for a high bun, down and back towards the nape for a low one. Add product in small amounts; you can always add more, but an overloaded first layer goes crunchy and white at the edges.
5. Step Three: The Two-Stage Method — Ponytail First, Then Twist
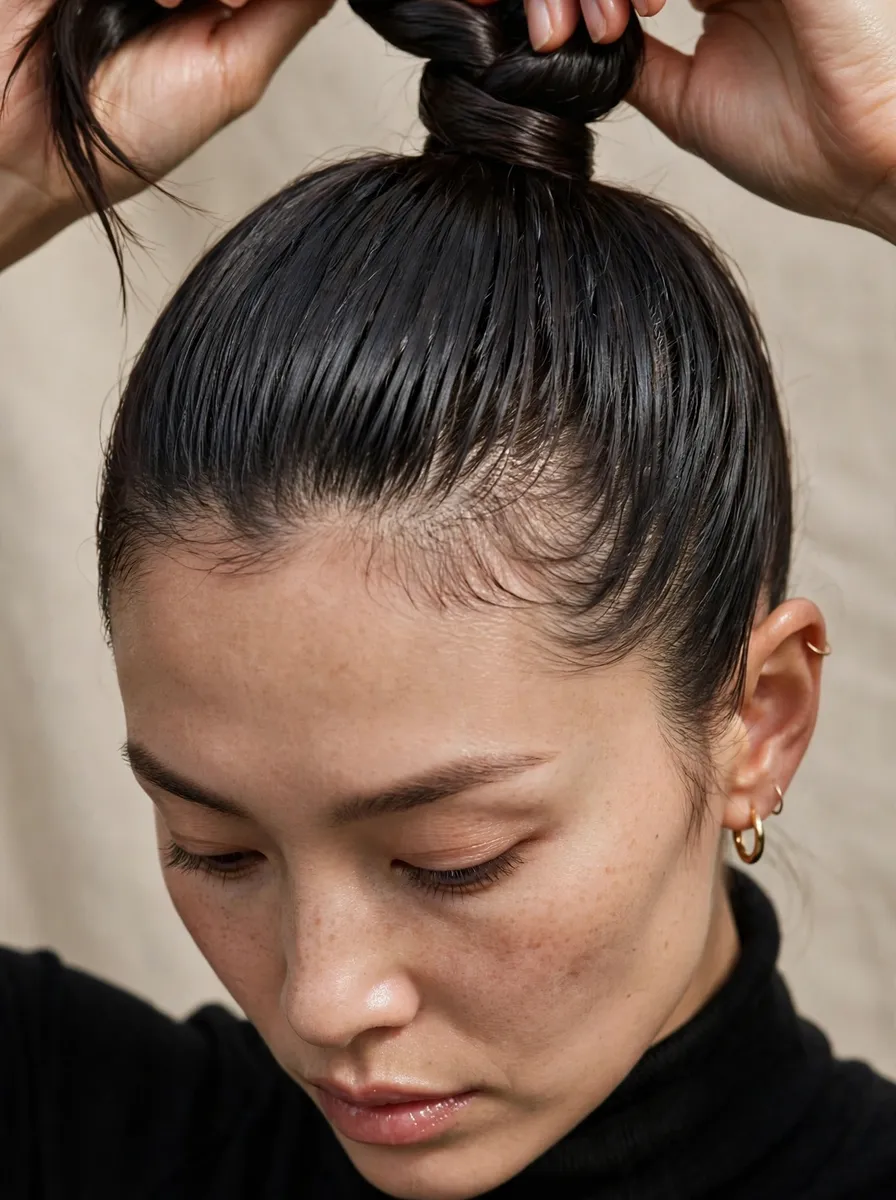
Do not try to form the bun and slick the hair in one motion — that is how bumps are born. Stage one: gather the smoothed hair into a ponytail at your chosen height, brushing as you gather, and secure it with the first elastic. Run the brush and your palm over the surface one last time; anything lumpy gets fixed now, while it still can be. Stage two: twist the ponytail firmly along its length, coil the twist around the base, and secure with the second elastic or bobby pins pushed into the base. Because the ponytail was already slicked and tensioned, the twist goes in cleanly and the surface never gets disturbed. For an extra-snatched finish, tilt your head slightly back while securing the ponytail — the hair at the nape pulls taut instead of sagging.
6. High or Low: Choosing the Placement
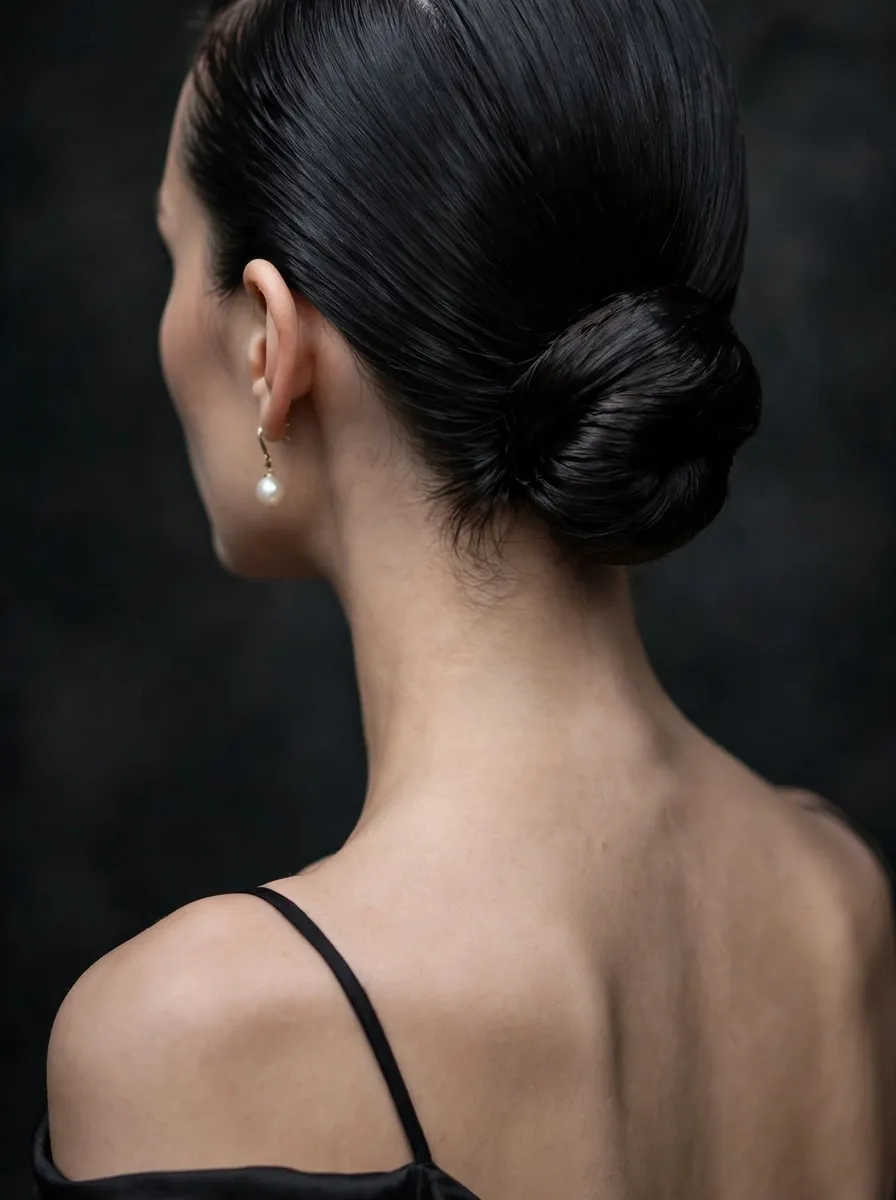
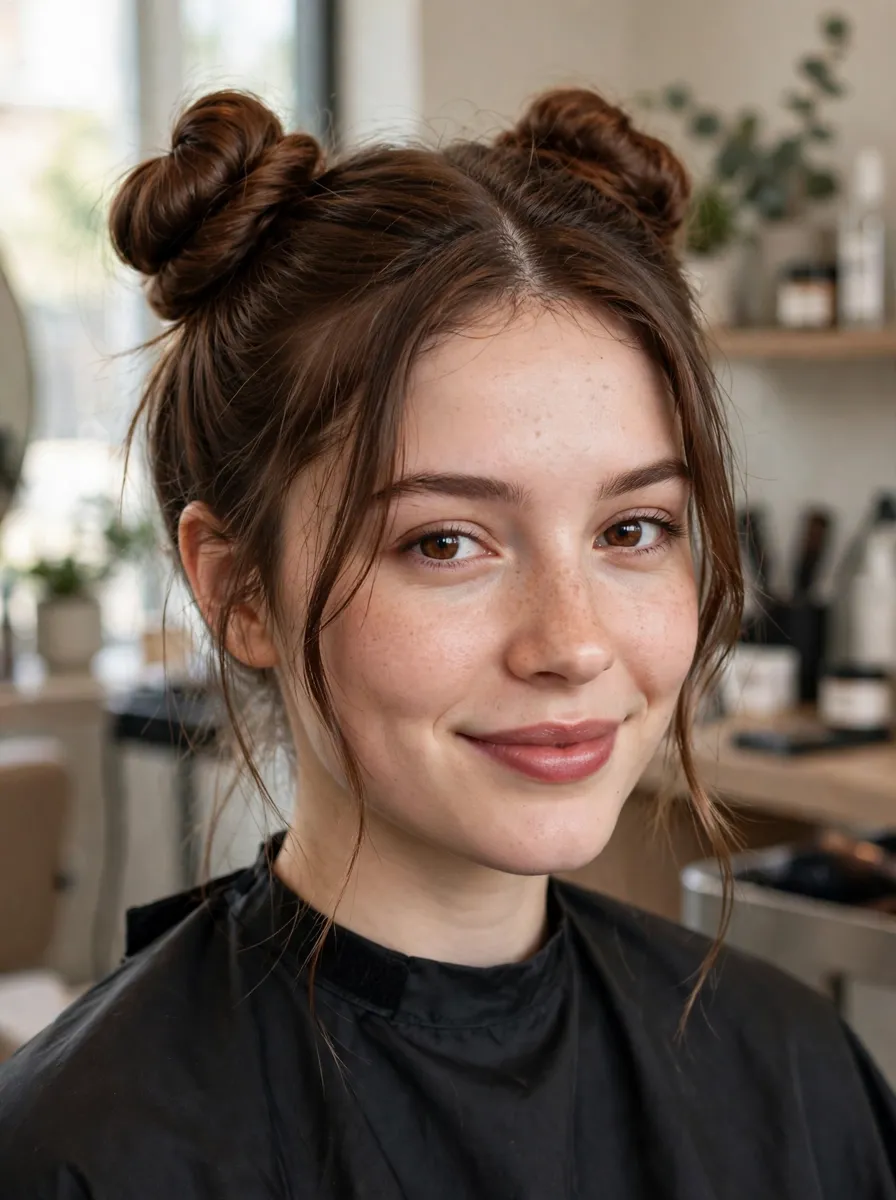
A high bun, sitting at or above the crown, is the sharpest and most lifting version — it lengthens the face and shows the slicked surface off from every angle, and it pairs naturally with the centre part. A low bun at the nape is calmer and more elegant, the version that works for formal events and offices, and it is kinder to heavy or very long hair, which pulls less at the scalp when the weight sits low. The side part belongs with the low bun most often, though neither pairing is a rule. If you are between the two, the low bun is the easier first attempt: gravity helps the hair fall into place rather than fighting you at the crown. Prefer a doubled, playful take on placement? Our space buns guide uses the same slicking technique in pairs.
7. Flyaway Fixes: The Finishing Pass
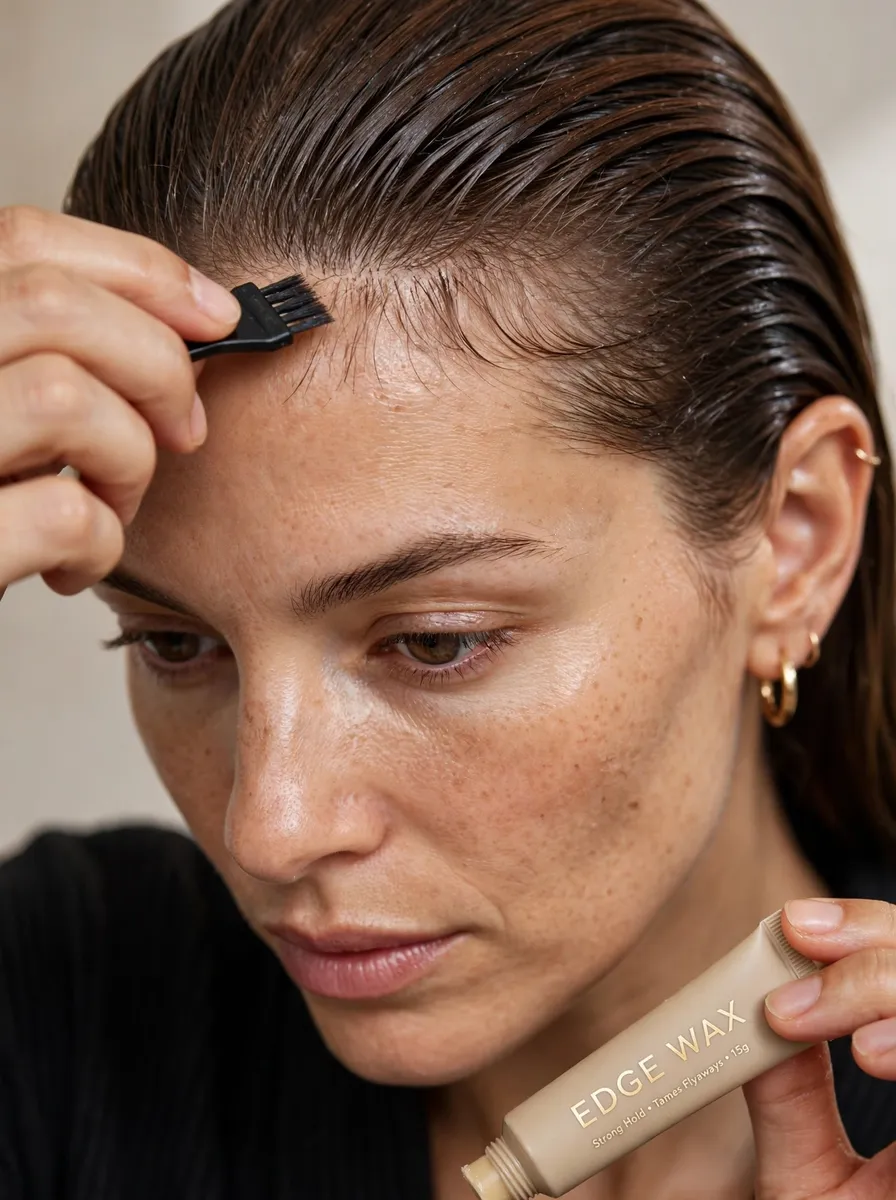
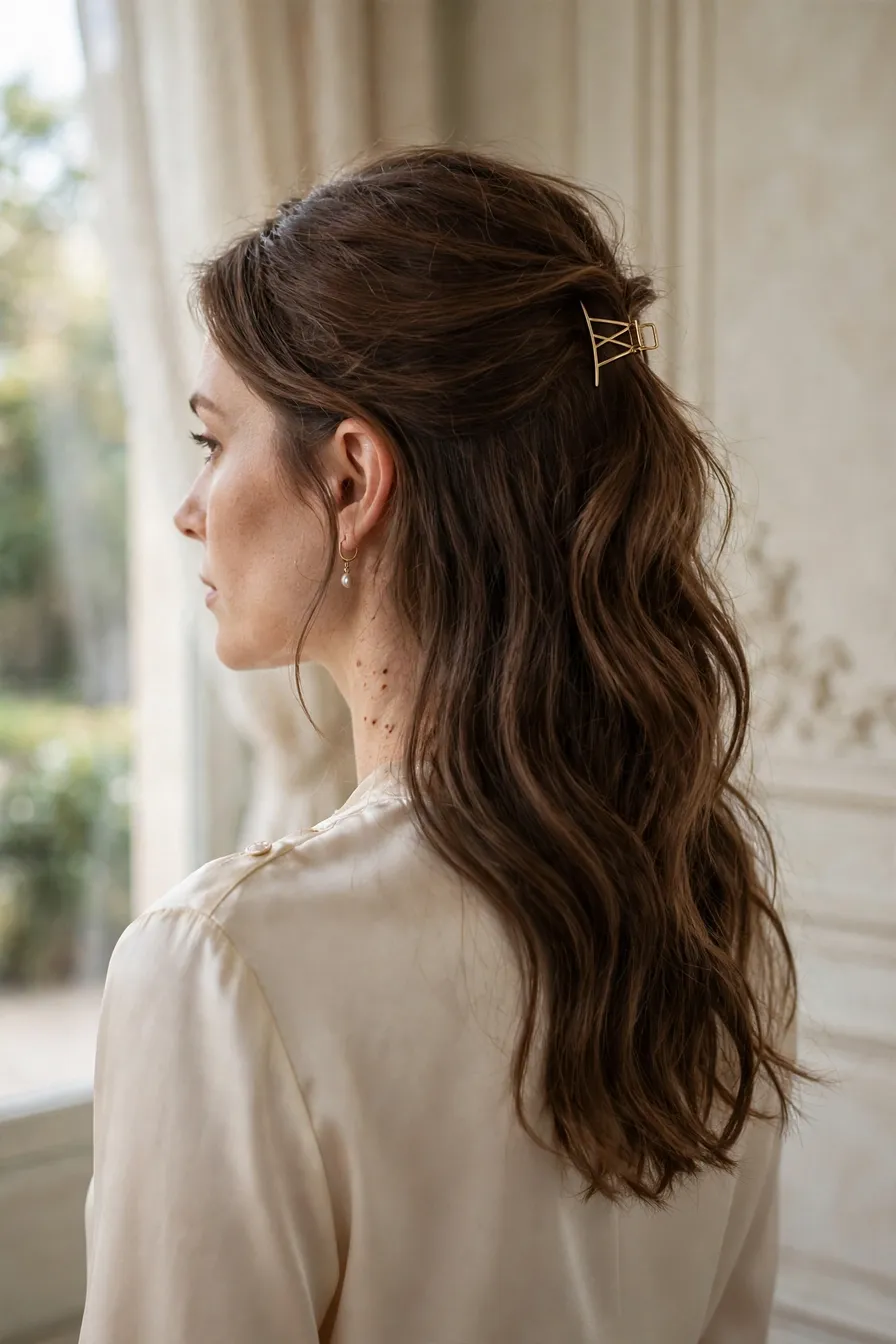
Leave the hairline until last — it is the detail that separates a good slick back from a great one. Run the wax stick lightly along the hairline and any lifting edges, then press the hairs down with the side of the brush or a clean, soft toothbrush kept for the job. Baby hairs can be smoothed flat into the style or shaped into soft edges, but decide deliberately rather than leaving them half-lifted. A single short blast of hairspray over the finished surface, held at arm’s length, locks everything without the helmet effect. If a bump appears at the back, do not unpick the bun: slide a bobby pin flat over it, pin it down, and wax over the pin. For a softer daytime finish with the same tidy base, soft bobby pin updos show how to pin the lengths loosely instead.
8. The Variation: Slick Back Messy Bun
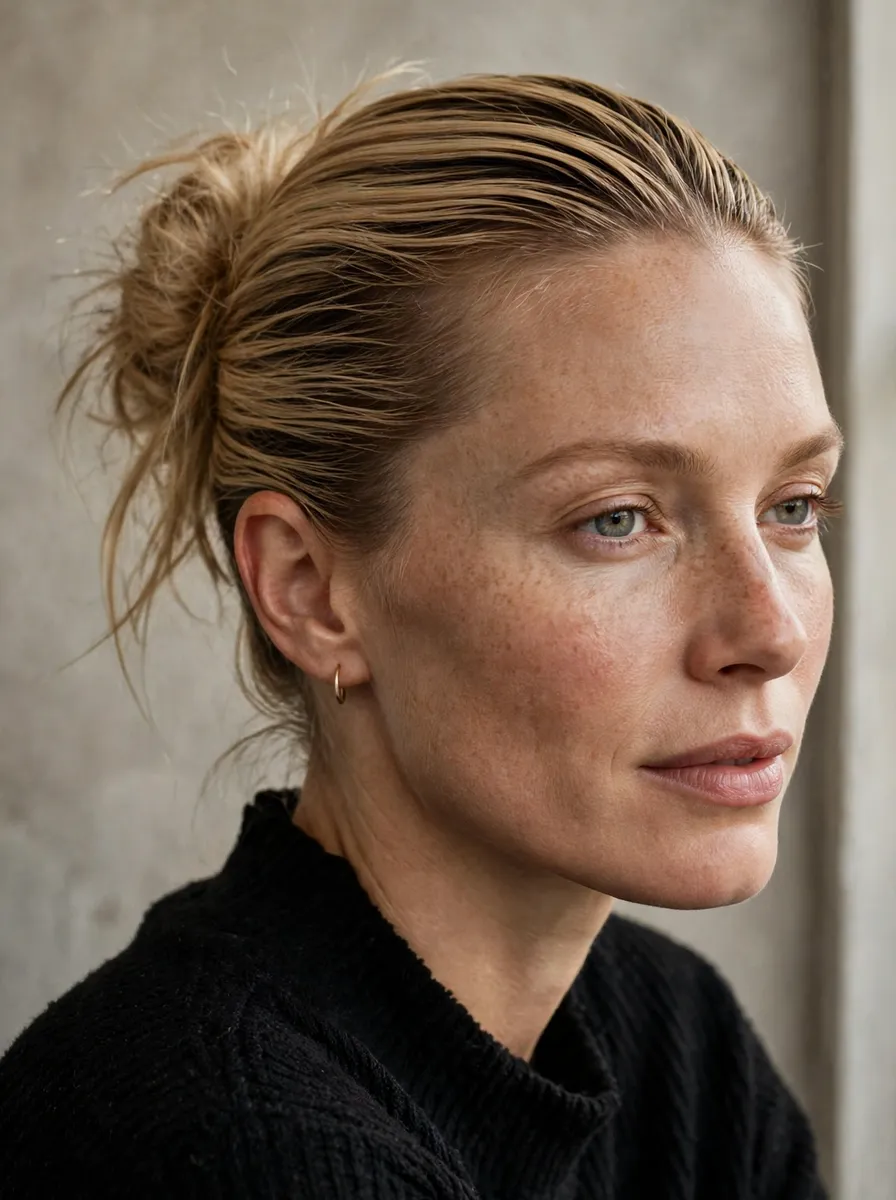
The hybrid version keeps the slicked roots and relaxes only the bun itself. Follow the method exactly through the ponytail stage — parting, layered smoothing, the lot — then, instead of twisting the ponytail tightly, loop it loosely through the second elastic, pull the loop wider with your fingers, and pin it casually. The contrast is the appeal: a clean, snatched front with an undone, textured back. It is the most forgiving version for layered hair, because escaping ends read as intentional, and the quickest to redo if it loosens — re-loop the bun and the slicked base never needs touching. It suits days when the full sleek finish feels too formal but a fully messy bun feels too undone.
Taking It Down Without Damage
A slick back bun should come out as carefully as it went in. Remove the pins and elastics first, then — before brushing anything — work conditioner or a little oil through the gelled hair in the shower and let the water soften the product for a minute. Brushing dried gel out of dry hair snaps strands at exactly the points the style held tightest. Wash-day matters more with this style than most: gel build-up accumulates fast, so use a clarifying shampoo every second or third wash, or whenever the hair feels coated and dull, and follow with a proper conditioner. If your scalp feels tender after a very tight bun, that is information — wear the next one lower or looser.
Frequently Asked Questions
Which gel is best for a slick back bun?
A strong-hold gel without a high alcohol content — alcohol-heavy gels dry brittle, flake white and leave the hairline looking dusty by afternoon. Thick or curly hair wants the strongest hold you can find; fine hair often does better with a styling cream plus a light gel only at the hairline, since full-strength gel can make fine hair look thin and stringy once slicked.
How do I stop a slick back bun slipping on fine hair?
Fine hair slips because it is smooth, not because the style is wrong. Start on second-day hair or add styling cream for grip, use the two-stage method so the ponytail elastic does the holding rather than the bun, and choose a smaller, tighter elastic. A light mist of hairspray on the brush — not the hair — before the final smoothing pass adds grip without crunch.
What do I do with edges and baby hairs?
Smooth them down deliberately with a wax stick and a small edge brush or soft toothbrush, either flat into the style or shaped into gentle swoops. The one thing that reads as unfinished is leaving them untouched: baby hairs that lift against an otherwise glassy surface look accidental. Fine hair sprayed lightly and pressed with a warm palm also works.
Does a slick back bun cause breakage?
It can, if it is worn very tight, very often. The gel itself is not the problem — the tension is. Repeated pulling at the hairline and nape stresses the same follicles, and sleeping in a tight bun multiplies it. Worn a few times a week at a comfortable tension, taken down before bed and removed with conditioner rather than a dry brush, it is no harsher than any other updo. Alternate placement so the same patch of scalp is not loaded daily.
Is a slick back bun gym-proof?
Mostly, yes — it is one of the best workout styles going, because the hair is fully off the face and neck and the slicked base resists sweat better than loose styles. Use gel rather than cream, choose the high placement so the bun does not press against benches or mats, and expect the hairline to need a wax-stick touch-up afterwards rather than a full redo.
How do I get the gel out afterwards?
Soften it before you shampoo: rinse thoroughly, then work conditioner through the hair and leave it for a minute or two — the gel dissolves into the conditioner and rinses clean instead of resisting the shampoo. Follow with shampoo as normal, and use a clarifying shampoo every few wears to stop build-up dulling the hair.