The Messy Bun Fix: 5 Updos That Actually Stay Up All Day
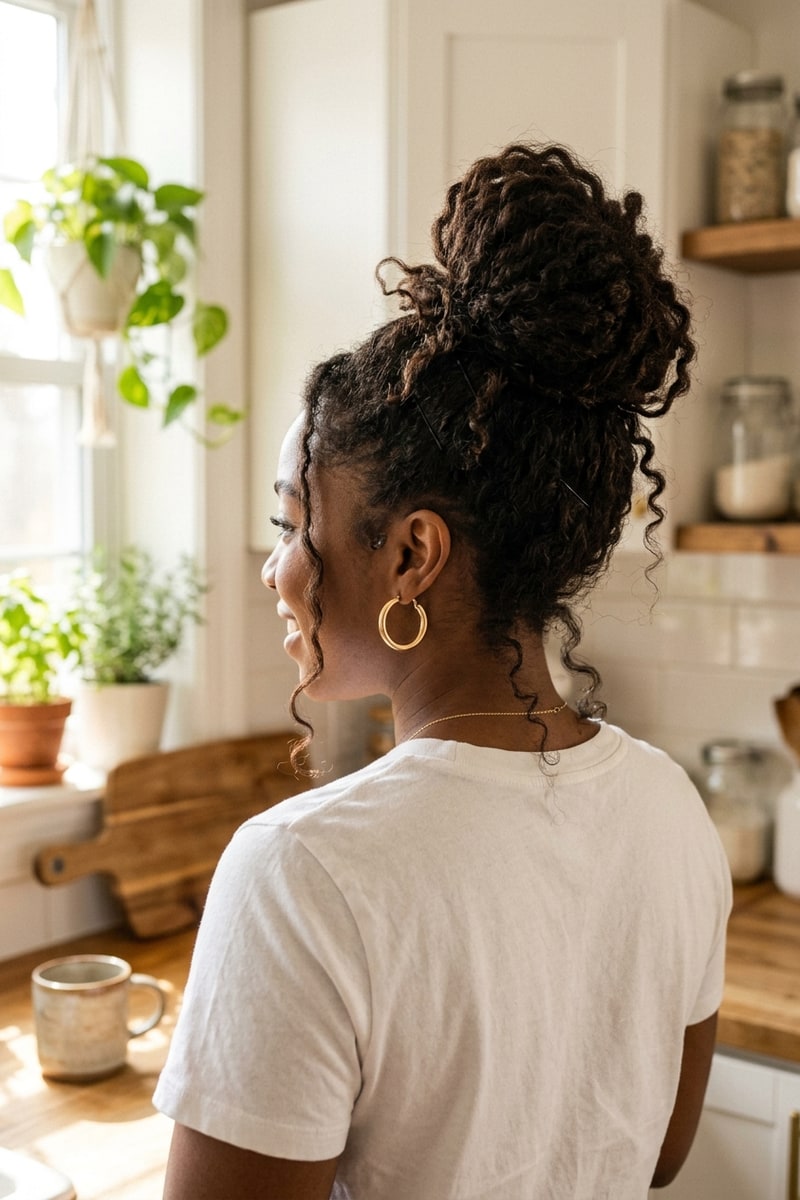
The messy bun is the holy grail of effortless hair: when it works, it looks chic, casual, and artfully undone. When it fails, it sags into an uncomfortable lump at the base of your skull before you’ve even finished your morning coffee.
If your bun constantly droops, the issue is almost never the way you twist the top—it’s the foundation underneath. Freshly washed, slippery hair cannot support its own weight without an internal anchor.
The 3 Golden Rules of Bun Structure
- Second-Day Texture is King: Natural oils or a thorough mist of dry shampoo give hair strands the micro-friction needed to cling together.
- Build an Internal Cross-Pin Anchor: Before gathering your bun, slide two sturdy bobby pins horizontally across each other at the exact spot your bun will sit. This creates an invisible X-shaped grid to which your bun pins can attach.
- Use Waved Bobby Pins Correctly: The wavy side of a bobby pin faces downward against your scalp for grip, while the flat side faces upward.
5 Messy Bun Variations for Real Life
1. The 60-Second Loop Bun (Best for Casual Everyday Wear)
- Gather hair into a high ponytail base using your hands (avoid brushes for organic texture).
- Pull hair halfway through a thick seamless hair tie on the final wrap to create a soft loop.
- Take the loose tail hanging below, wrap it around the hair tie to conceal the band, and tuck the ends into the elastic.
- Gently pull the sides of the loop outward to widen the silhouette.
2. The French Twist High Knot (Best for Fine or Layered Hair)
Layered hair often sheds short pieces from a traditional twist. This method encapsulates short layers neatly:
Assembly Guide:
[High Ponytail Base] ➔ [Split into 2 Halves] ➔ [Twist together like a rope] ➔ [Coil into flat circle & pin]- Secure a high ponytail with a snag-free elastic.
- Divide the ponytail into two equal sections and twist them around each other into a loose rope.
- Coil the rope clockwise around the base of the hair tie.
- Insert four 2-inch bobby pins around the perimeter at 12, 3, 6, and 9 o’clock angles, pushing them inward toward the center base.
3. The Low Parisian Knot with Face-Framing Tendrils
For relaxed work meetings or evening dinners:
- Part hair down the center or with a subtle side sweep.
- Pull hair back loosely to the nape of your neck, leaving two 1-inch sections free around your temples.
- Twist the hair into a figure-eight knot and fasten with an open U-shaped French hair pin.
- Give the face-framing front strands a subtle bend away from your face with a styling iron.
4. The Half-Up Topknot
The ultimate solution for second-day hair when you want height at the crown while keeping lengths flowing down:
- Section off the top third of your hair from temple to crown.
- Twist into a small topknot and pin flat.
- Rake dry texturizing spray through the lower lengths for lived-in body.
5. The Braided Messy Chignon
- Make a low three-strand braid at the base of your neck.
- Pull the edges of the braid wide to create airy volume.
- Roll the widened braid upward like a pastry into a soft bun and pin tightly against the nape.
How to Refresh a Sagging Bun Without Redoing It
When your bun starts feeling loose in the afternoon, do not untie the whole elastic—rewrapping slippery hair will only make it flatter.
Instead, slide one single U-shaped hairpin straight through the top crest of the bun down into your base elastic. This immediately lifts the entire structure back into place in two seconds flat.