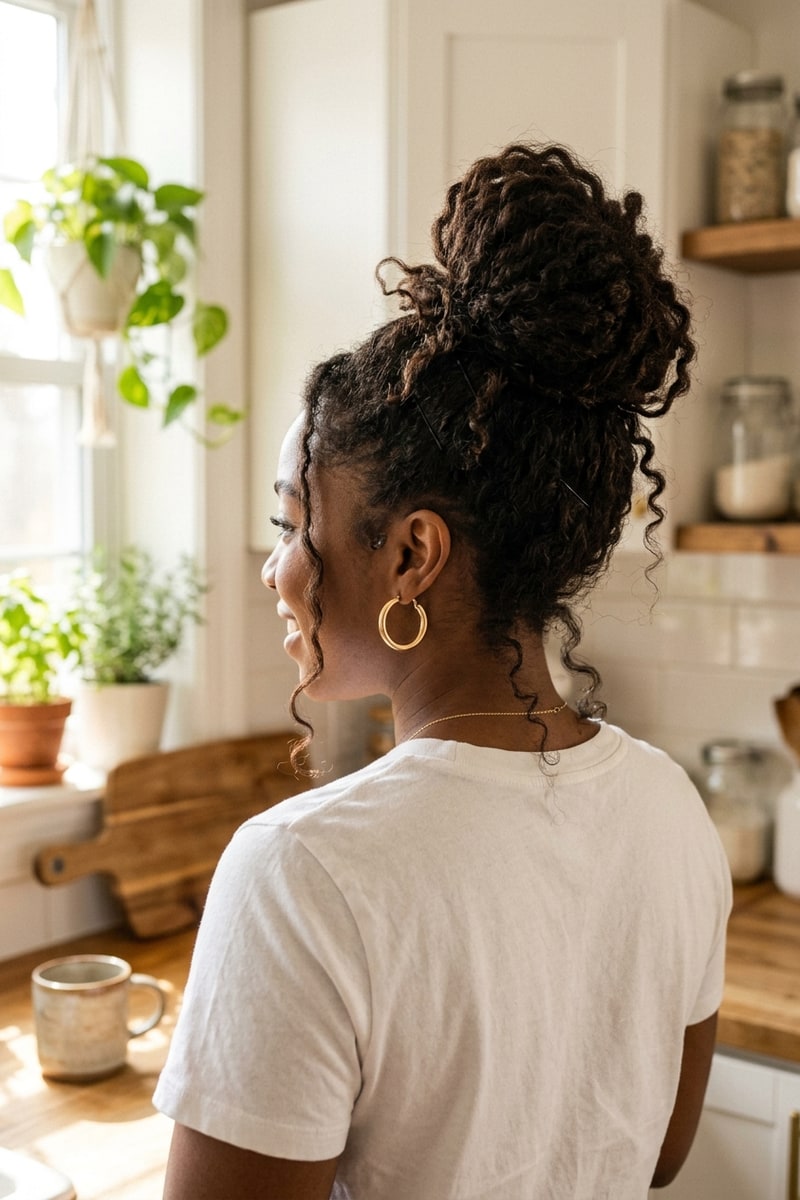
Soft Bobby Pin Updos That Take Under 10 Minutes
Elaborate updos often look intimidating because salon tutorials rely on heavy teasing, industrial hairspray, and complicated internal padding. In truth, some of the most romantic, delicate hairstyles are created with nothing more than a card of bobby pins and a bottle of dry texturizing spray.
By working with small, twisted sections and pinning them flat against your head, you create a soft, dimensional updo that holds securely without feeling stiff or heavy.
The Essentials Checklist
- Waved Bobby Pins: Match your hair color for seamless blending, or choose polished metallic gold/brass pins as a visible decorative feature.
- Open U-Shaped Hairpins: Essential for tucking and locking bulk weight without crushing texture.
- Dry Texturizing Spray or Volumizing Powder: Adds the surface friction required for pins to grip fine or silky strands.
5 Low-Pin Updos for Every Occasion
1. The Gibson Tuck (The 5-Minute Vintage Classic)
The Gibson tuck looks intricate and antique, yet takes less than three minutes to assemble.
Visual Architecture:
[Low Ponytail Loop] ➔ [Create pocket above elastic] ➔ [Flip tail up & tuck inside pocket] ➔ [Pin across base]- Gather hair into a loose low ponytail at the nape and fasten with a thin elastic band.
- Use your fingers to create a vertical opening (a “pocket”) directly above the hair tie.
- Flip the ponytail tail upward and push it down inside the pocket until all the hair is nestled within the pouch.
- Insert two bobby pins horizontally through the pocket to anchor the ends securely against your head.
2. The Twisted Rope Chignon
- Divide your hair down the center into two equal left and right sections.
- Twist both sections inward toward the nape of your neck like two ropes.
- Tie the two twisted ropes into a simple half-knot at the base of your skull.
- Tuck the loose ends underneath the knot and pin with 3–4 bobby pins pushed straight into the center.
3. The Sectioned Pin-and-Tuck Updo (Best for Short & Shoulder-Length Hair)
If your hair is too short to reach into a single ponytail, this layered pinning technique collects shorter pieces effortlessly:
- Divide hair horizontally into three stacked tiers (Top, Middle, Lower Nape).
- Gather the top section, twist it once, and pin at the back of your crown.
- Gather the middle section, twist upward toward the top pin, and cross-pin.
- Roll the bottom nape hair upward into a soft roll and pin flat beneath the middle section.
- Soften the entire look by gently teasing out wisps around your ears and temples.
4. The Criss-Cross Half-Updo
- Take a 1.5-inch section of hair from above your left ear, drape it smoothly across the back of your head, and pin it flat on the right side with one bobby pin.
- Take a matching section from above your right ear, drape it across to the left (covering the first pin), and pin securely.
- Repeat with one more pair of alternating strands for a gorgeous woven basket effect.
5. The French Twist Roll with Decorative Pins
- Sweep all hair to the left side of your head and insert a vertical row of bobby pins from the nape upward.
- Roll the hair back over the pins to the right in a clean cylinder.
- Slide pins horizontally into the seam of the roll to lock the shape.
- Add three visible metallic gold bobby pins in a neat parallel row for an intentional editorial finish.
Pro Pinning Hacks That Change Everything
- Spray the Pins First: Coat your bobby pins with a burst of dry shampoo or hairspray while they are still on the card before using them. This prevents them from sliding out of silky hair.
- Never Open Pins with Your Teeth: Prying the prongs wide apart damages your tooth enamel and stretches the metal spring, destroying the pin’s gripping power. Slide them directly onto the hair flat.
- Lock with the “Scoop and Turn” Technique: Insert the pin with tips facing away from your bun, scoop up a few hairs from your scalp, rotate the pin 180 degrees, and push it straight back into the heart of the updo.
Keep scrolling
All posts