Heatless Overnight Curls: The Foolproof Methods Ranked
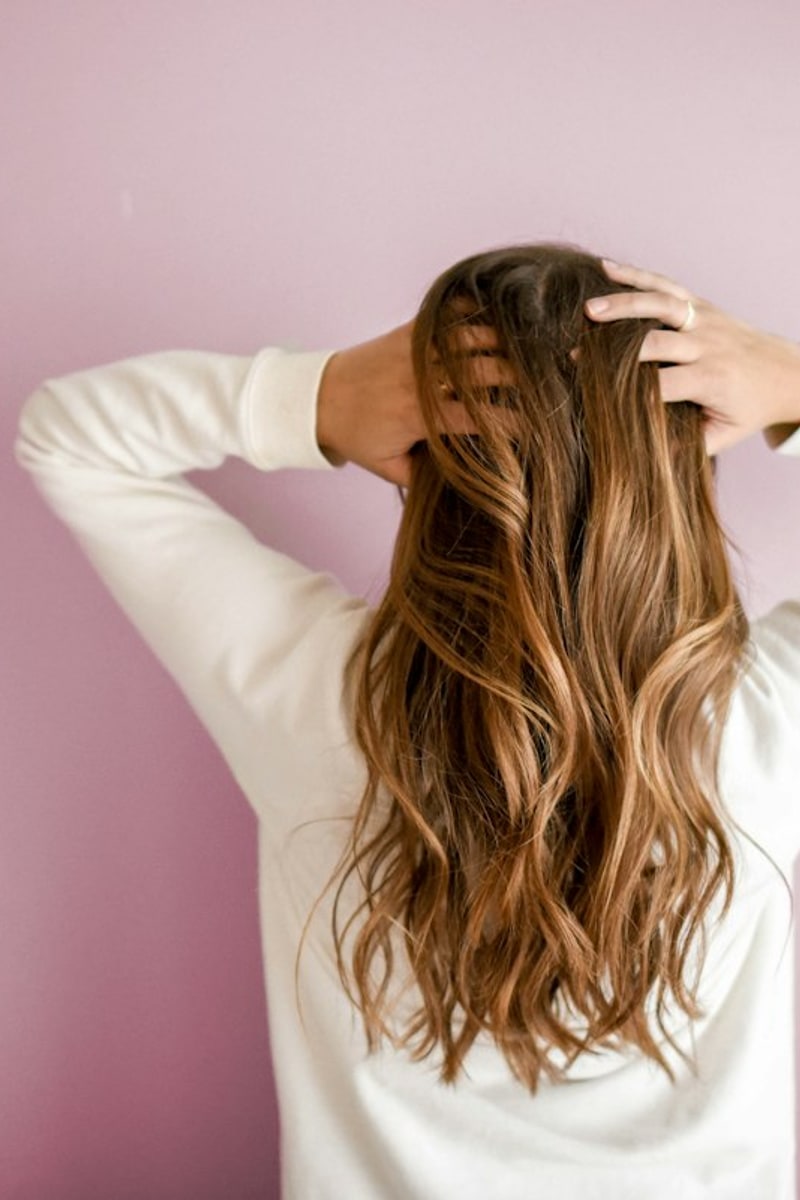
Heat styling tools inevitably take a cumulative toll on your hair cuticle—causing split ends, dryness, and color fading over time. Overnight heatless curls have surged in popularity because they provide the polished bounce of a fresh salon blowout with virtually zero thermal damage.
The difference between waking up with glossy, tumbling waves versus a frizzy, kinked mess comes down to hair dampness percentage and wrapping tension.
The Core Rule: The 85% Dryness Threshold
The single most common mistake with heatless curls is wrapping hair while it is soaking wet. Wet hair enclosed in silk or foam cannot evaporate overnight; you will wake up with damp, limp sections that fall flat within an hour.
- Ideal Baseline: Your hair should be approximately 85% to 90% dry. It should feel completely cool and slightly pliable to the touch, but not wet.
- If Starting with Dry Hair: Lightly mist your lengths with water using a continuous micro-mister or run damp hands through the ends before wrapping.
3 Top Methods Ranked by Comfort and Results
1. The Silk Curling Ribbon (Best for Bouncy Blowout Waves)
The silk curling rod remains the gold standard for creating uniform, large S-waves that look like a professional roller set.
Wrapping Flow:
[Center rod on top of head] ➔ [Clip in place] ➔ [Wrap sections backward away from face] ➔ [Tie ends with scrunchies]- Placement: Place the satin rod horizontally across the top of your head like a headband. Secure the center with a claw clip so it doesn’t shift while wrapping.
- First Section: Take a 1-inch section from the front hairline on one side. Wrap it up, over, and around the rod away from your face.
- Incorporate Hair (French Braid Style): As you come around for the second pass, scoop up another 1-inch section from underneath and add it to your working strand. Wrap both around the rod.
- Continue Down: Repeat all the way down until all hair on that side is wrapped around the rod. Secure the tail firmly with a silk scrunchie.
- Repeat on the other side: Remove the top claw clip and cross the two bottom ends behind your neck or tuck them into a loose sleep bonnet.
2. The Clean Tube Sock Method (Best for Soft Loose Waves)
If you don’t own a silk rod, two clean crew socks or a plush bathrobe tie produce remarkably soft, natural waves.
- Split hair into two equal left and right halves.
- Hang a sock upside down on each side.
- Wrap hair around the sock using a figure-eight criss-cross technique.
- Flip the open cuff of the sock inside out over the wound hair to protect the ends and seal everything into a tidy, sleep-friendly bundle.
3. The Twisted Topknot Method (Best for Natural Volume & Quickness)
For short or mid-length hair where long ribbons slip off:
- Flip your head upside down and gather hair into a high ponytail base at your crown.
- Twist the length softly around two fingers into a loose cinnamon bun shape.
- Fasten with a gentle silk scrunchie (never a tight rubber band that leaves dents).
- Unwind in the morning, shake roots upside down, and mist with light texturizing spray.
Morning Reveal & Setting Routine
How you take down your heatless curls determines how long they last through the day:
- Remove scrunchies gently: Do not tug the ribbons downward. Slowly pull the satin rod straight up and out from the crown of your head.
- Do not use a fine-tooth comb: Rake through the curls gently with your fingers or a very wide-tooth detangling comb.
- Lock in moisture and shine: Warm one single drop of jojoba or argan oil between your palms and gently cup the ends of your curls upward.
- Root Lift: Spritz dry shampoo or texture mist at the roots to maintain airy lift throughout the day.