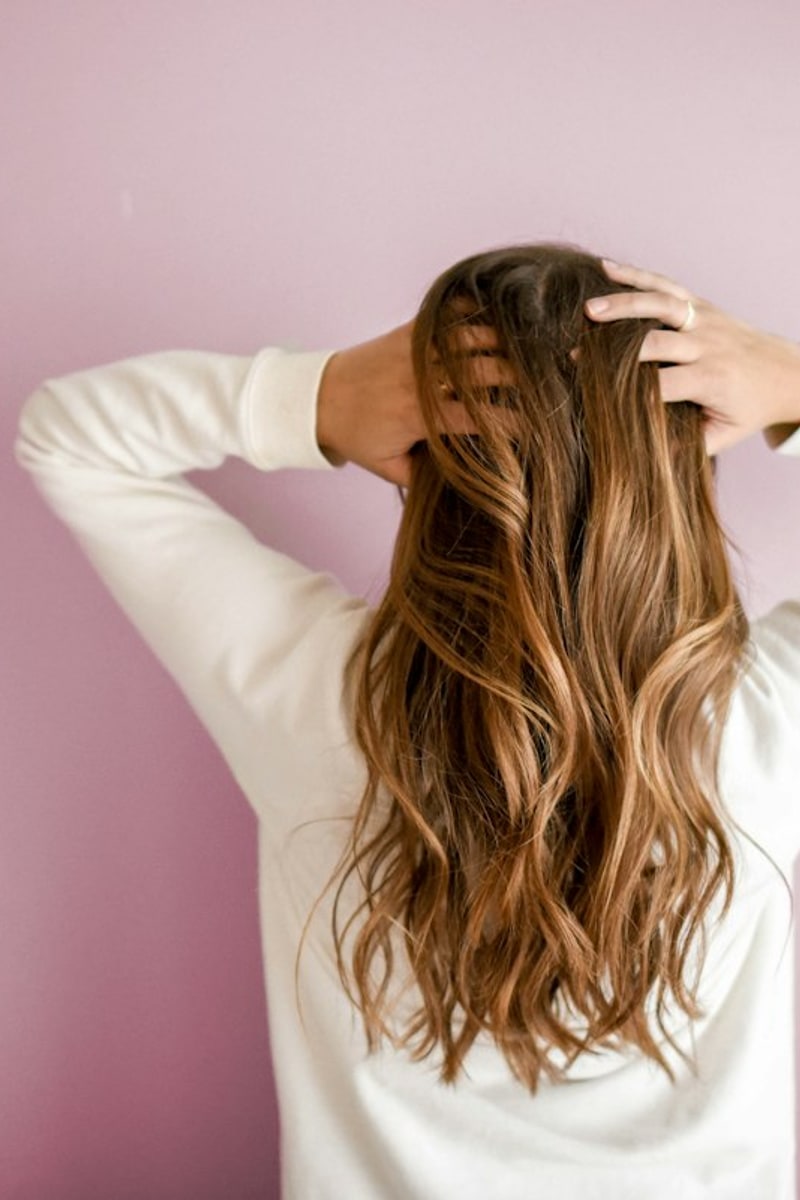
Hollywood Glamour Waves: The Red Carpet S-Wave Tutorial
Nothing commands attention quite like sculpted Hollywood glamour waves. The signature cascade of uniform, high-gloss S-curves looks timeless across formal galas, weddings, and evening celebrations.
While standard beach waves rely on alternating curl directions and undone texture, Hollywood waves require the exact opposite: every single section must be curled in the exact same direction on the same horizontal plane, then brushed together into one unified ribbon.
Tools You’ll Need
- A 1-inch or 1.25-inch curling iron with a spring clamp
- 8 to 12 metal duckbill setting clips (or creaseless setting clips)
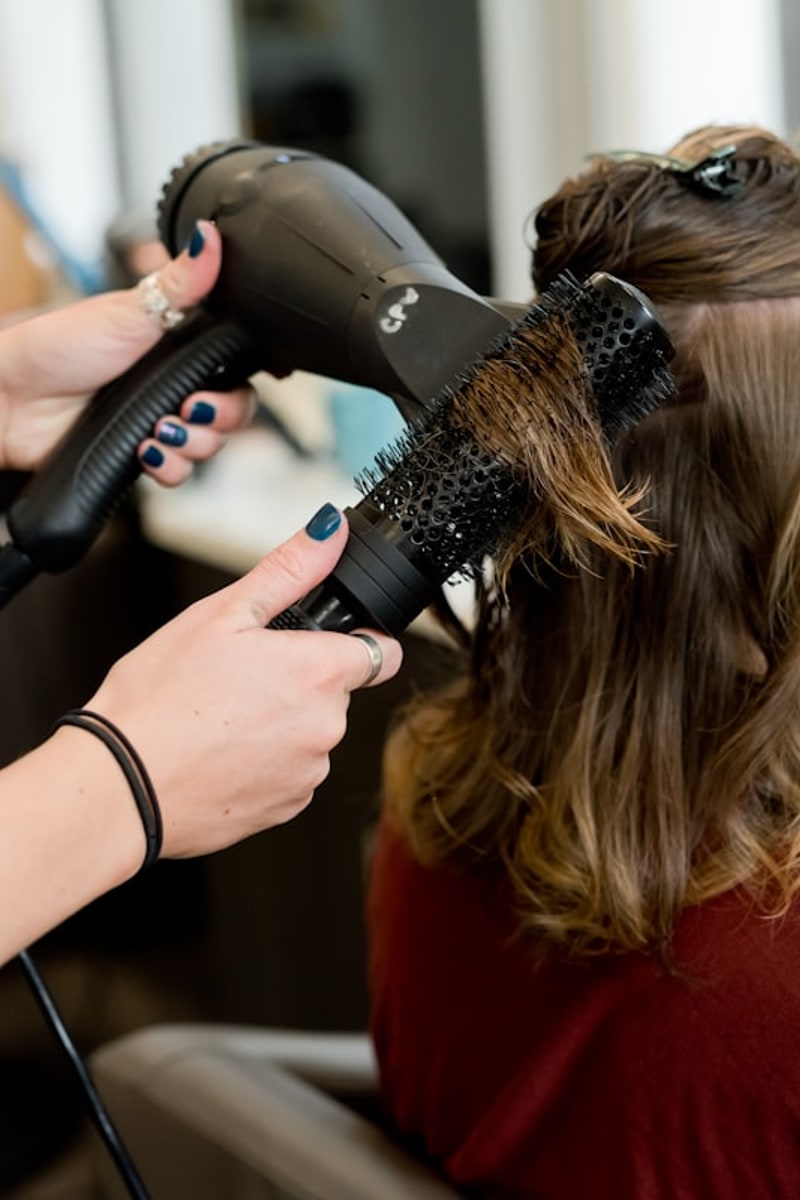
- A classic boar bristle cushion brush
- Heat protectant and setting spray with thermal memory
- High-shine finishing serum or glossing mist
The Step-by-Step Hollywood Wave System
Core Technique Pipeline:
[1. Deep Side Part] ➔ [2. Uniform Horizontal Barrel Curls] ➔ [3. Pin & Cool Set] ➔ [4. The Boar Bristle Brush-Out]
Step 1: Establish the Architecture
Create an exaggerated deep side part aligned directly with the arch of your eyebrow. Section off the heavy side (the front volume panel) and clip the bottom layers free.
Step 2: Consistent Directional Curling
- Take 1-inch thick, 2-inch wide horizontal subsections starting from the bottom of your neckline.
- Hold your curling iron completely horizontal (parallel to the floor).
- Wrap the hair around the barrel, rolling downward and toward your face.
- Hold for 8–10 seconds under medium heat.
Step 3: The Critical Clip & Cool Set
As you release the hot curl from the barrel, catch the coiled circle in the palm of your hand without letting it stretch out. Slide a metal duckbill clip flat against your scalp to hold the coil tightly in place.
Crucial Rule: Curls are shaped by heat, but they are set by cooling. If you drop hot curls immediately, gravity elongates the pattern and ruins the wave ridges. Leave all clips in place for a full 15 to 20 minutes until the hair is cool to the touch.
Step 4: The Unification Brush-Out
- Once completely cool, remove all duckbill clips one by one. Your hair will look like tight vintage ringlets—don’t panic.
- Mist your boar bristle cushion brush lightly with flexible-hold hairspray.
- Gently brush through your hair from roots to ends. As you brush, the individual ringlets will magnetically snap together into synchronized S-shaped troughs and crests.
- Support the curves with the side of your hand as you brush down the length.
Step 5: Setting the Ridges & Adding Mirror Shine
To give the wave ridges extra crisp definition:
- Place creaseless setting clips horizontally into the indentations (troughs) of the wave along your face.
- Apply a fine veil of strong-hold hairspray.
- Leave the clips in for 5 minutes, then slide them out smoothly.
- Finish by smoothing half a pump of shine serum over the surface.
Pro Tips for Long-Lasting Hold
- Avoid Heavy Oils Before Heat: Use lightweight thermal setting lotions instead of heavy oil-based serums before curling, as heavy oils weight the wave down.
- Tuck the Weak Side: For dramatic asymmetry, smooth the hair on the shallower side of your part flat against your scalp, tuck it behind your ear, and secure it with a decorative comb or hidden bobby pin at the nape.