How to Braid Your Own Hair: A Step-by-Step Beginner's Guide
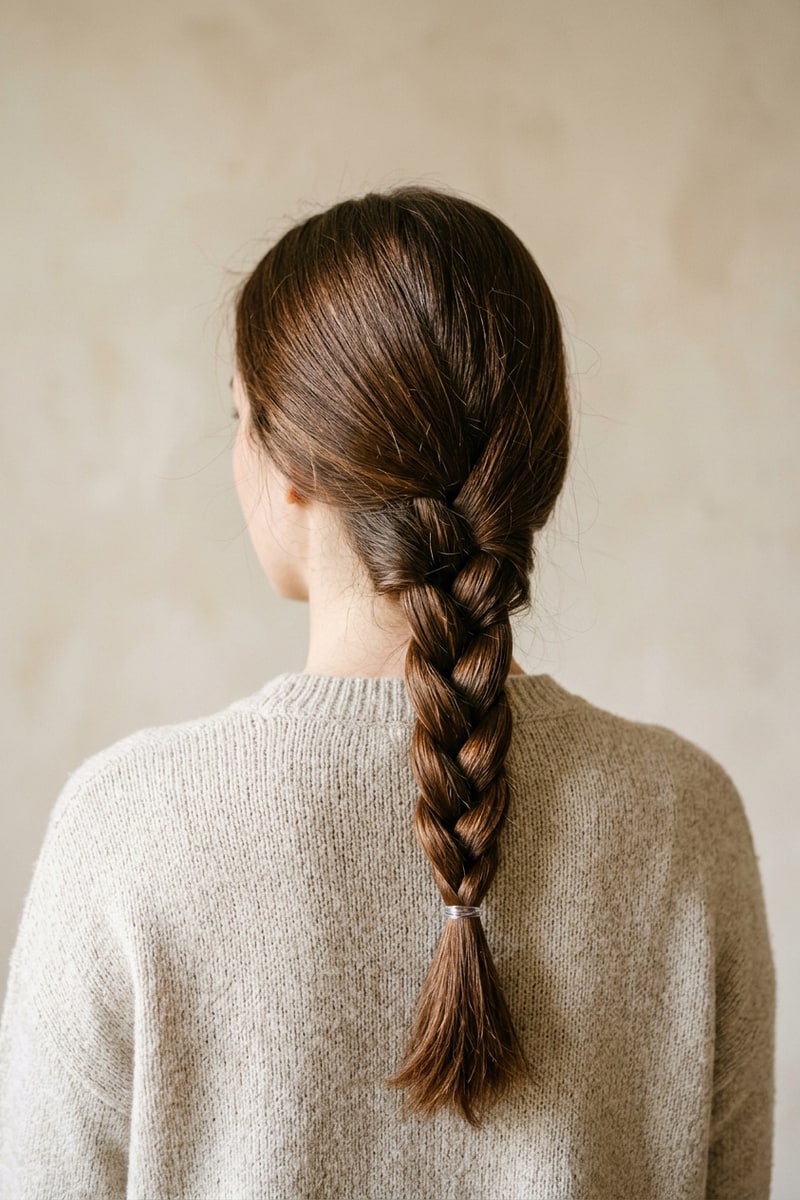
Braiding someone else’s hair is straightforward because you can see every section from above. Braiding your own hair behind your head is a completely different skill—your hands work upside down, your shoulders get tired within three minutes, and one dropped strand turns into a tangled knot.
The secret isn’t having faster fingers or naturally cooperative hair. It comes down to two mechanical habits: hand anchor points against your scalp and consistent tension control. Once your muscle memory understands where each finger rests, you can braid smoothly without glancing in a mirror.
1. The Classic Three-Strand Braid (The Foundation)
Before attempting intricate styles, your hands must do the basic rhythm automatically.
What You’ll Need
- A wide-tooth detangling comb
- A soft bristle brush
- Texturizing mist or a light leave-in conditioner
- Snag-free micro-elastic bands
Step-by-Step Instructions
- Prep the hair texture: Freshly washed hair is often too slippery. Spritz lengths lightly with texturizing spray or apply a dime-sized amount of leave-in cream through mid-lengths and ends for grip.
- Gather and divide: Brush all hair backward. Split the hair into three equal sections: Left, Middle, and Right. Check with your fingertips that the sections have roughly the same thickness.
- The first cross: Hold the Left section in your left hand and the Right section in your right hand. Cross the Right strand over the Middle strand. The original Right strand is now in the center.
- The alternating cross: Cross the Left strand over the new Middle strand. The Left strand is now the center.
- Establish the rhythm: Repeat the sequence—Right over center, Left over center. Keep your knuckles pressed gently against the back of your head or neck as you work down. This physical contact prevents the braid from bowing out or loosening at the base.
- Tie off: Leave about two inches of tail at the bottom and secure firmly with an elastic.
2. The French Braid (Overhand Weaving)
A French braid gathers additional hair from the sides as you travel down the scalp, sitting flush against your head.
Step Rhythm:
[Cross side strand over center] ➔ [Scoop a 1/2-inch piece of loose hair into that strand] ➔ [Repeat on opposite side]
Step-by-Step Instructions
- Section the top crown: Take a two-inch wide triangle section at your forehead or hairline. Divide this initial section into three equal strands.
- Complete one basic stitch: Cross the right strand over the middle, then cross the left strand over the new middle.
- Add hair from the right side: Before crossing the right strand over the center again, use your index finger to trace a clean horizontal line from your right hairline back to the braid. Merge this new hair into the right strand, then cross both over the center.
- Add hair from the left side: Use your left index finger to slice a clean slice from your left hairline, combine it with the left strand, and cross over the center.
- Follow the curve of your skull: As you pass your ears, tilt your chin slightly up. This keeps the braid tight against the nape of your neck and prevents that loose, sagging pouch at the bottom.
- Finish with a three-strand braid: Once all loose hair is integrated at the neckline, continue as a standard three-strand braid down to the ends and fasten.
3. The Dutch Braid (The 3D Pop-Out Braid)
A Dutch braid uses the exact same sectioning logic as a French braid, but with one fundamental difference: strands cross underneath the center piece rather than over it. This pushes the woven ridges outward on top of the scalp.
Quick Technique Comparison
| Feature | French Braid | Dutch Braid |
|---|---|---|
| Strand Direction | Crosses over middle | Crosses under middle |
| Visual Appearance | Flat, woven-in, classic | Raised, dimensional, pop-out |
| Grip Feel | Palms face inward | Knuckles face upward |
| Pancake / Fluffing | Subtle widening | Dramatic, voluminous effect |
Step-by-Step Instructions
- Start with your top section divided into three equal strands.
- Pass the right strand under the middle strand.
- Pass the left strand under the middle strand.
- Pick up a clean 1/2-inch slice of loose hair from the right side, join it to your right strand, and pass the combined piece under the middle.
- Repeat on the left side, sweeping loose hair under the center.
- Continue down to the nape, keeping tension firm. Finish the length with an underhand three-strand braid.
The Pro Technique: “Pancaking” for Instant Fullness
If your braid looks thin or tight like a shoelace, pancaking transforms it into a full, editorial style:
- Hold the base elastic firmly with one hand.
- Starting from the bottom of the braid and working upward, use the pads of your thumb and index finger to gently tug the outermost curved loop of each stitch outward by 2–3 millimeters.
- Work slowly along both sides. Never yank from the center core—only widen the outer edges.
Troubleshooting Common Braiding Problems
Why do my arms ache before I finish?
Rest your elbows on a dresser or bathroom countertop while you learn the movements. When your arms don’t have to support their own full weight in mid-air, you can focus purely on finger placement.
Why does my braid lean to one side?
Uneven tension from your dominant hand is the usual culprit. Keep both wrists touching your head so they stay equidistant from the center line of your scalp.
How do I handle layers poking out?
Smooth a dab of lightweight styling wax or pomade over your palms before sectioning. For stubborn short ends, tuck them inward with a mini bobby pin tucked vertically up into the center of the braid.