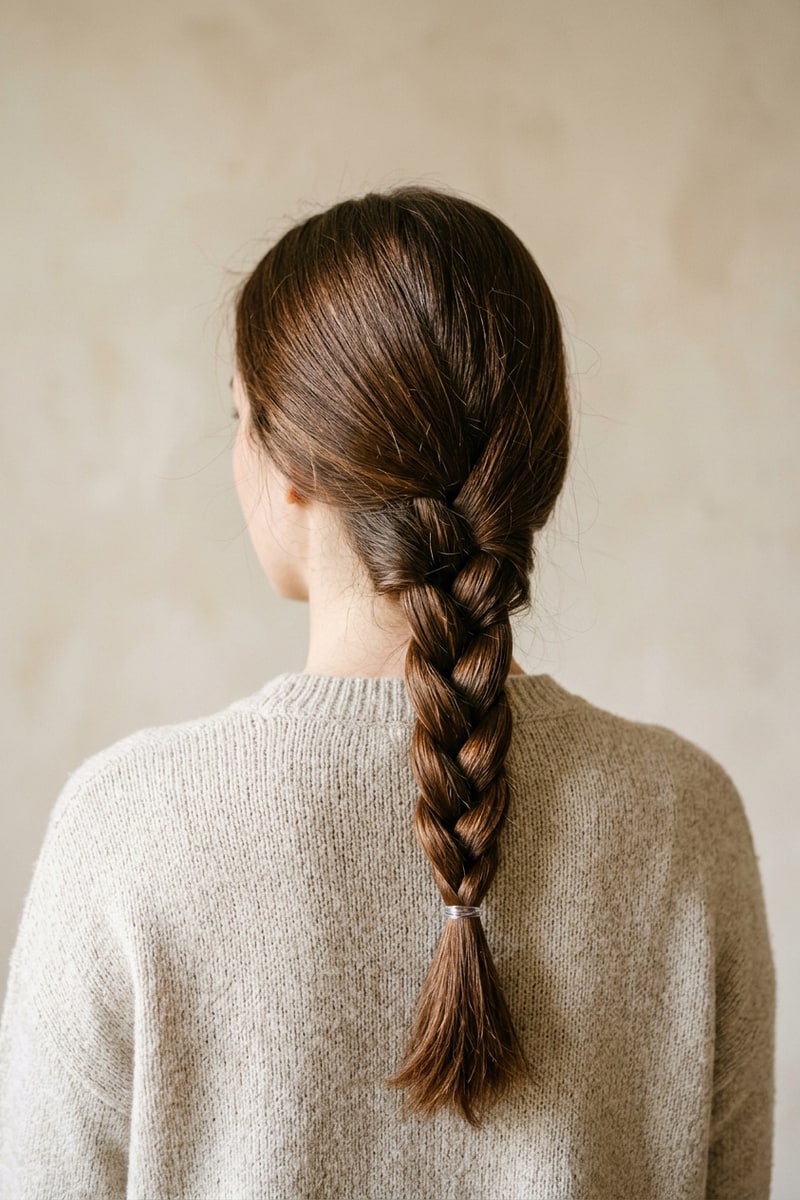
Boho Braids: 4 Effortless Textured Looks That Stay in Place
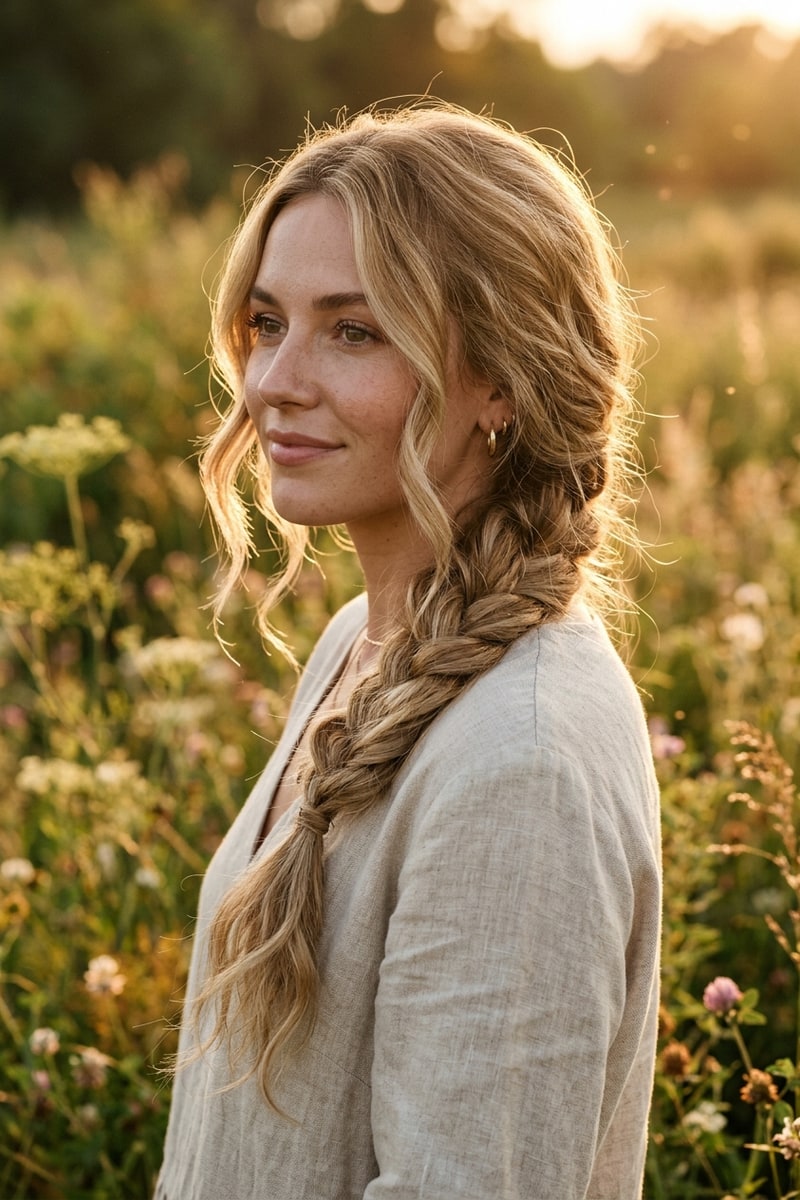
The quintessential bohemian braid looks like it was woven in thirty seconds on a breeze-filled afternoon. In reality, creating that soft, lived-in texture requires specific prep work. If you skip the foundation, a loose braid simply turns into a messy knot within three hours of wear.
The secret to a durable boho braid is building internal grip with dry texture powder or sea salt spray before you ever section the hair.
The 4 Signature Boho Styles
1. The Undone Side Fishtail
A relaxed side fishtail sits comfortably over one shoulder and pairs effortlessly with knitwear, linen shirts, or sundresses.
- Prep: Sweep all hair over your preferred shoulder. Apply a puff of volumizing powder through the mid-lengths.
- Divide: Split the ponytail into two equal halves (Section A and Section B).
- The Stitch: Take a skinny 1/8-inch strand from the outer edge of Section A, cross it over the top, and tuck it into the inner side of Section B.
- The Repeat: Take a matching sliver from the outside of Section B and merge it into Section A.
- The Finish: Continue all the way down. Secure with a tiny clear rubber band, then massage each stitch outward with your fingertips to soften the silhouette.
2. The Half-Up Crown Braid
This style keeps hair away from your face while leaving long loose waves flowing down the back.
Layout Overview:
[Left Temple: 3-Strand Braid] ──┐
                                 ├──> Cross at nape & pin horizontally with matte bobby pins
[Right Temple: 3-Strand Braid] ──┘- Create a natural center or slight off-center part.
- Pick up a 1-inch section above each temple.
- Braid each section loosely toward the back of your head.
- Gently pull at the loops of both braids to expand their width.
- Bring both braids together at the crown, overlap them flat against your head, and pin securely with two crossed bobby pins hidden beneath the hair.
3. The Bubble Braid with Accent Micro-Braids
Bubble braids provide maximum visual volume with zero complex weaving.
- Base: Secure a medium-height ponytail with an elastic.
- Accent: Braid one tiny pencil-thin strand down the length of the tail and secure it.
- Create Bubbles: Place small elastic bands every 2 to 3 inches down the tail.
- Fluff: Hold the elastic above each section and pull the hair outward in a 360-degree circle to form a round sphere. The micro-braid weaving through the bubbles creates stunning visual contrast.
4. The Messy Double Dutch Pigtails
Unlike sleek workout braids, boho Dutch braids are soft, touchable, and framed with deliberate wisps around the hairline.
- Part hair cleanly down the middle from forehead to nape.
- Clip one side out of the way.
- Dutch braid the active side from the hairline back, keeping light hand tension.
- Stop adding hair once you hit the nape, secure with an elastic, and leave the lower ponytail free.
- Repeat on the opposite side.
- Pull out baby hairs around the ears and temples, adding a light bend with a styling iron.
3 Essential Rules for Lived-In Texture
- Avoid Silky Slip: Do not use heavy silicone serums before braiding. You need friction between strands. Texturizing dry spray or matte paste is your best ally.
- Pull from the Edges Only: When expanding braid stitches, never pull the central knot—only pinch the very outer crest of the loop.
- Lock with Fine Mist: Once you’ve fluffed the braid to your liking, set it with a flexible-hold hairspray applied from 10 inches away.
Frequently Asked Questions
Will this work on fine or thin hair?
Yes! In fact, boho braids were practically made for fine hair because pancaking (expanding the stitches) multiplies the visible thickness of your hair by two to three times.
How do I stop face-framing strands from falling flat?
Give them a quick 3-second wrap around a 1-inch curling wand, let them cool completely, and rake through them with your fingers coated in dry texture spray.